League Card Features |
|
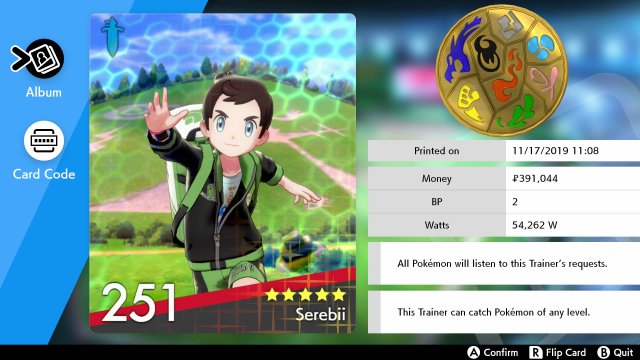
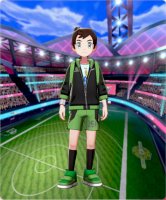
League Cards are a small feature introduced in the game and technically replace Trainer Cards, however there is a difference. League Cards are used in the battle VS screens and can be shared with people. On your own menu, you'll be able to see your League Cards, all the currency you have, your current Pokťmon level restrictions and have an option to check your League Card album or use a Code to either send your current League Card to the Internet or receive other players League Cards for your collection.
|
 |
League Back |
|
With the League Cards, both yours and people's you receive, you'll be able to look at the back. This will show the person's current team, starter Pokťmon, when they started, amount of Pokťmon in their Dex as well as a list of the following
Curry Dex - Number of curries made
Rally Best Score - Best score on Rotom Rally
Pokťmon Caught - Amount of Pokťmon captured
Shiny Pokťmon Found - Number of Shiny Pokťmon found
|
 |
League Card Customisation |
|
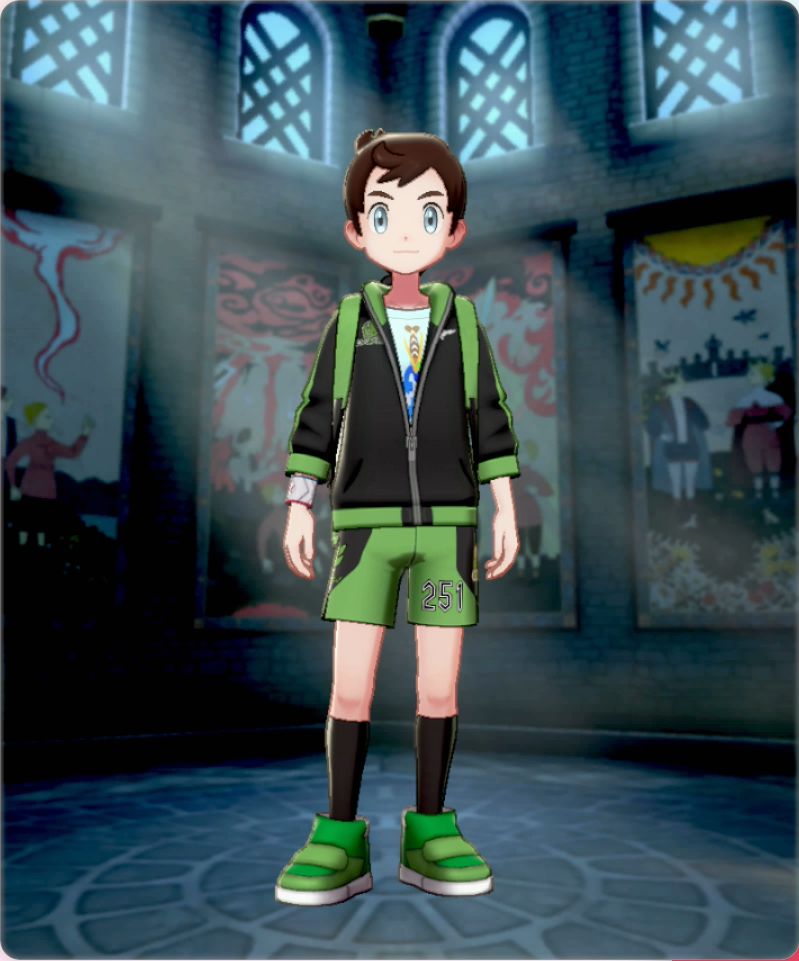
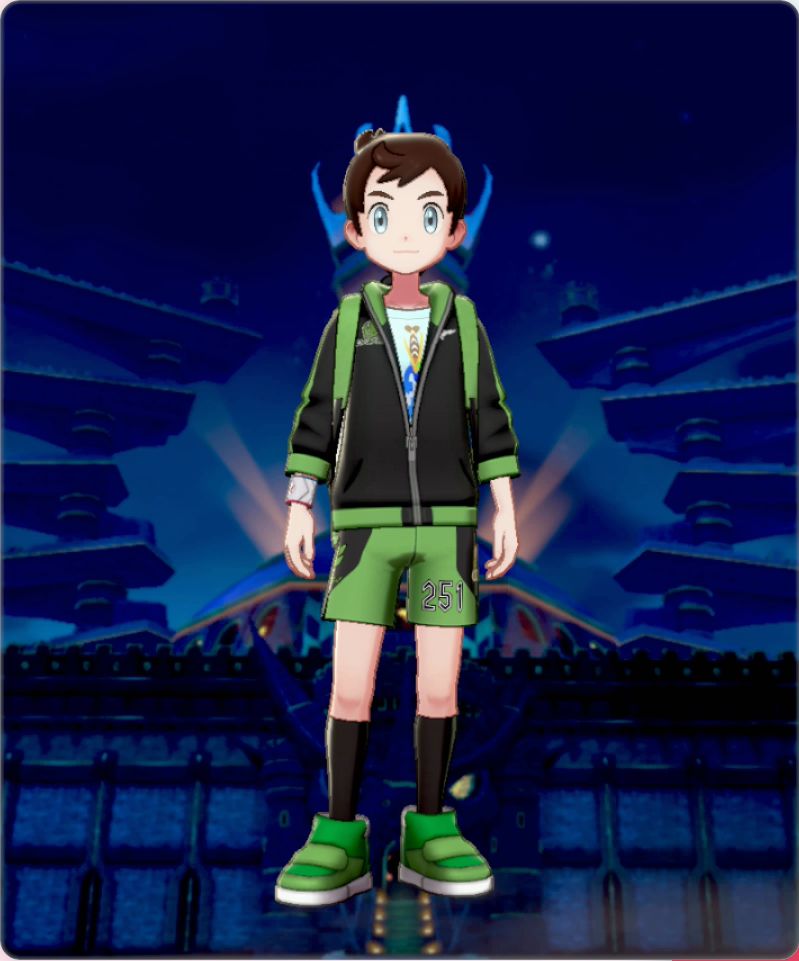
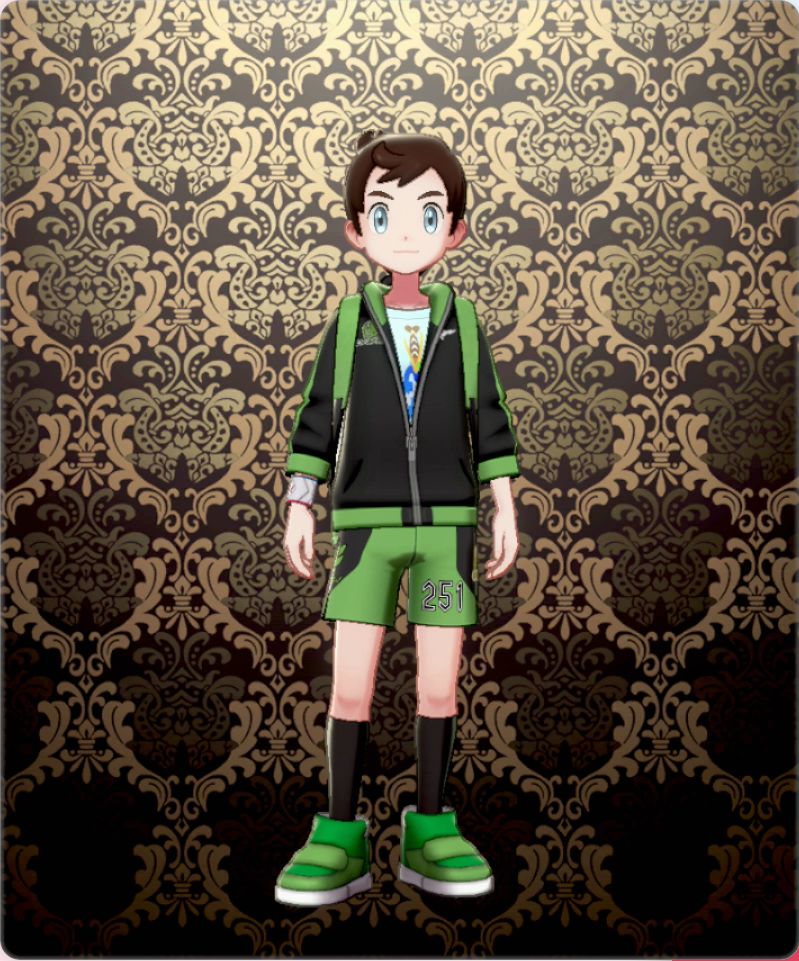
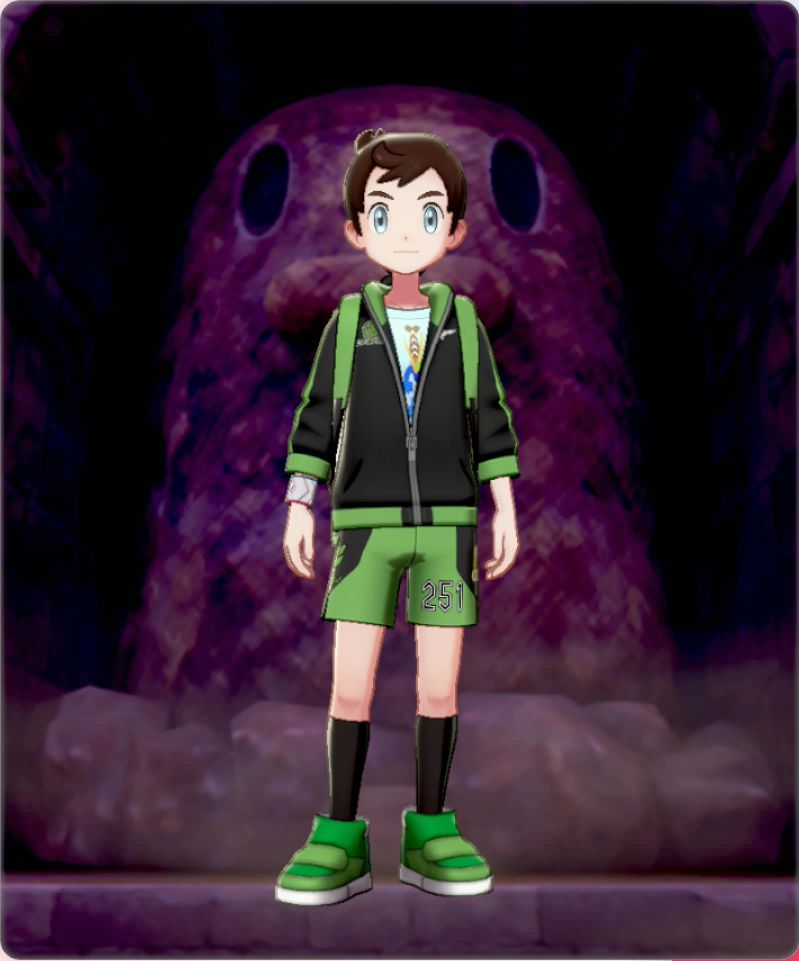
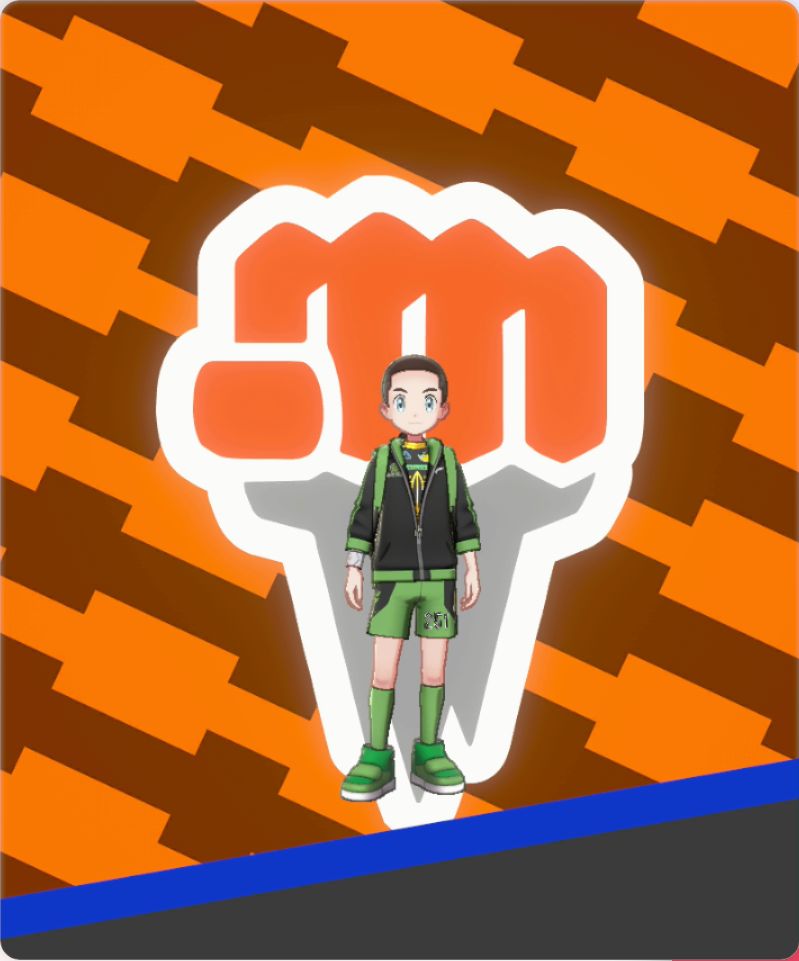
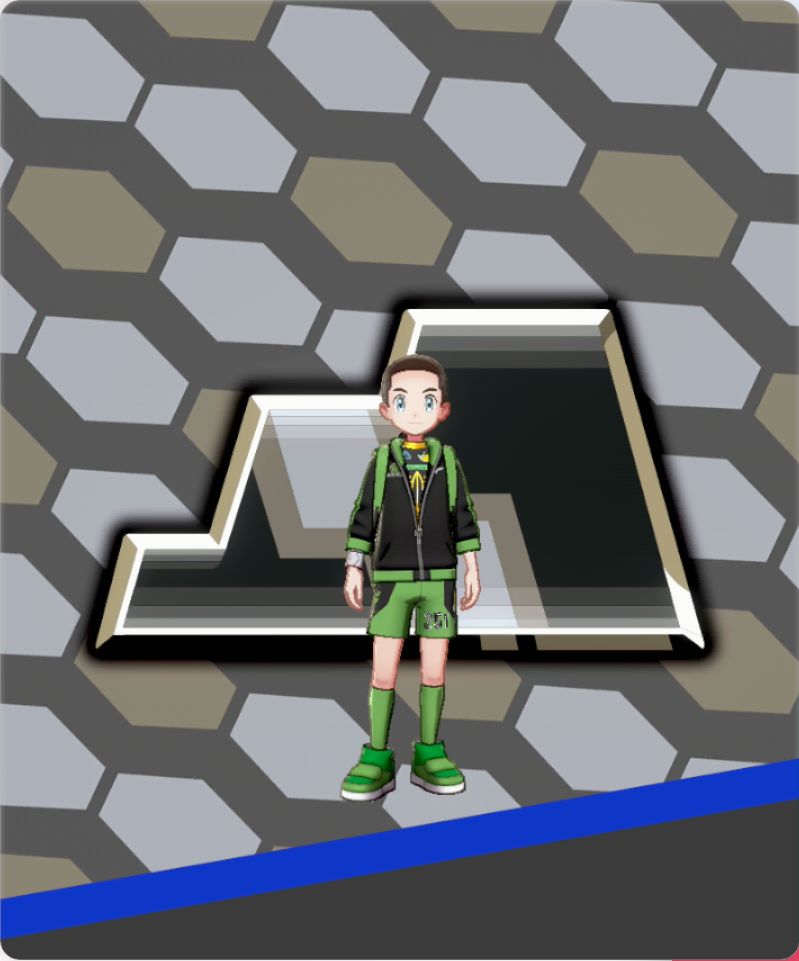
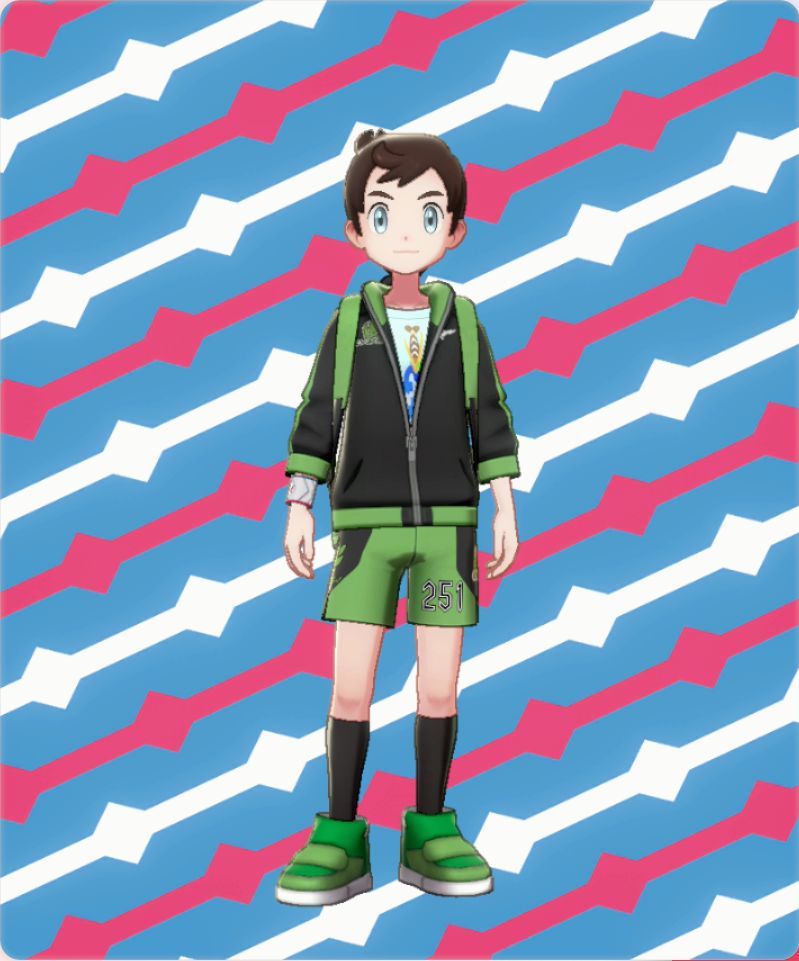
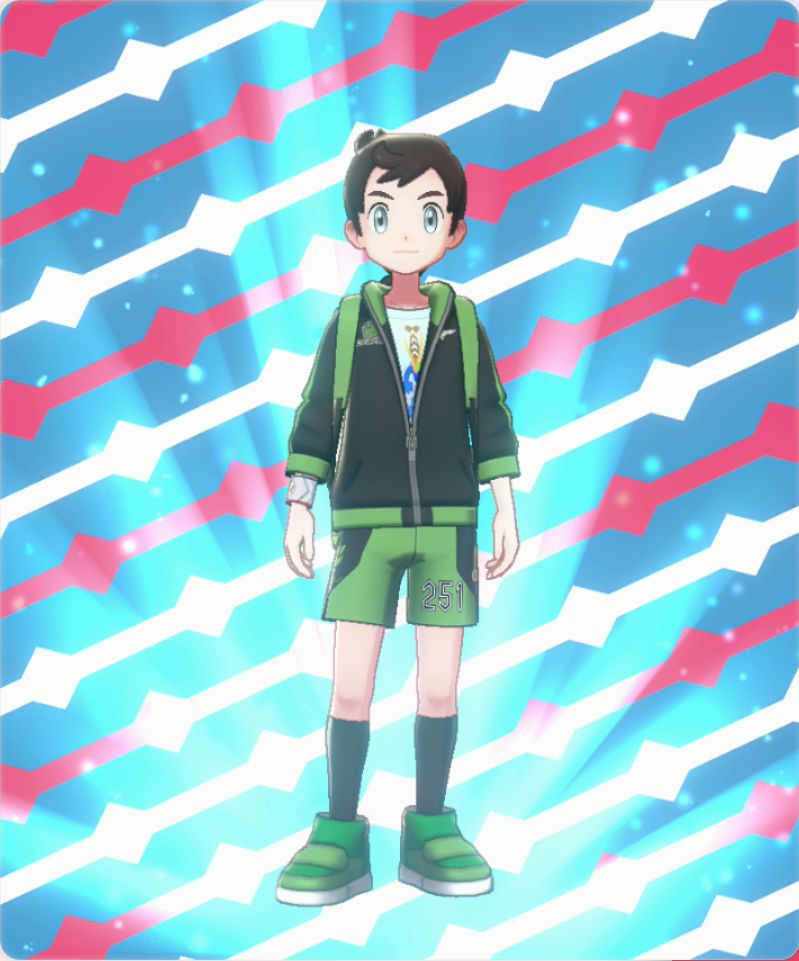
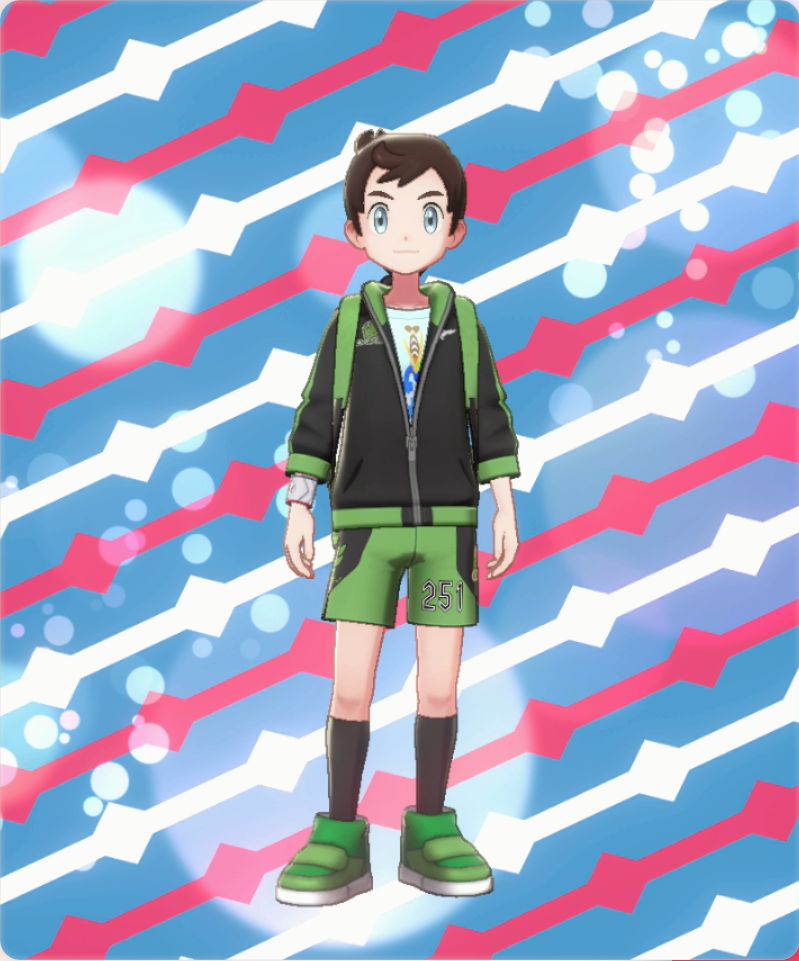
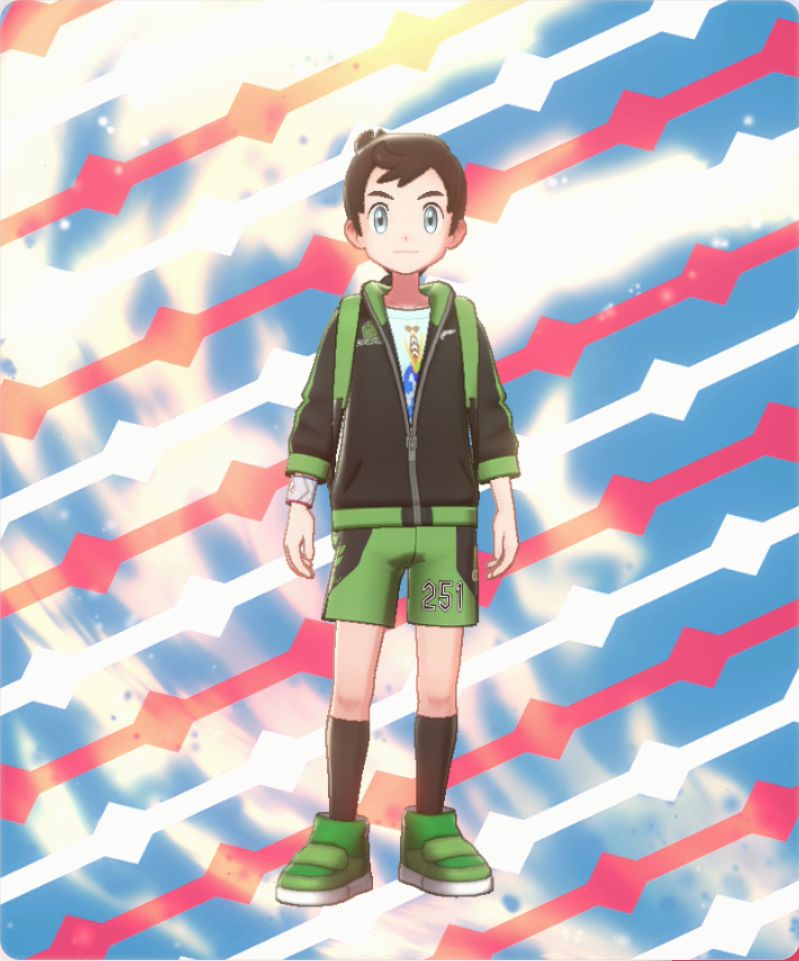
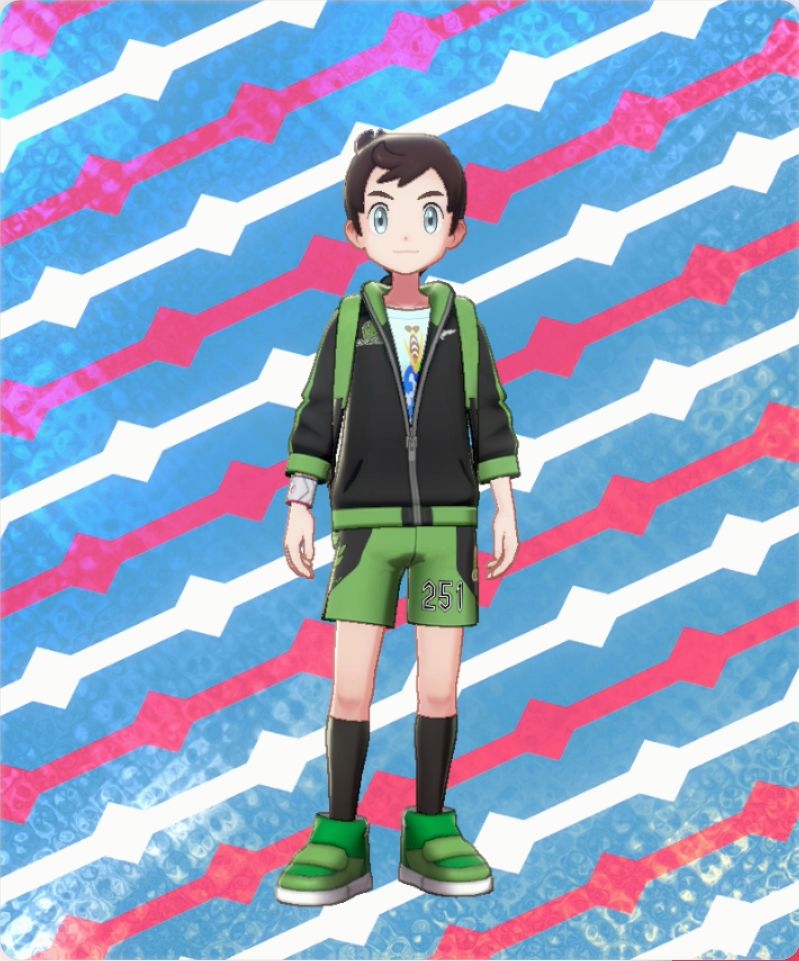
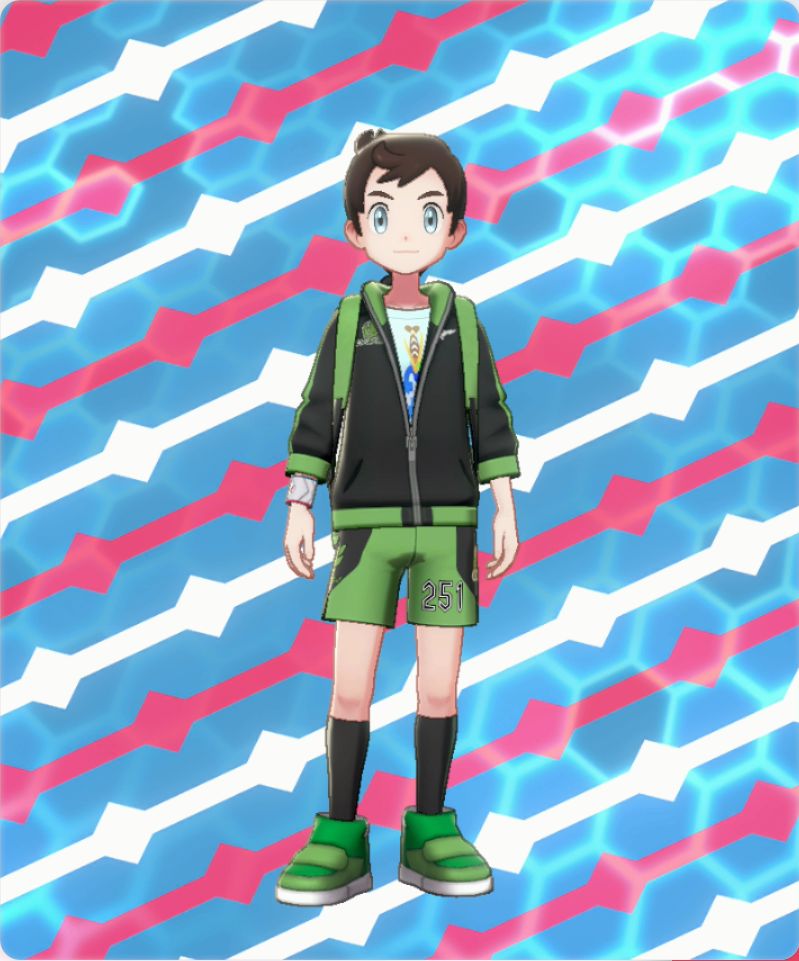
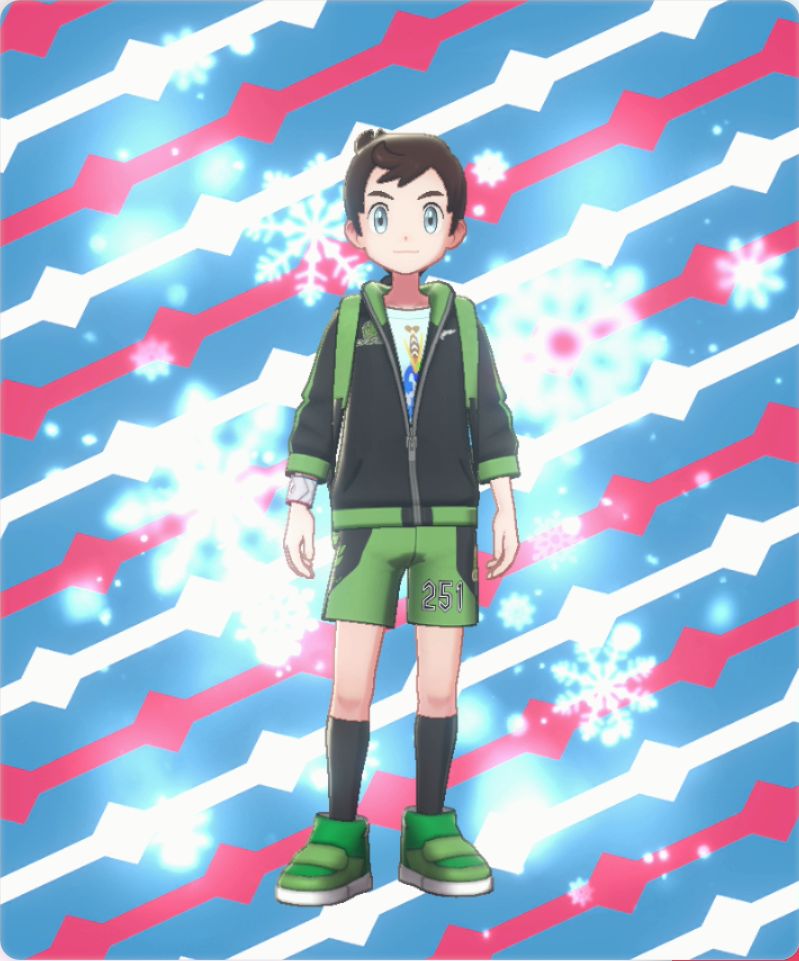
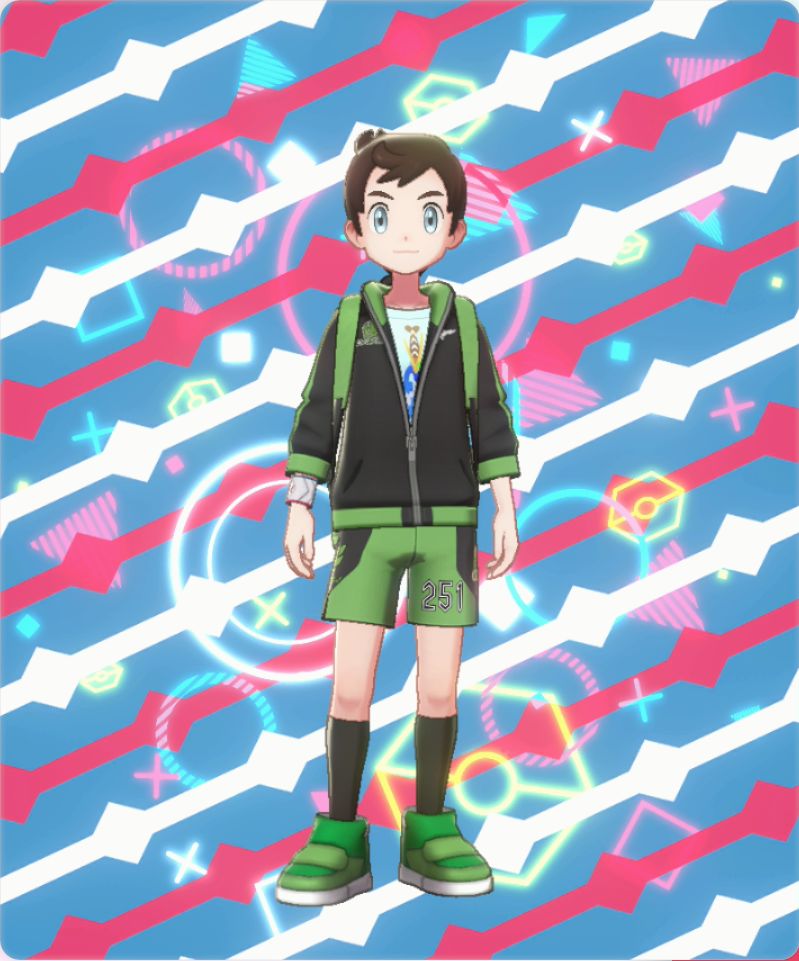
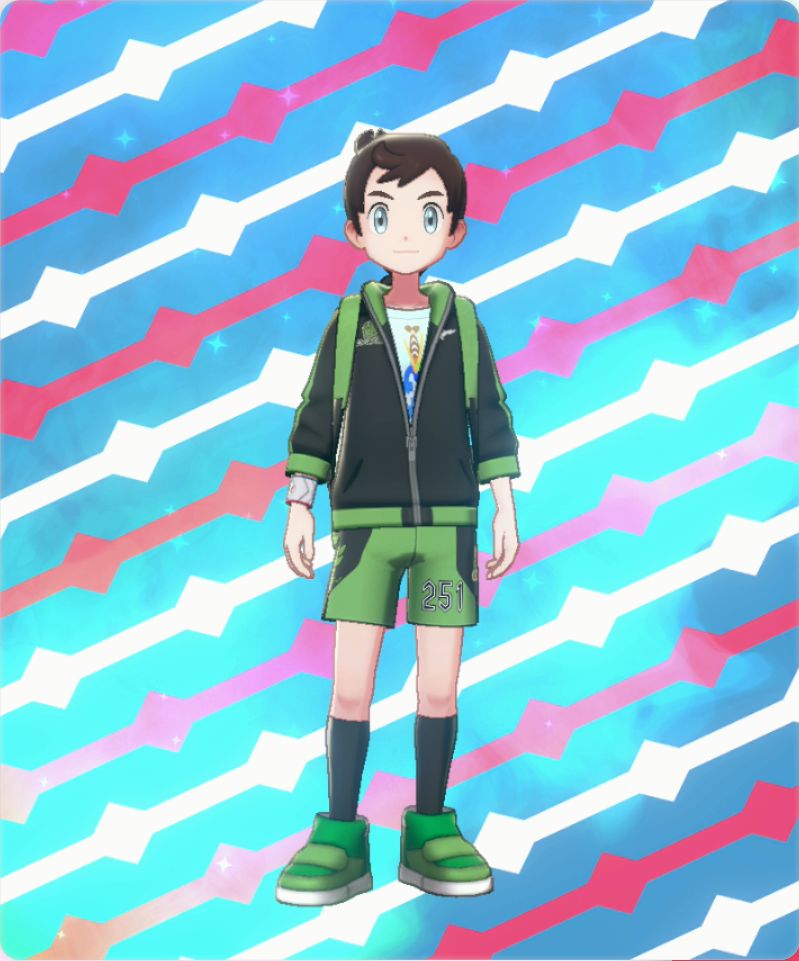
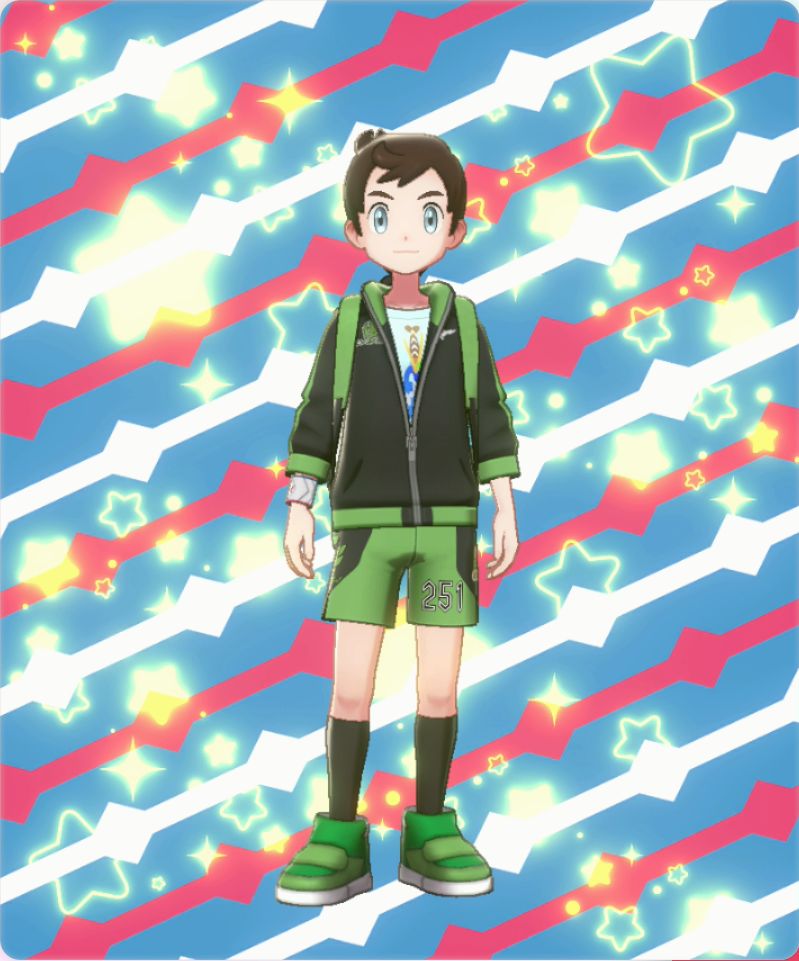
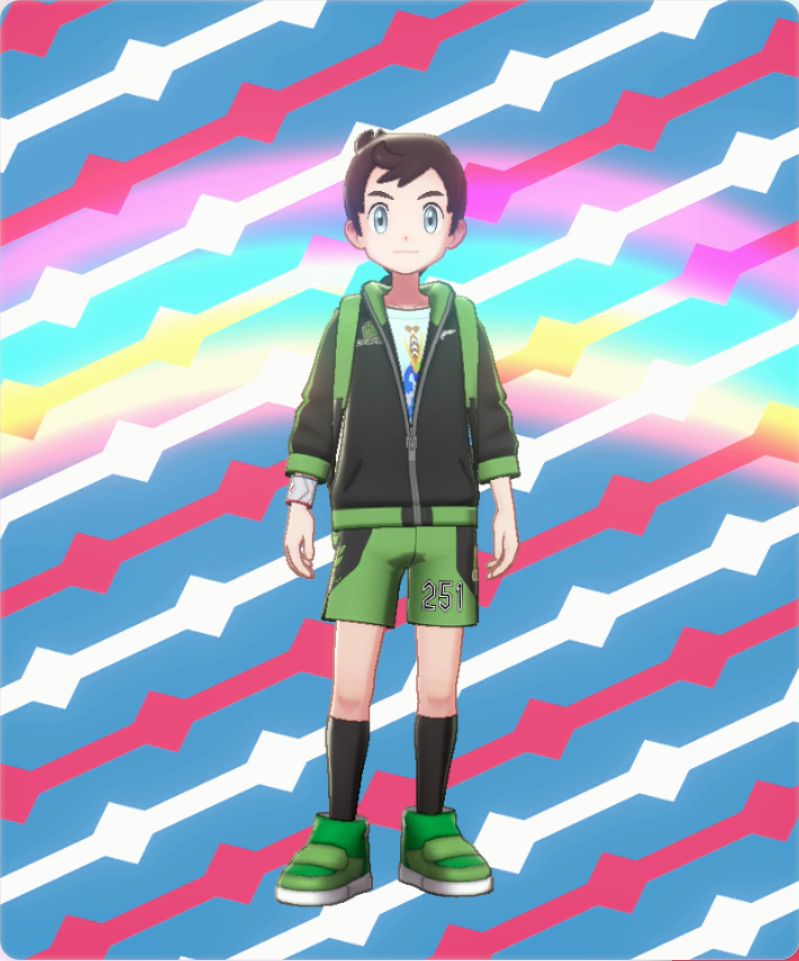
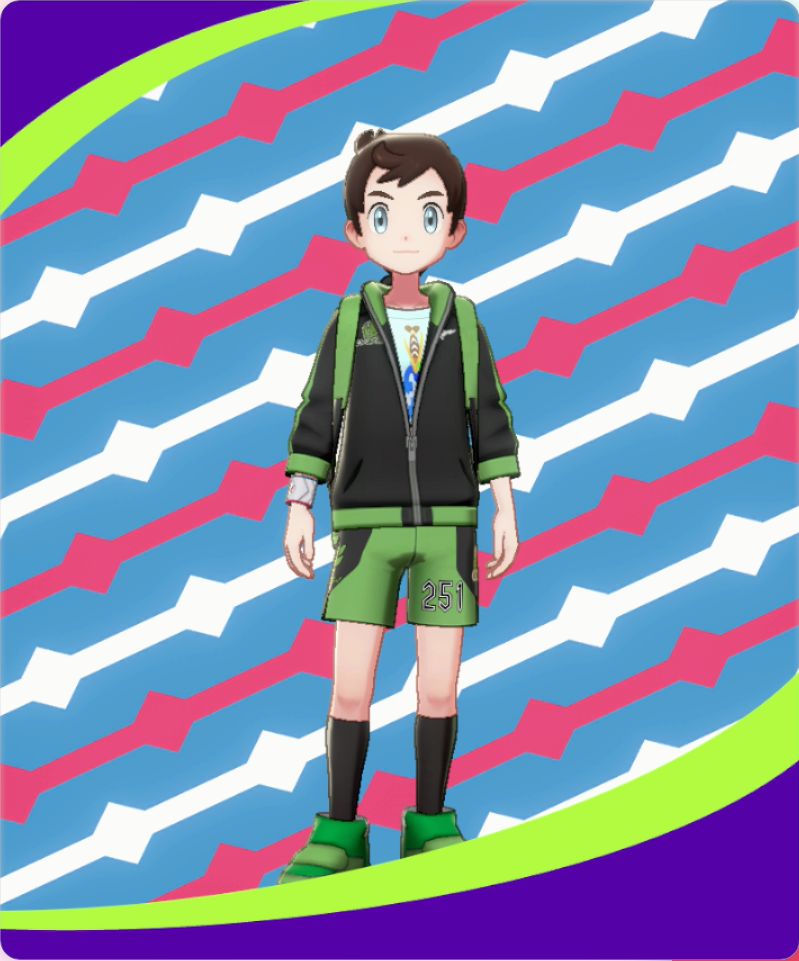
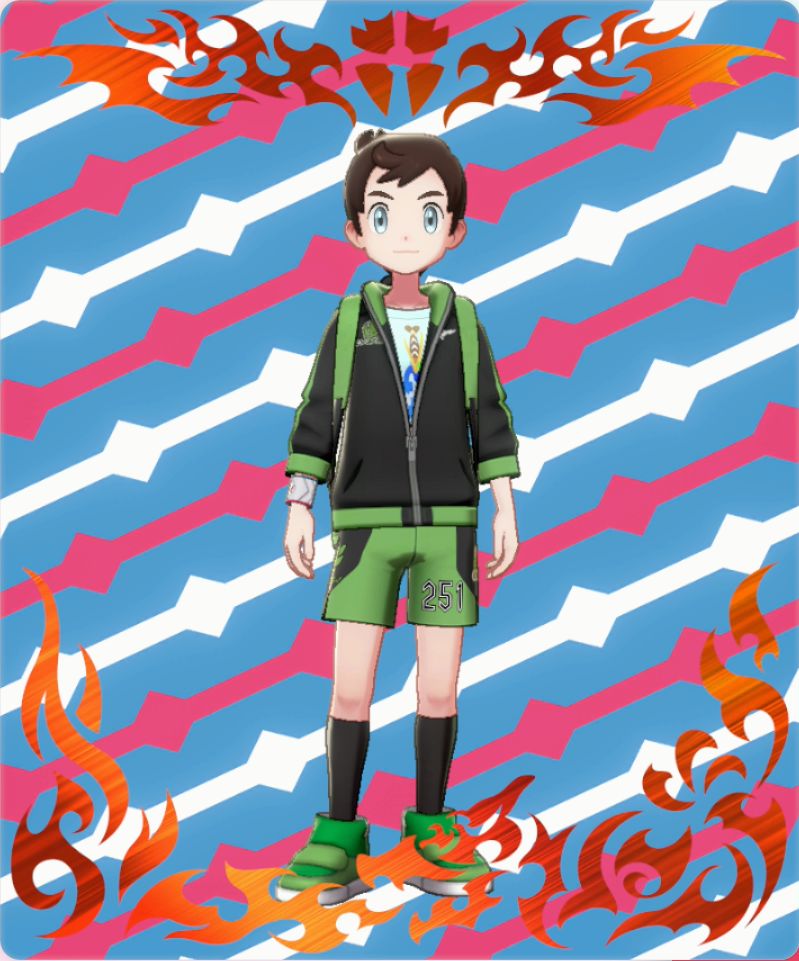
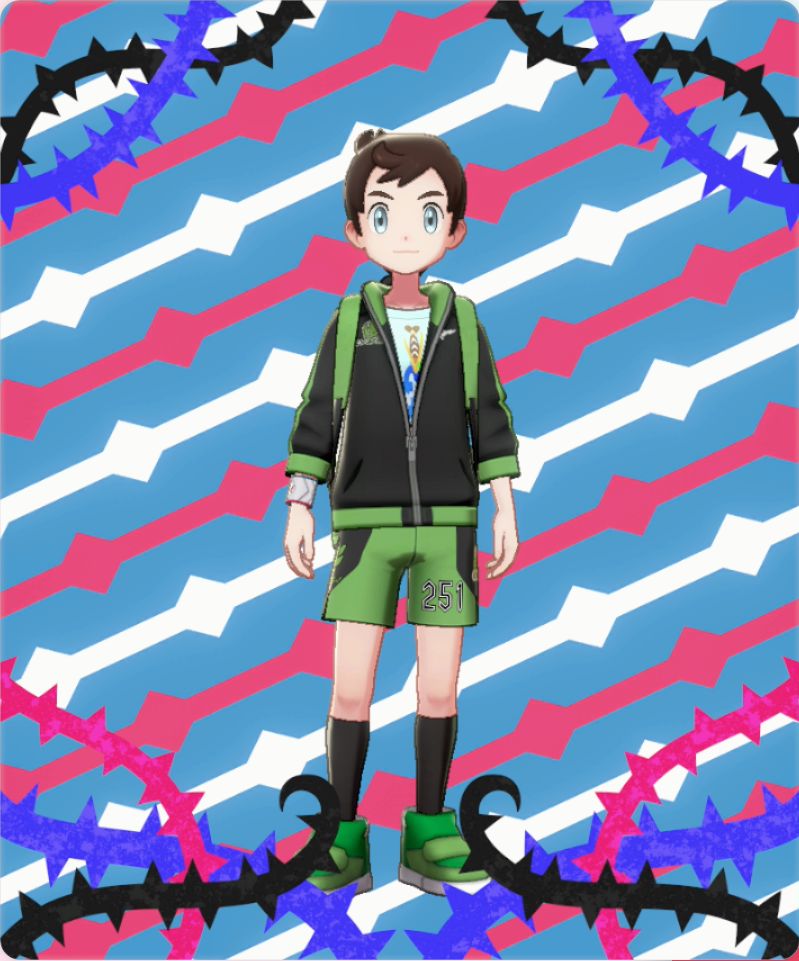
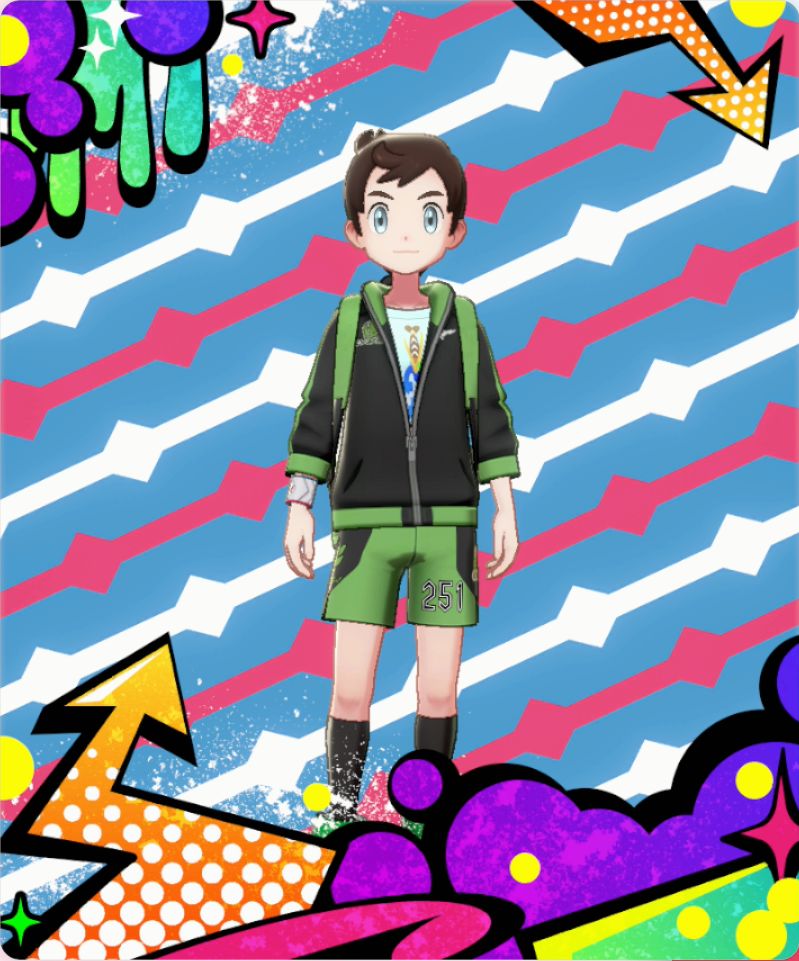
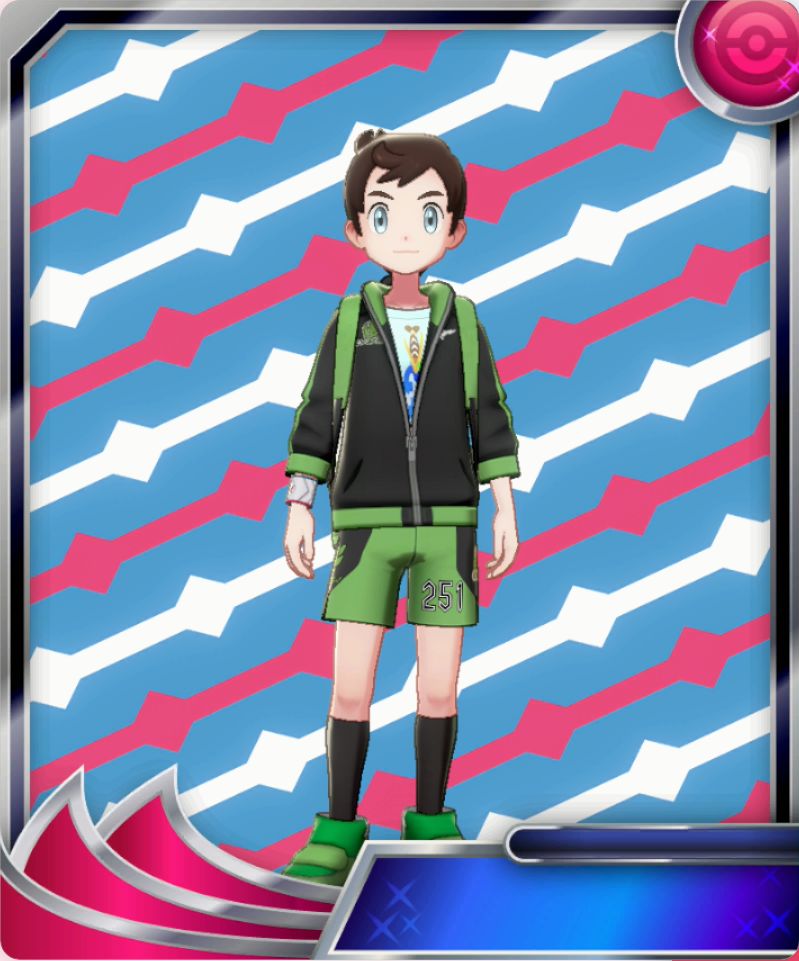
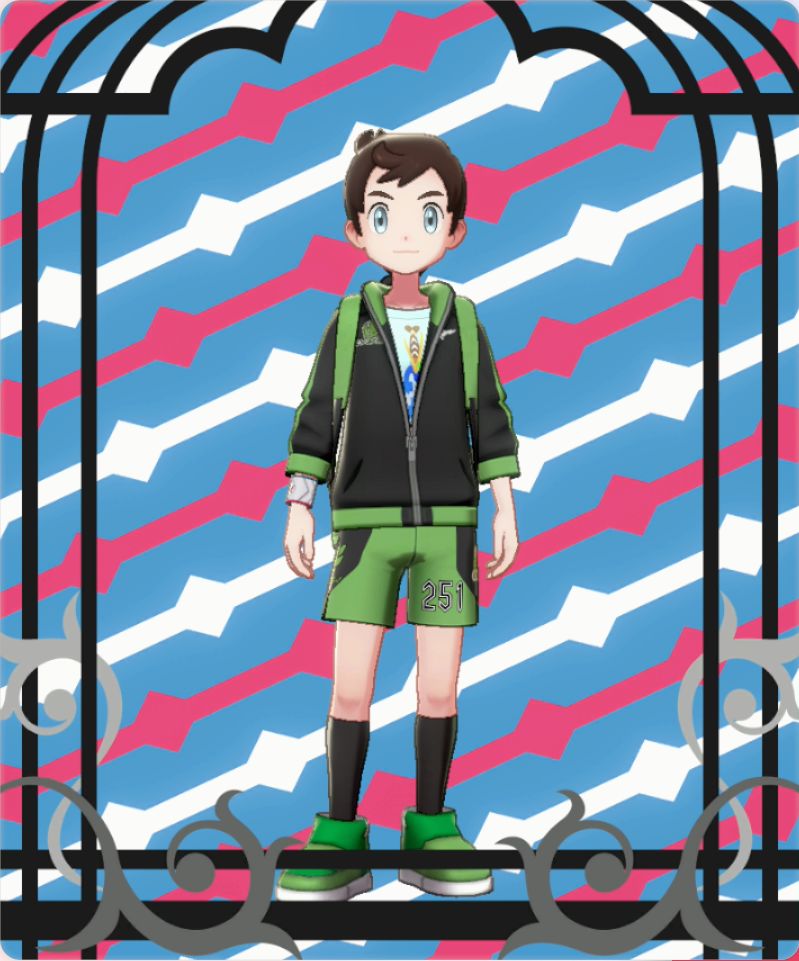
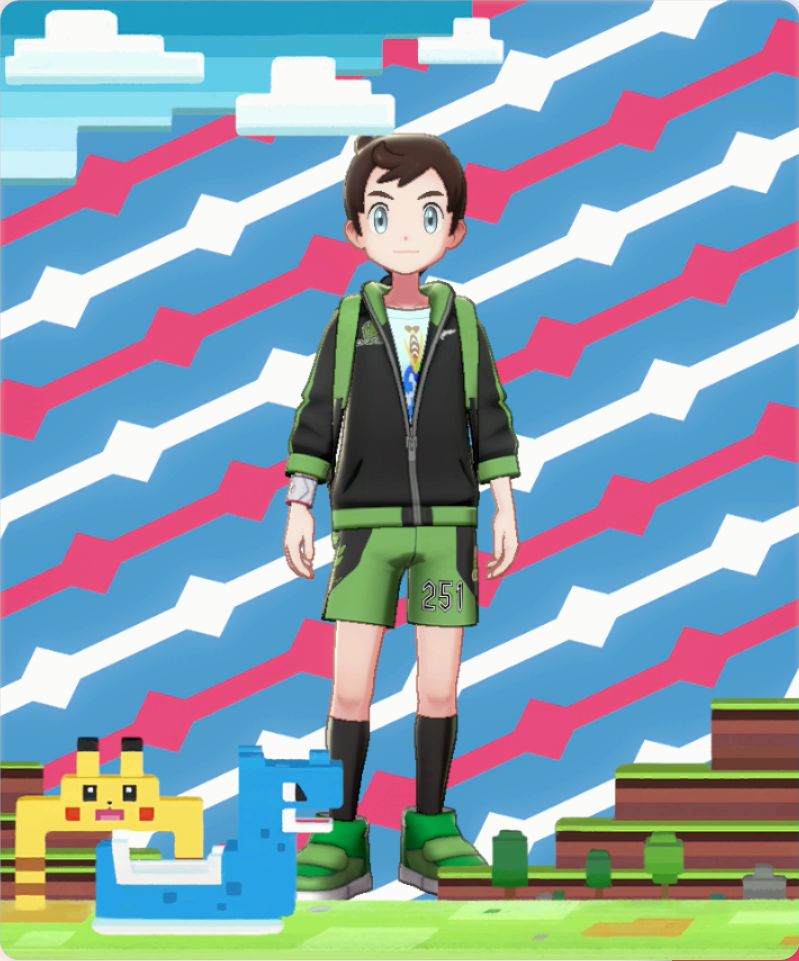
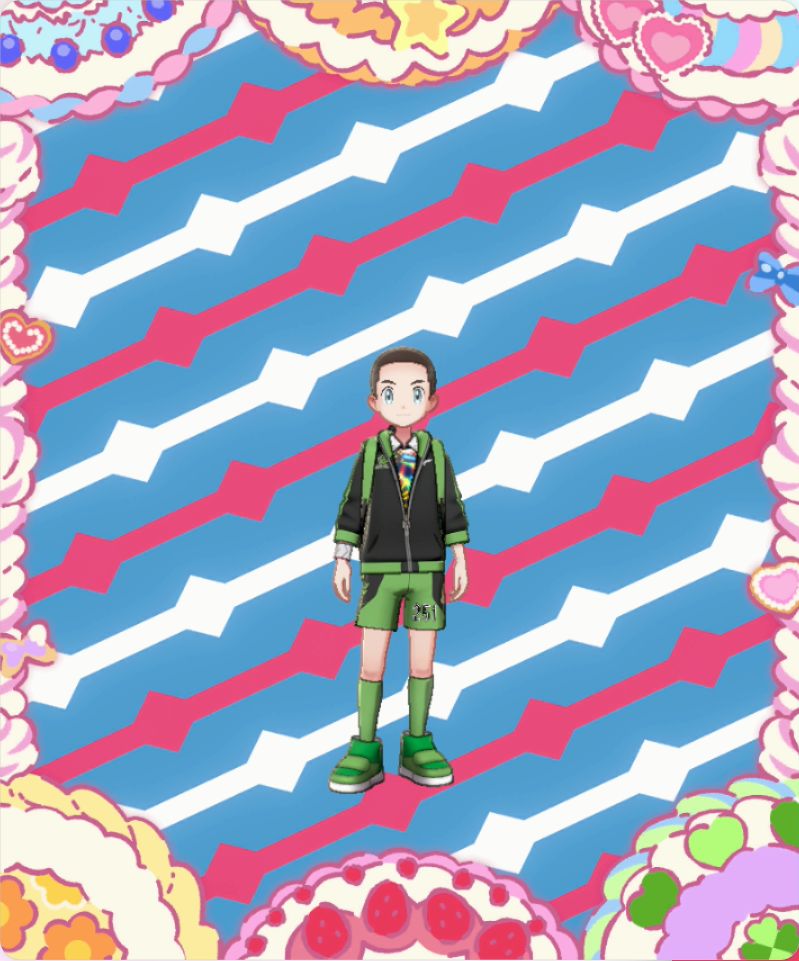
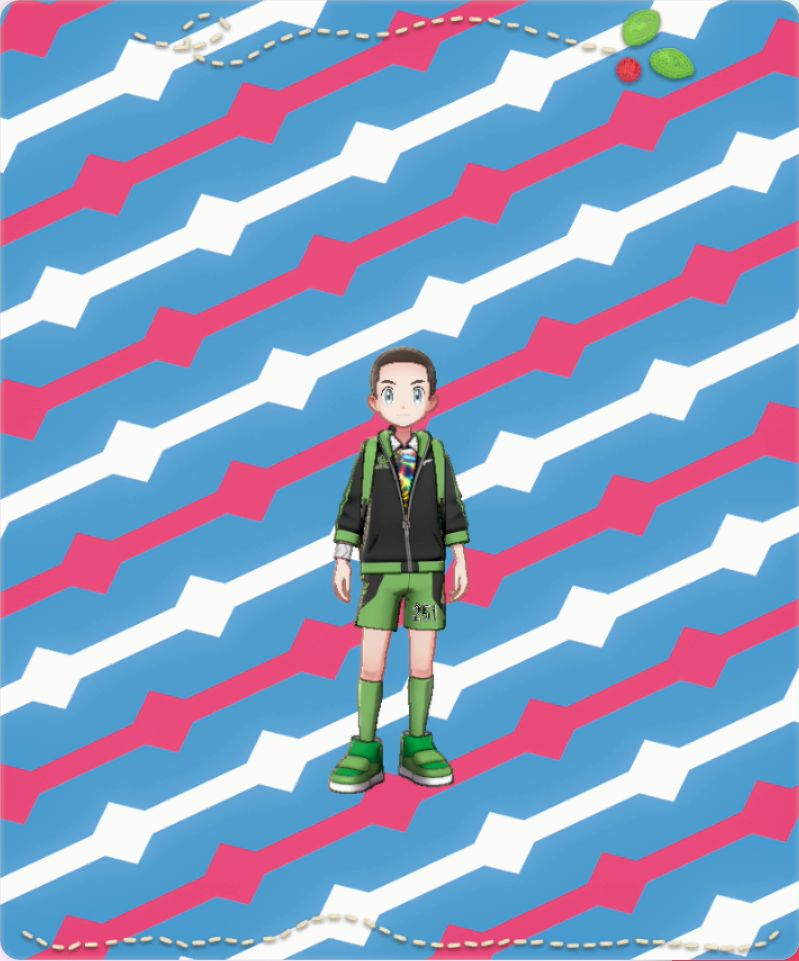
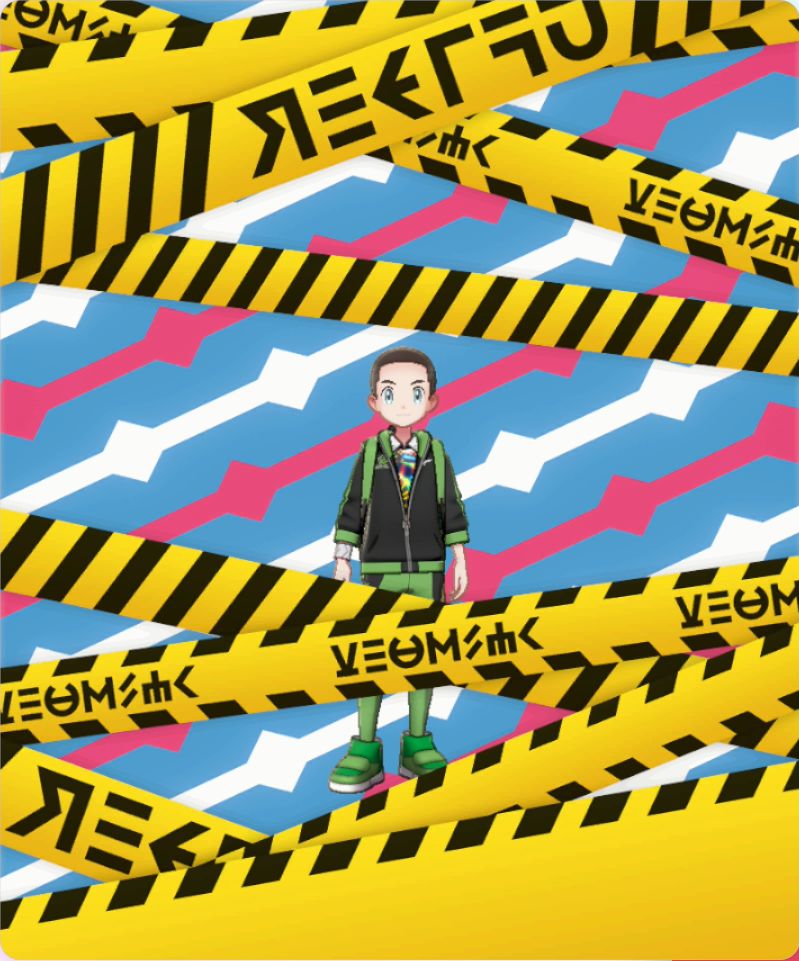
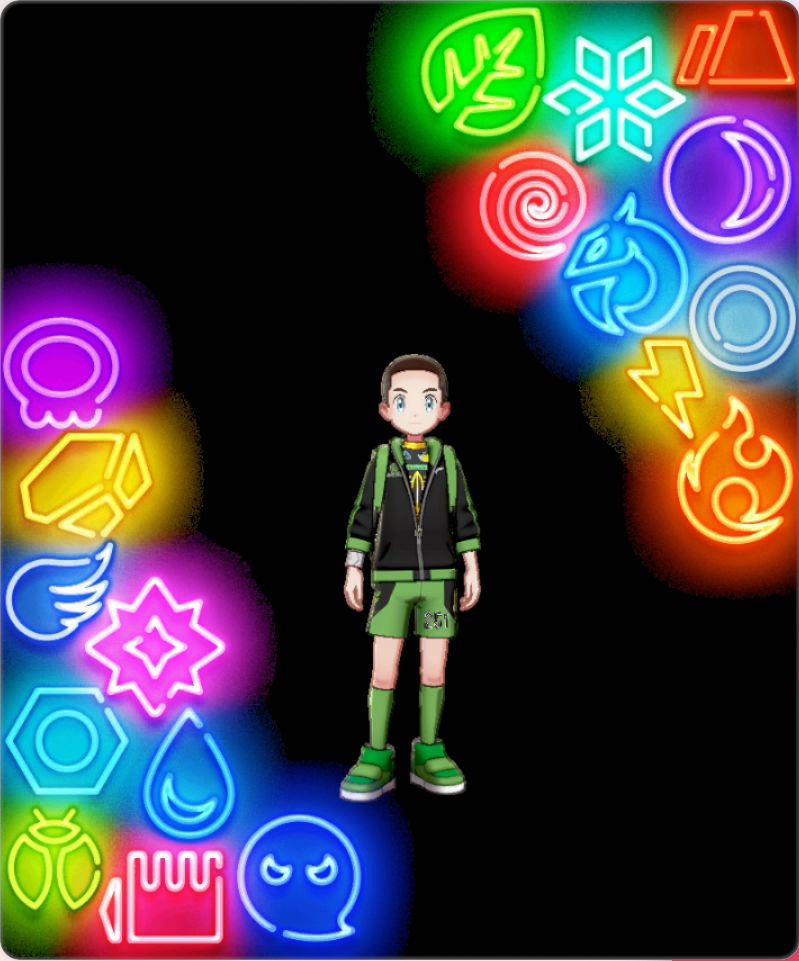
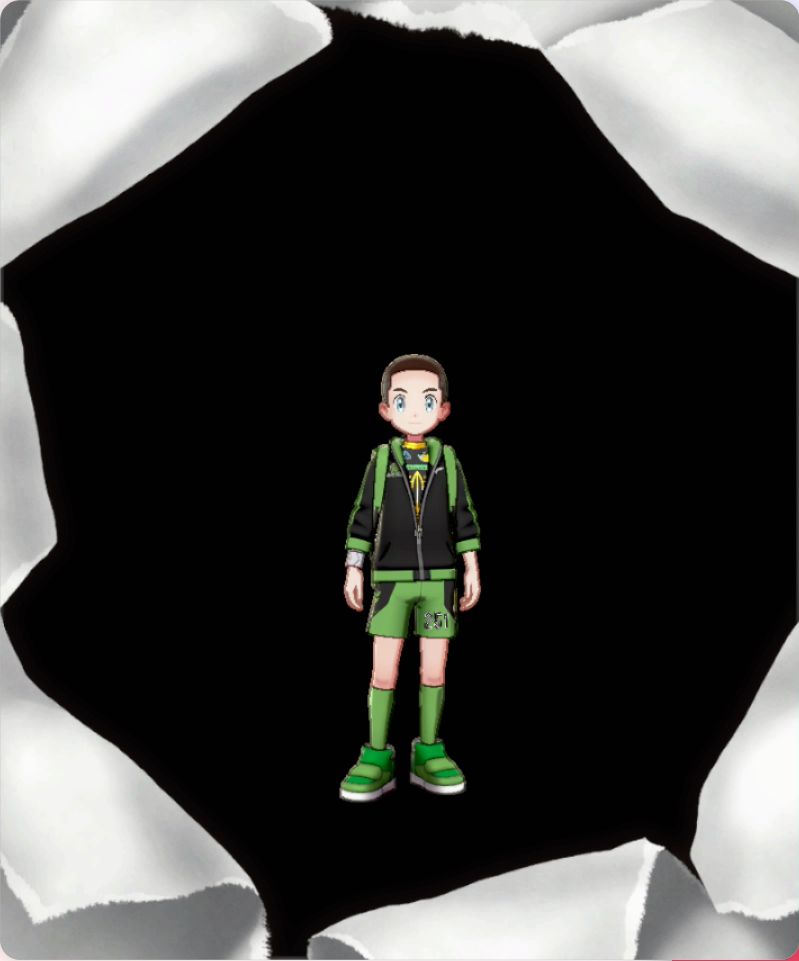
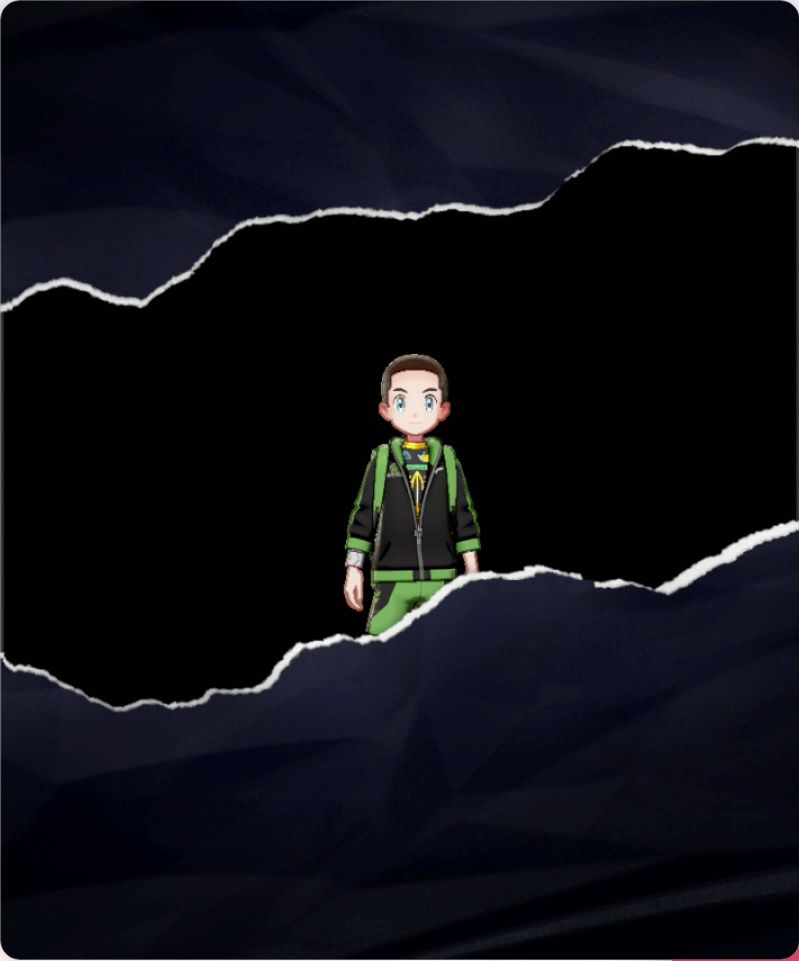
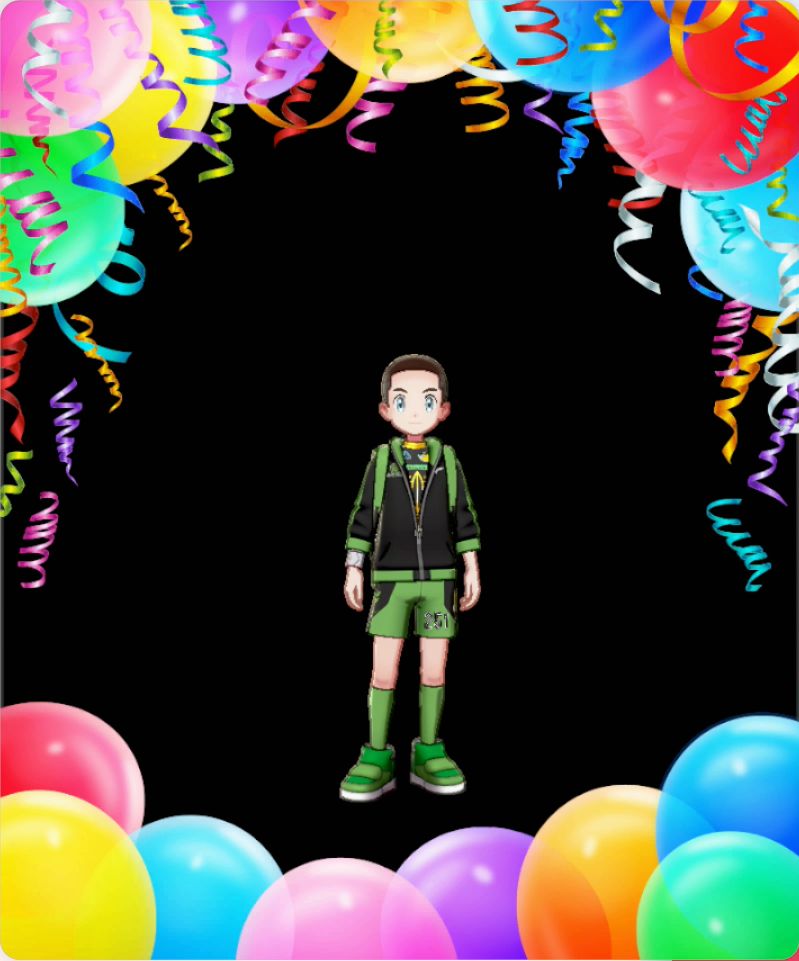
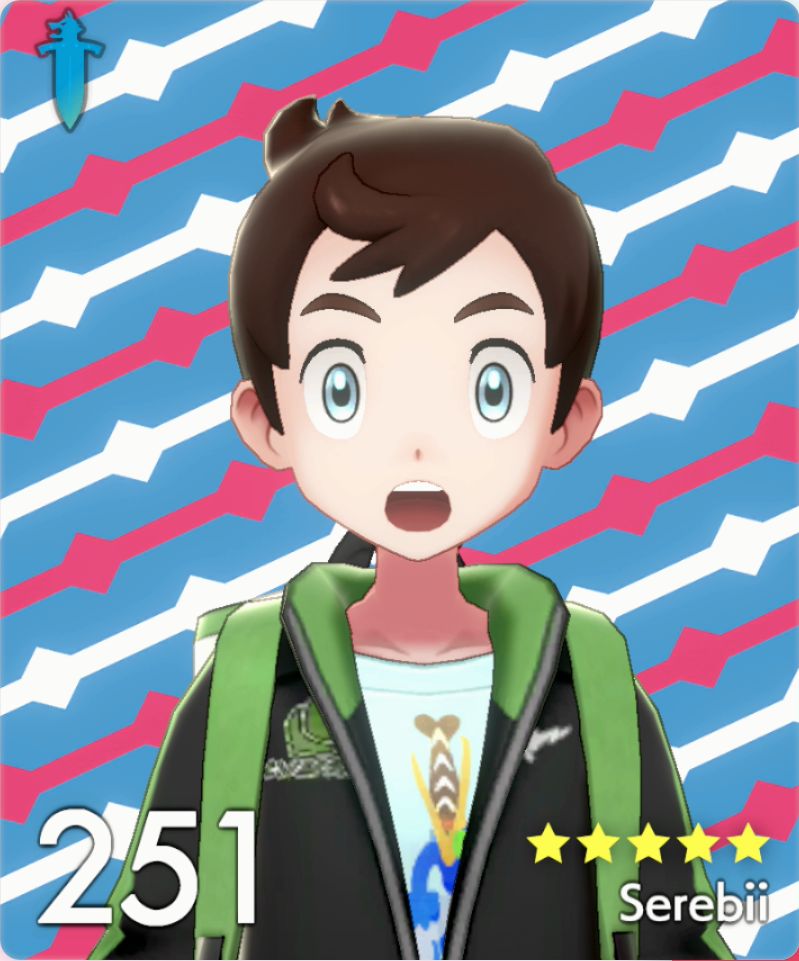
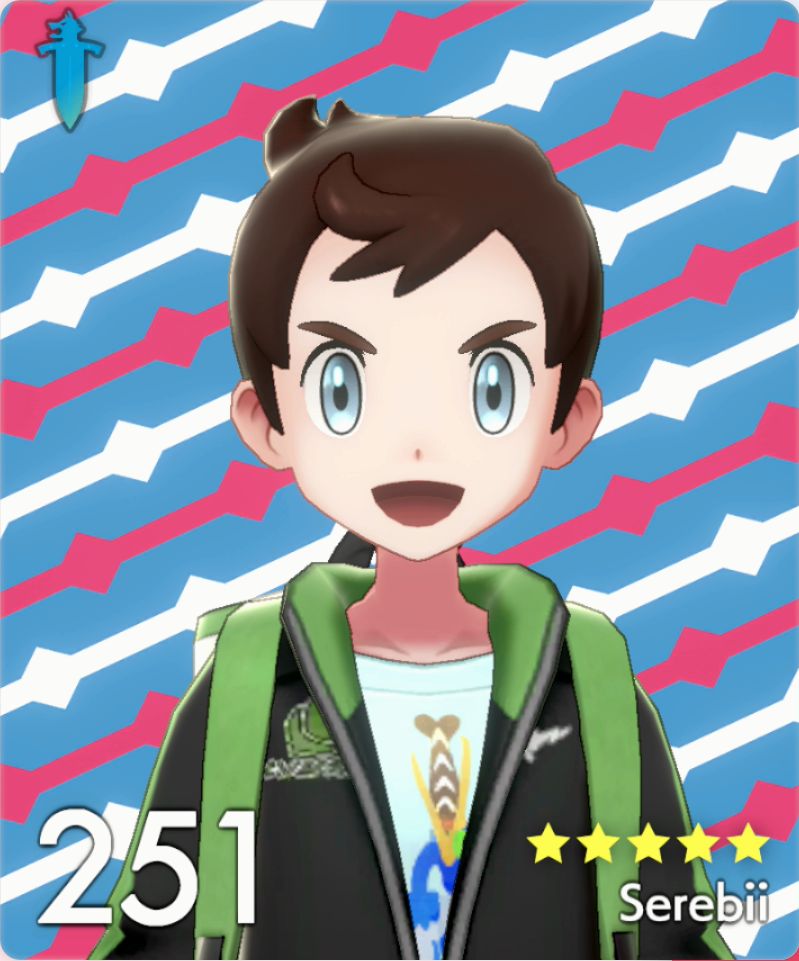
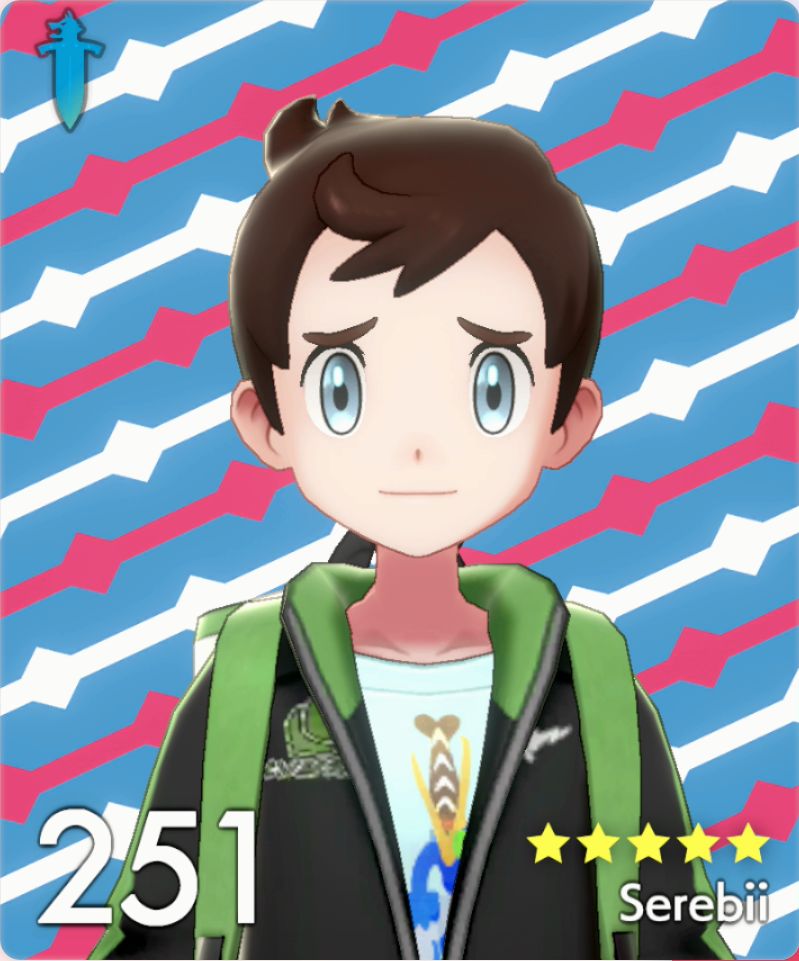
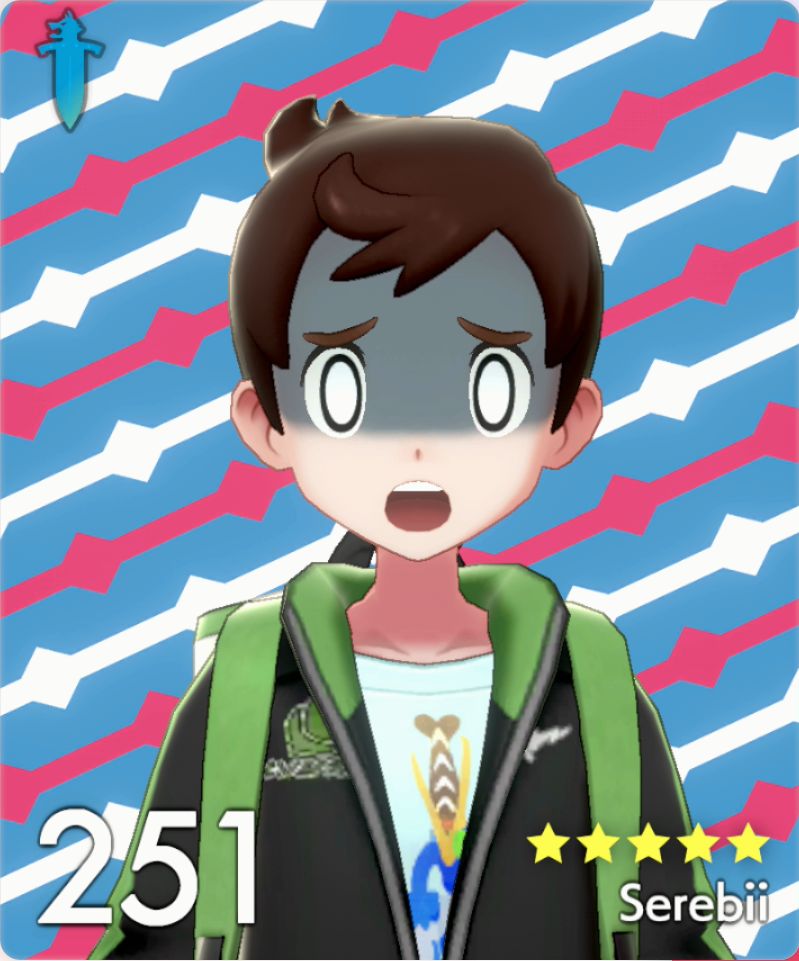
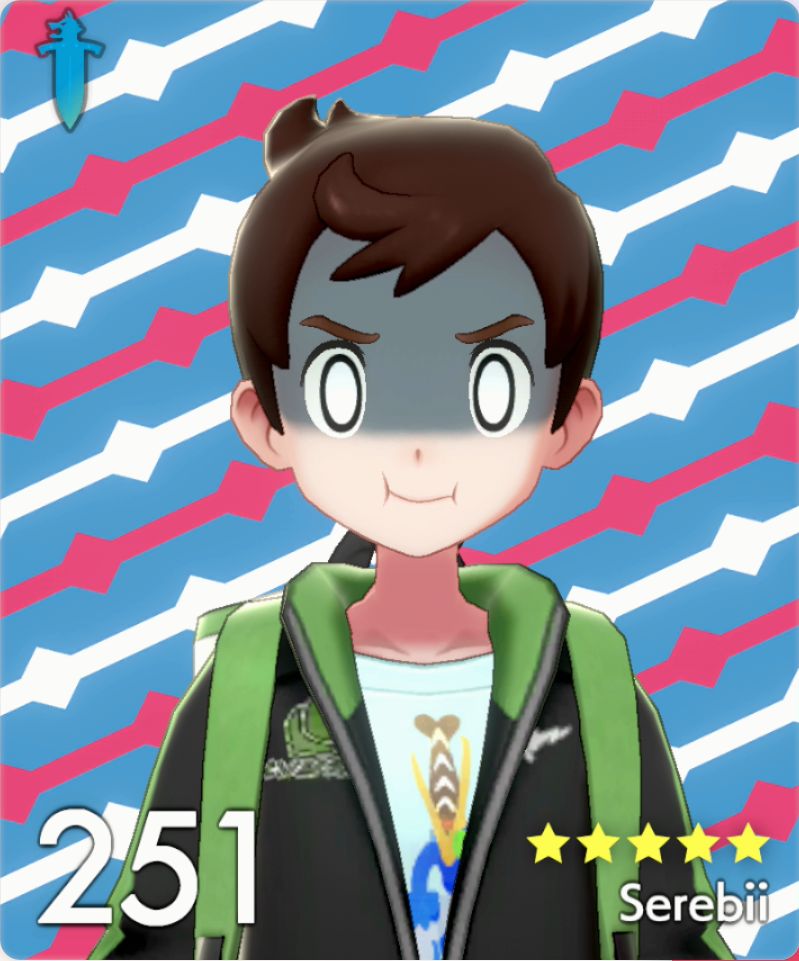
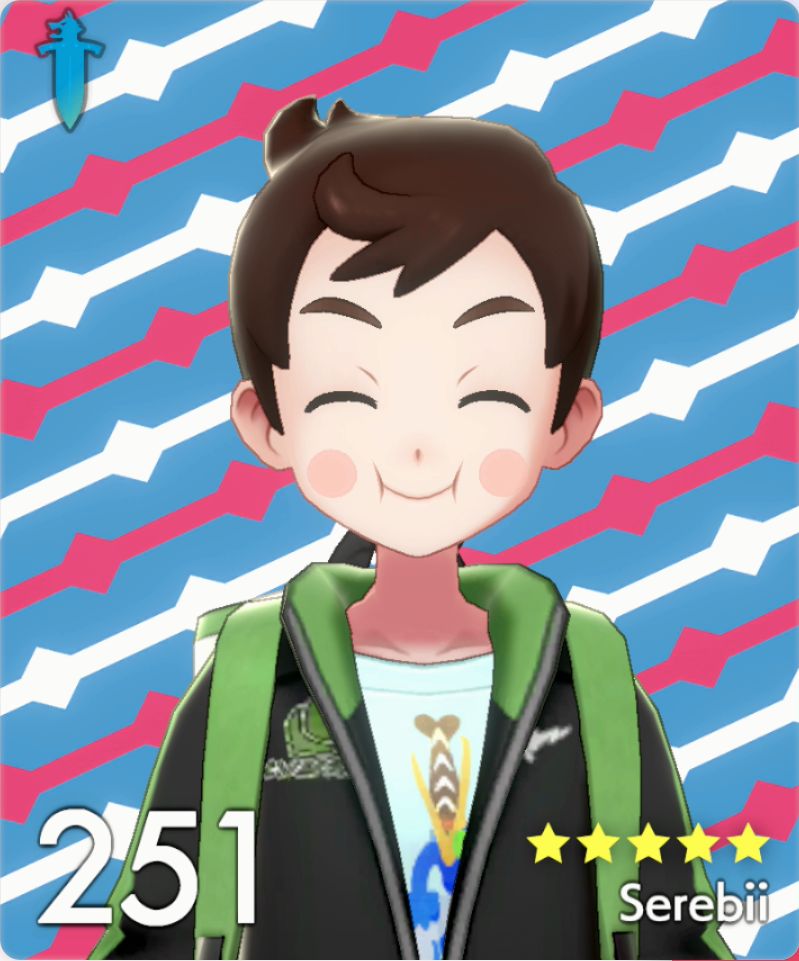
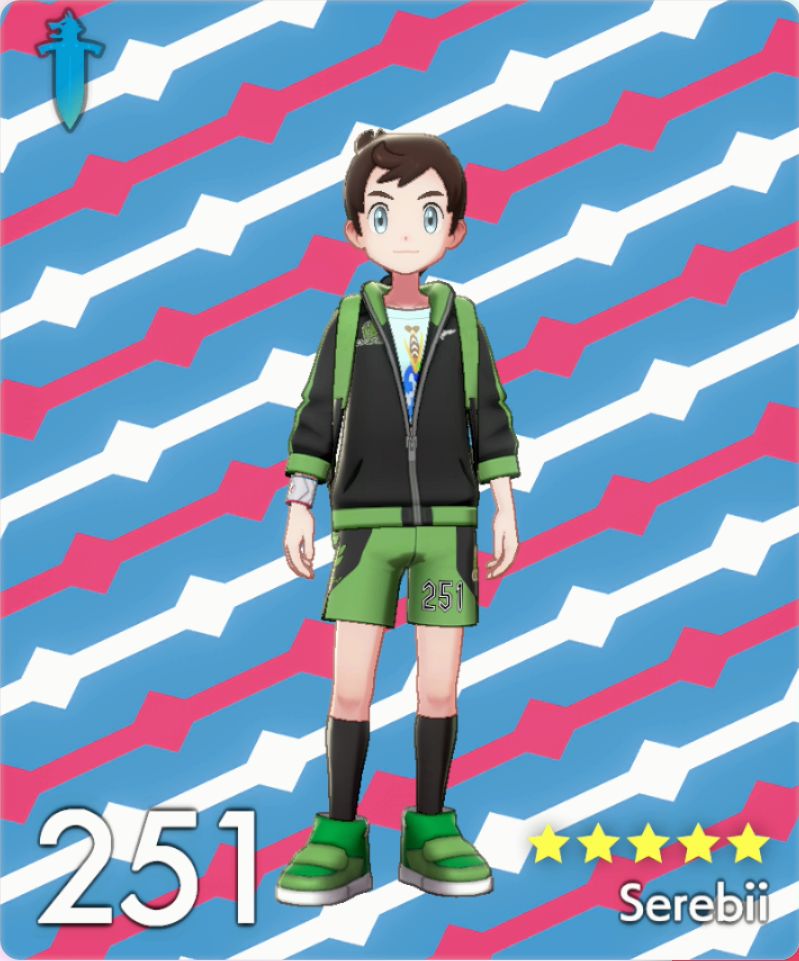
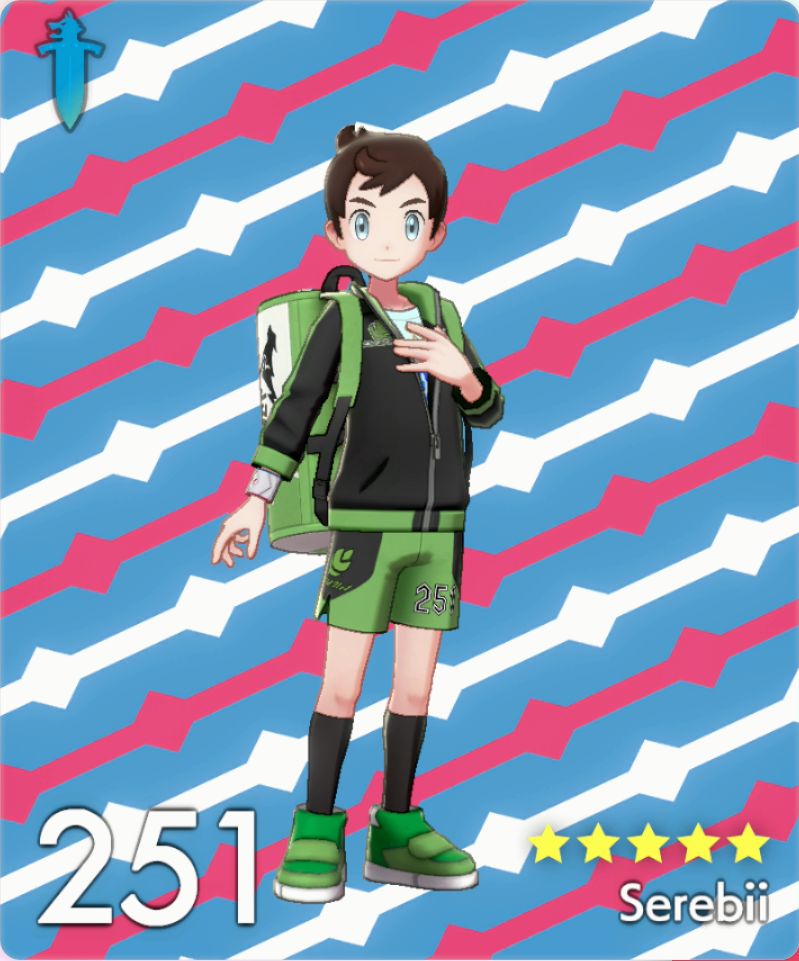
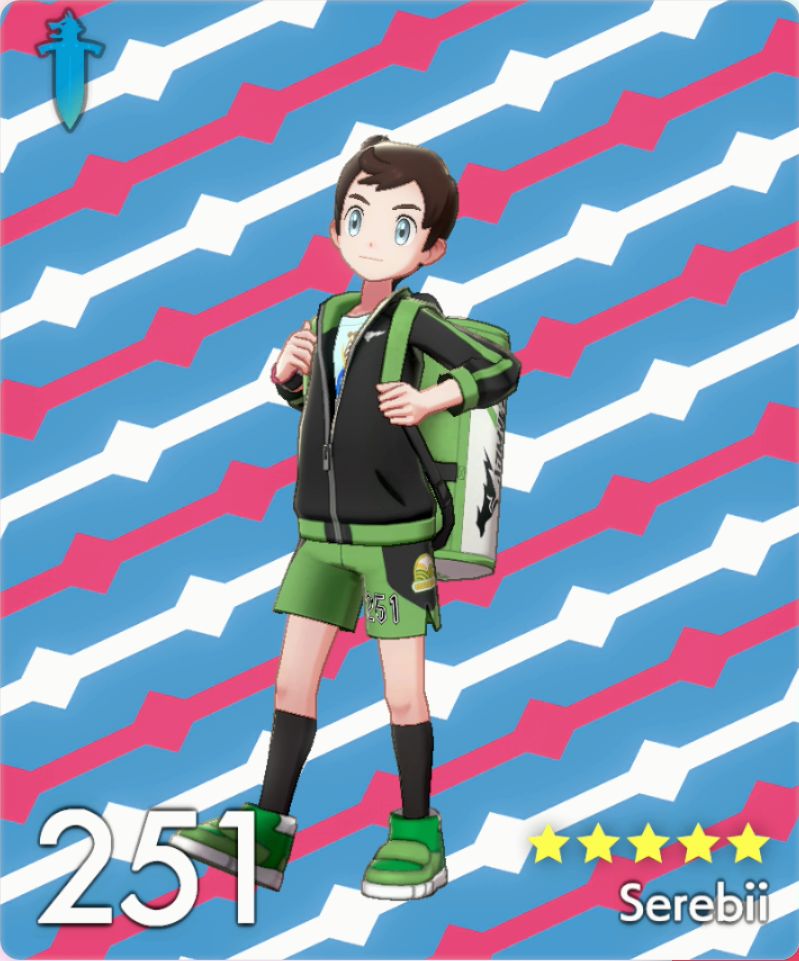
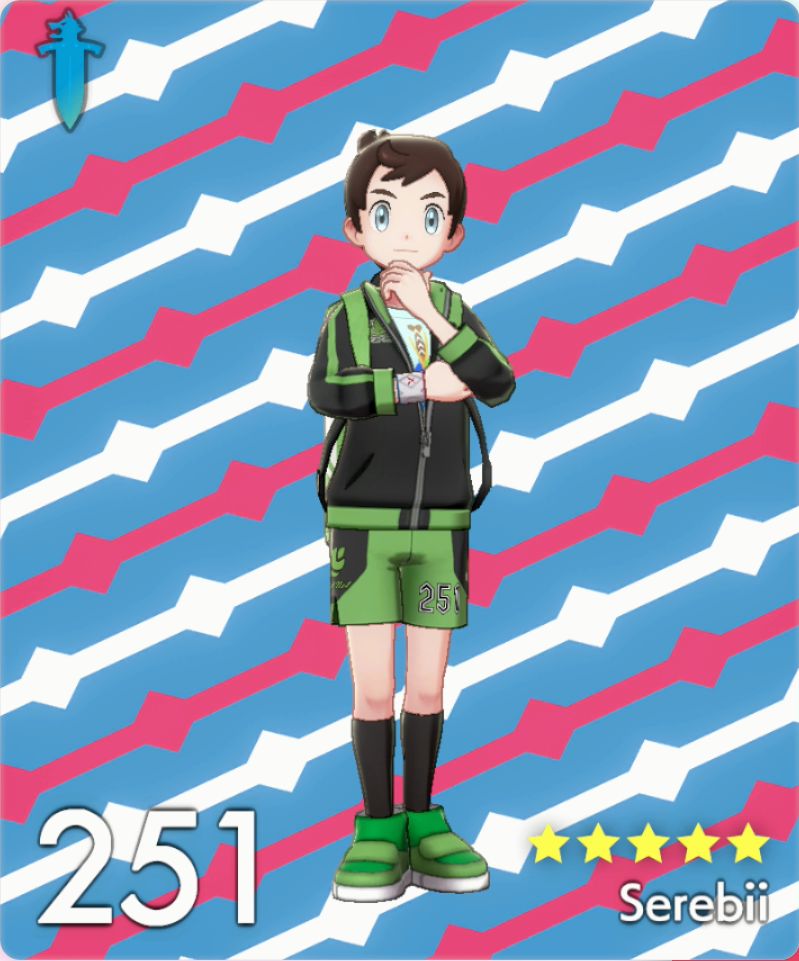
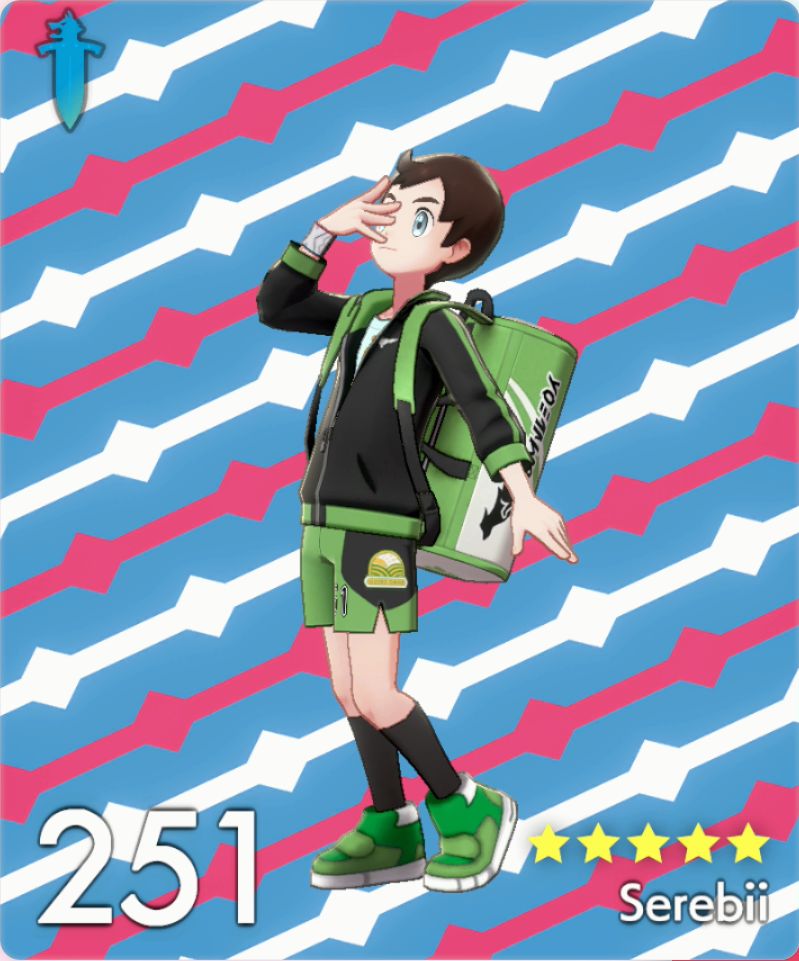
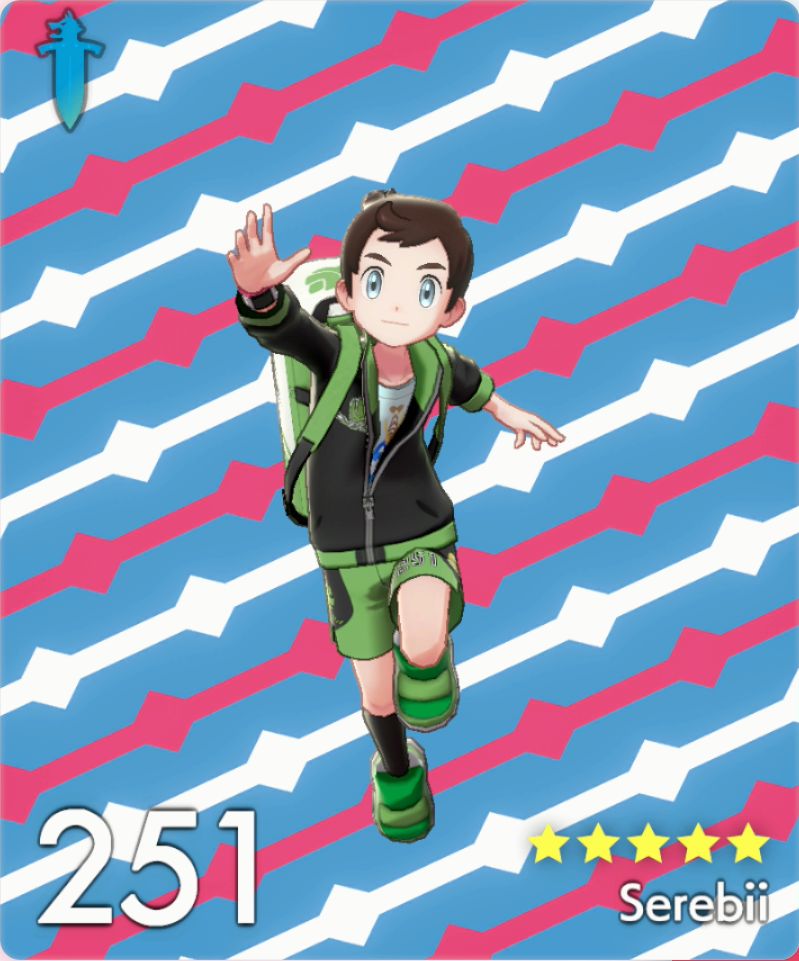
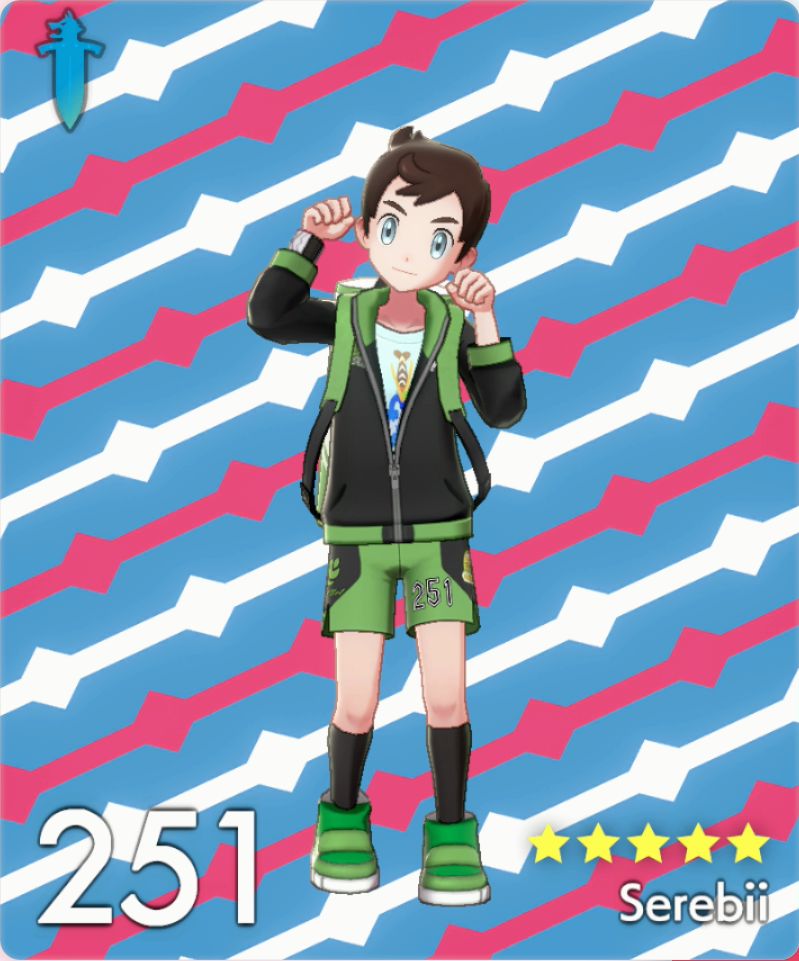
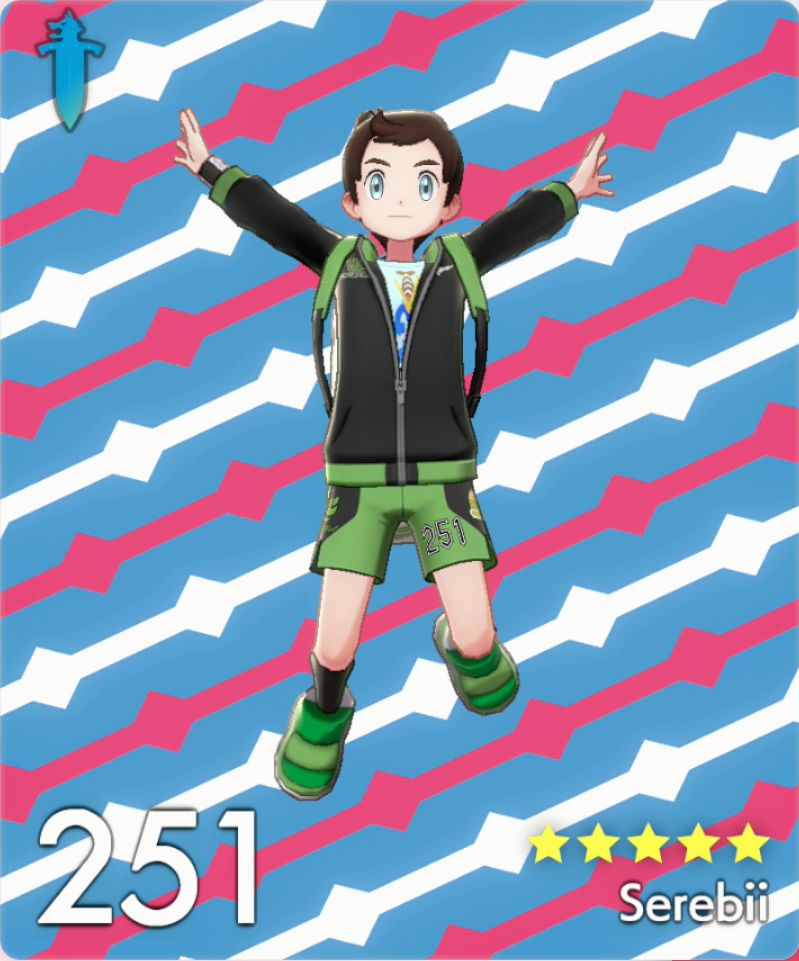
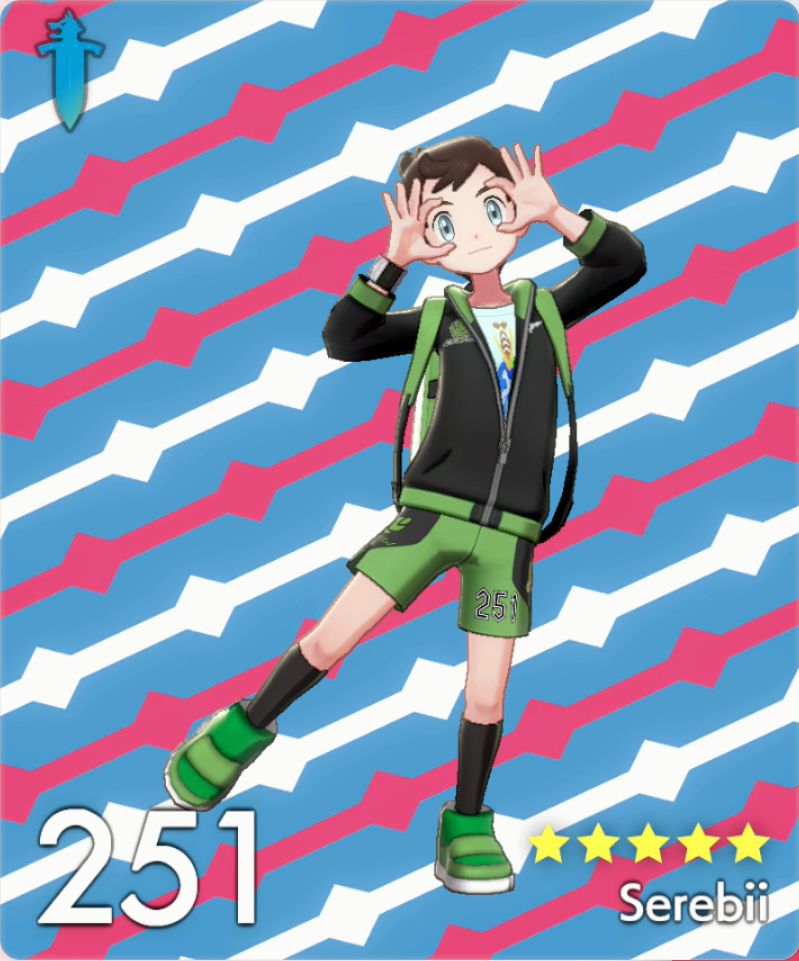
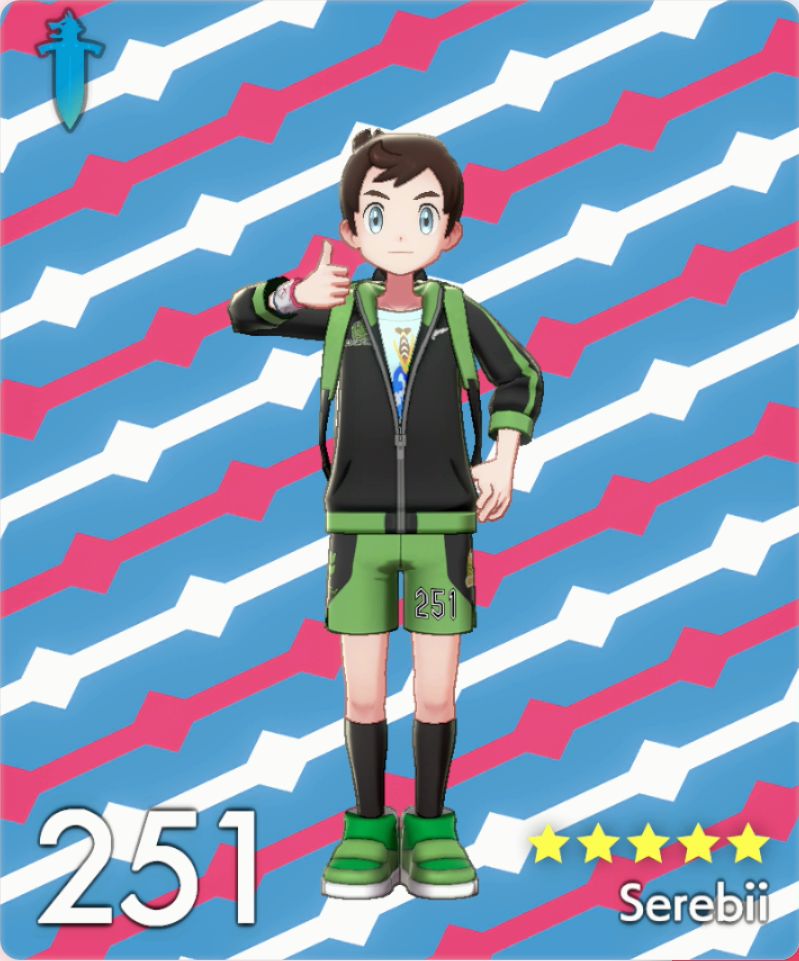
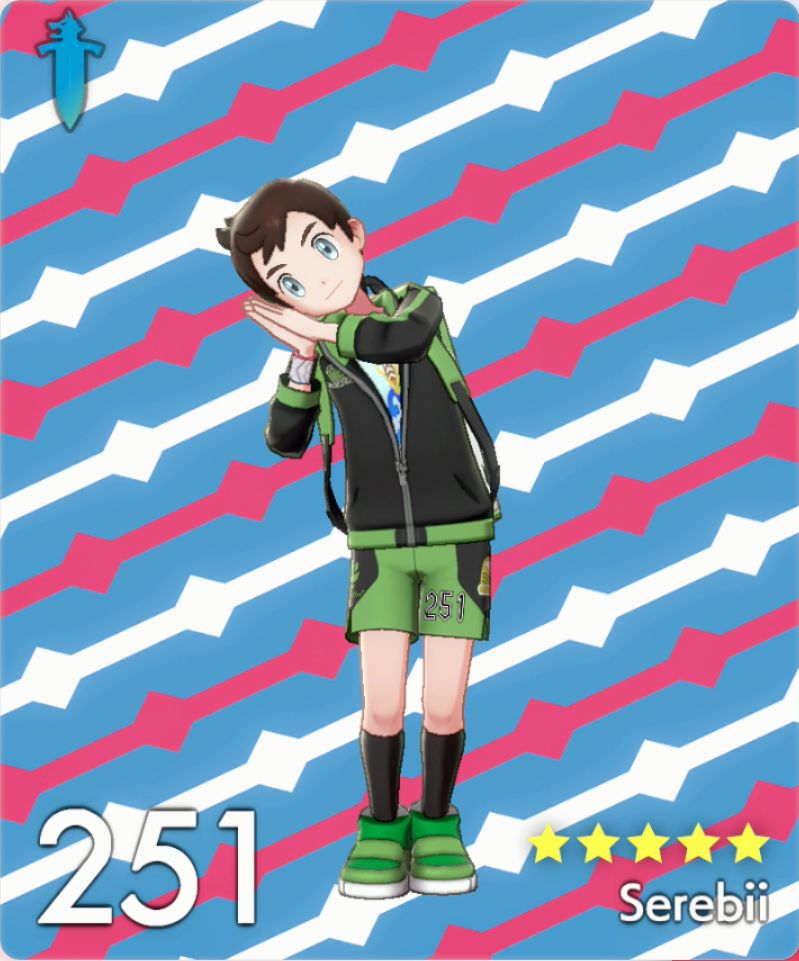
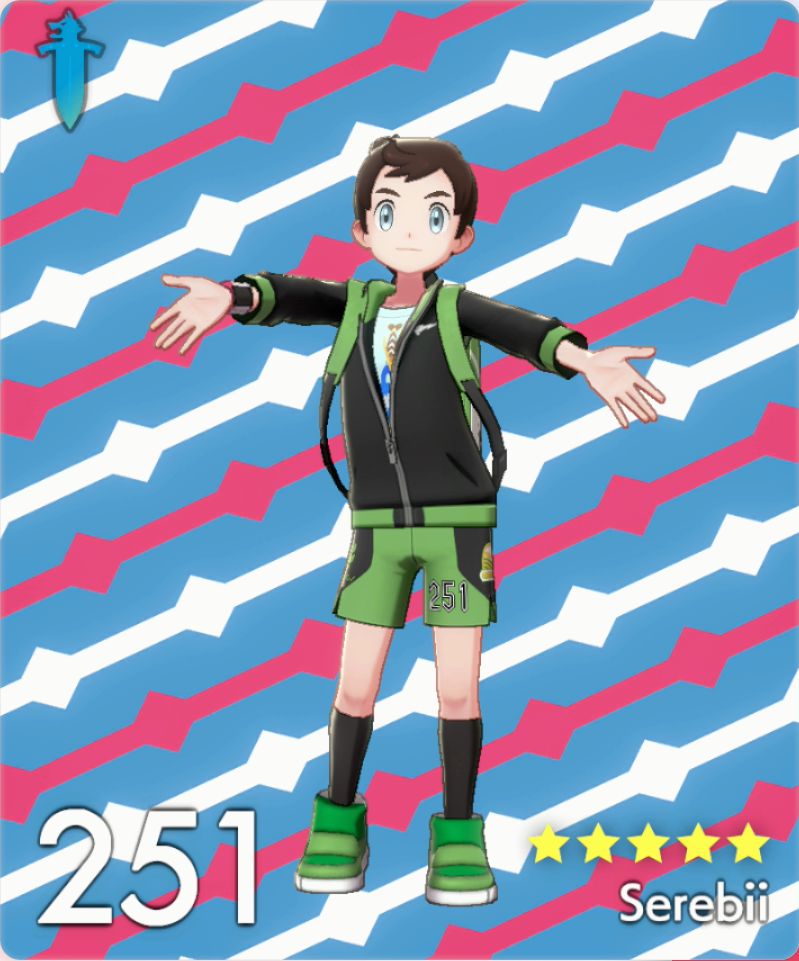
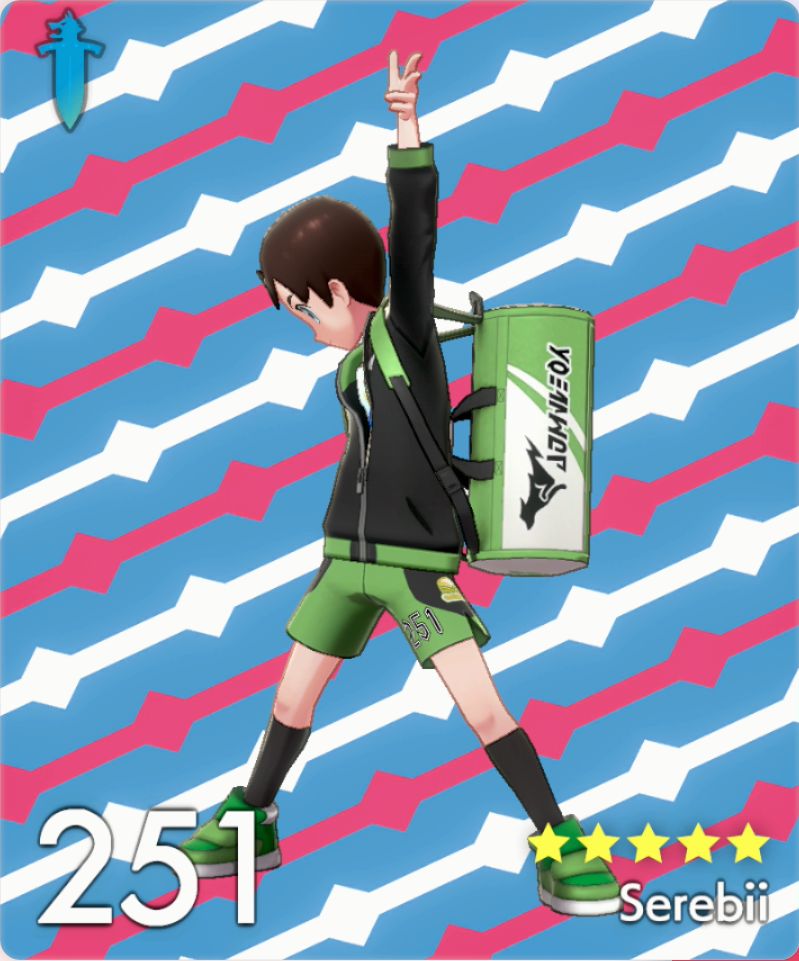
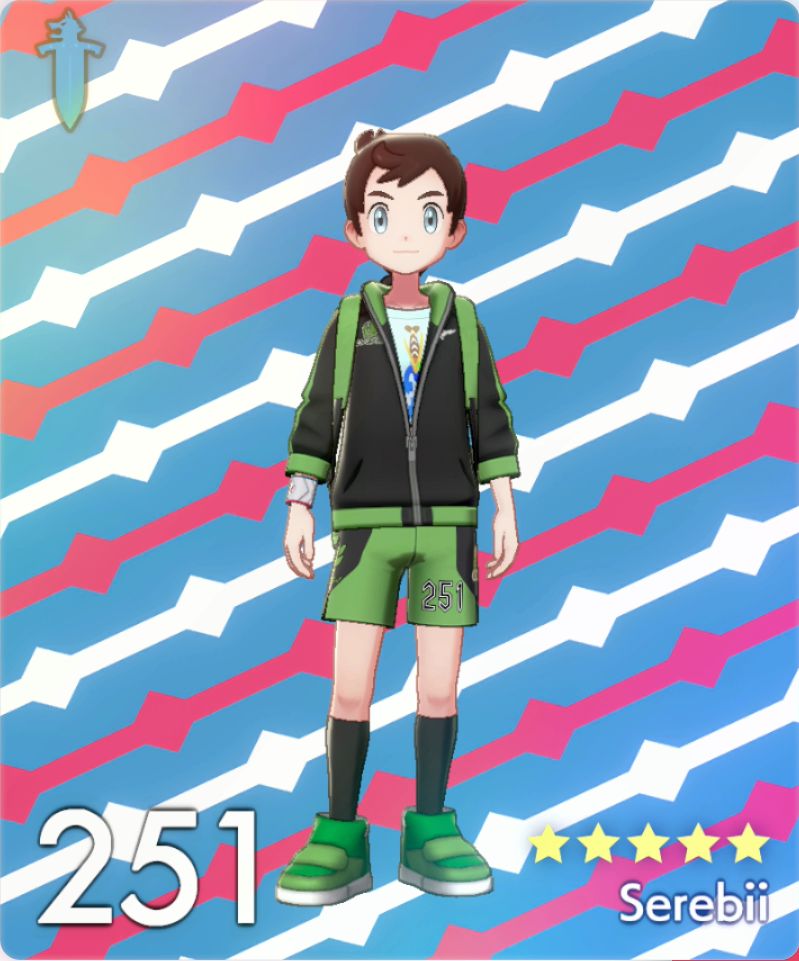
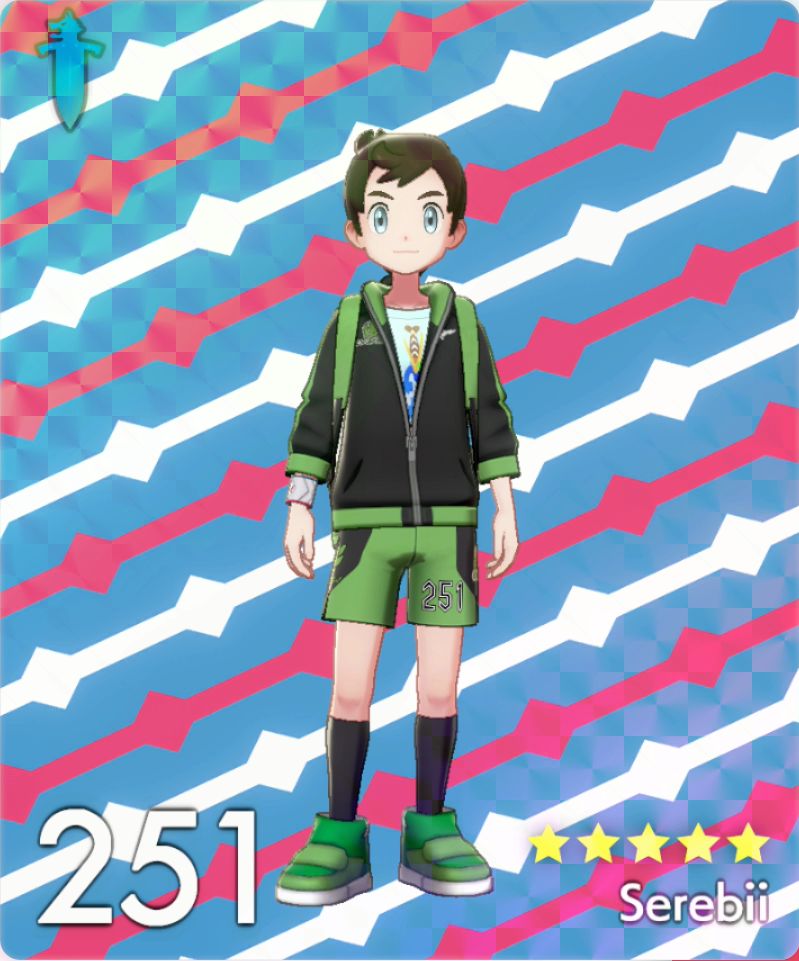
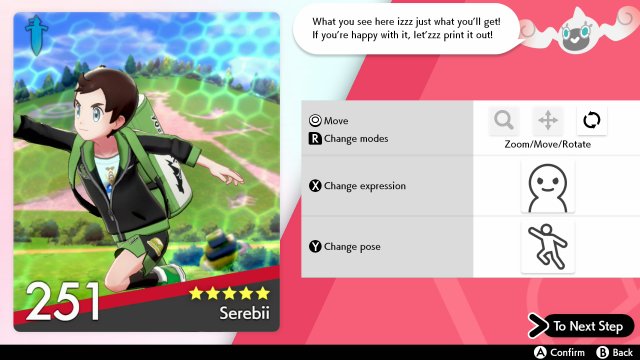
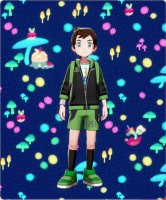
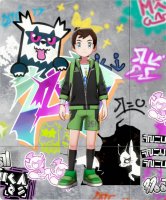
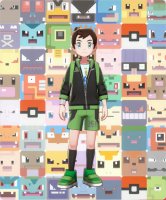
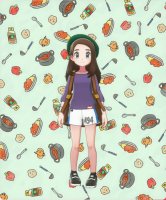
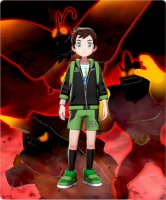
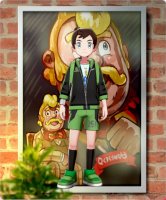
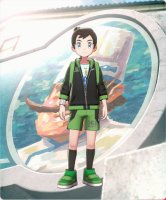
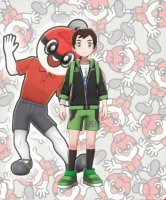
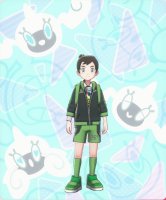
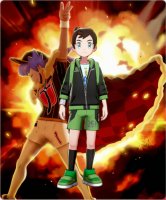
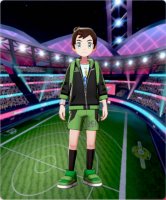
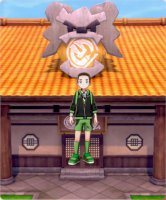
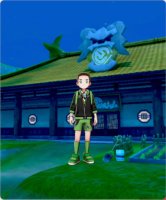
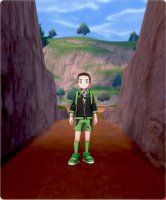
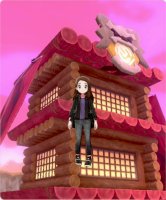
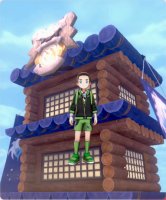
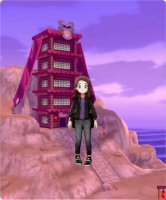
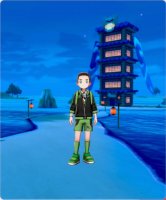
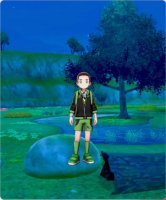
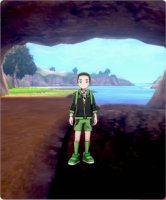
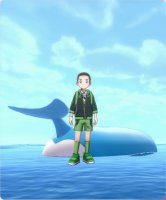
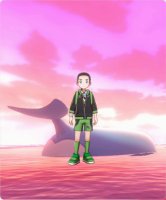
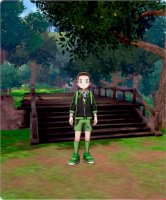
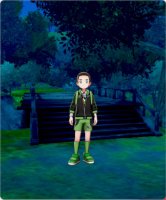
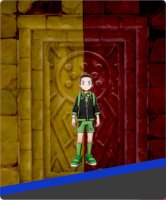
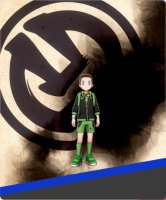
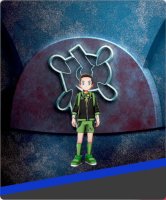
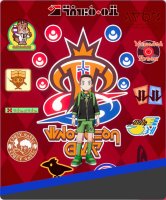
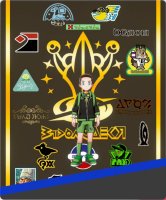
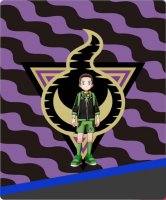
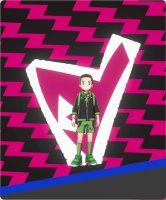
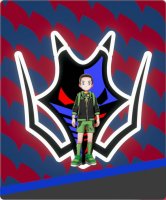
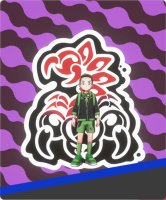
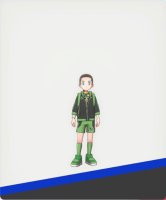
The League Cards can be customised in various ways. You can customise the frame of the card, alter your character's pose and position and put in effects of to add to the image These effects unlock over time or when you have achieved certain tasks
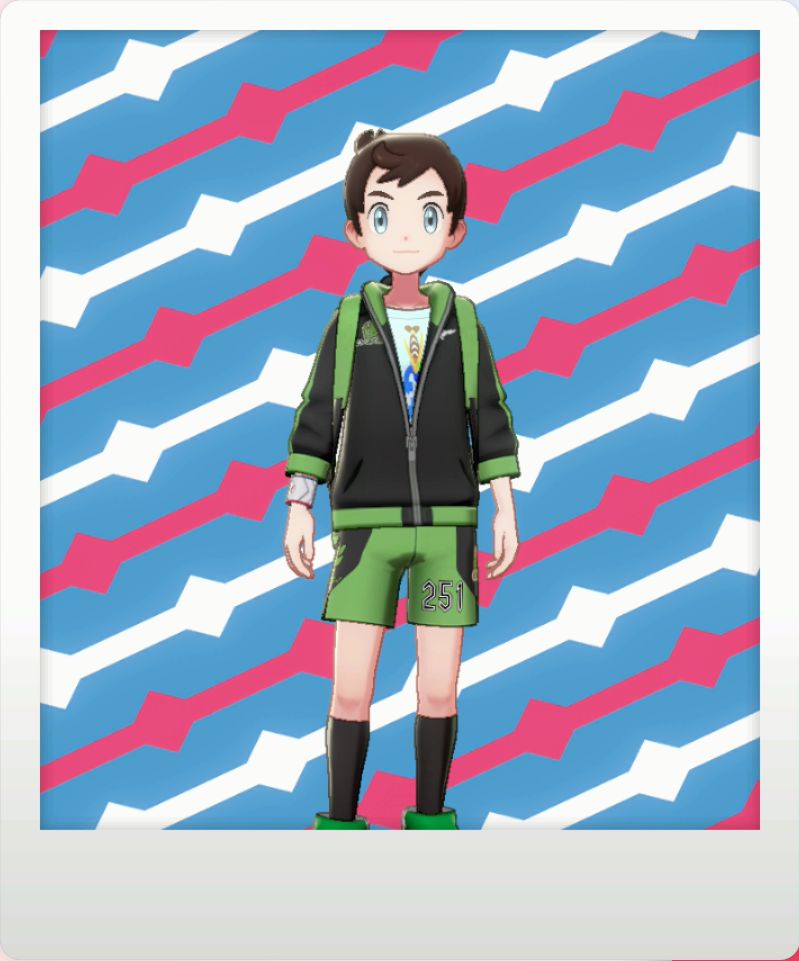
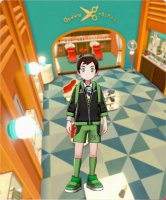
League Cards can be created at the Rotomi PC in every Pokťmon Center and they can be updated every time you alter the character's look.
|
 |
| Picture |
Name |
Method |
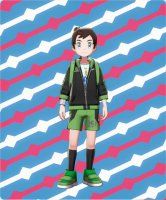 |
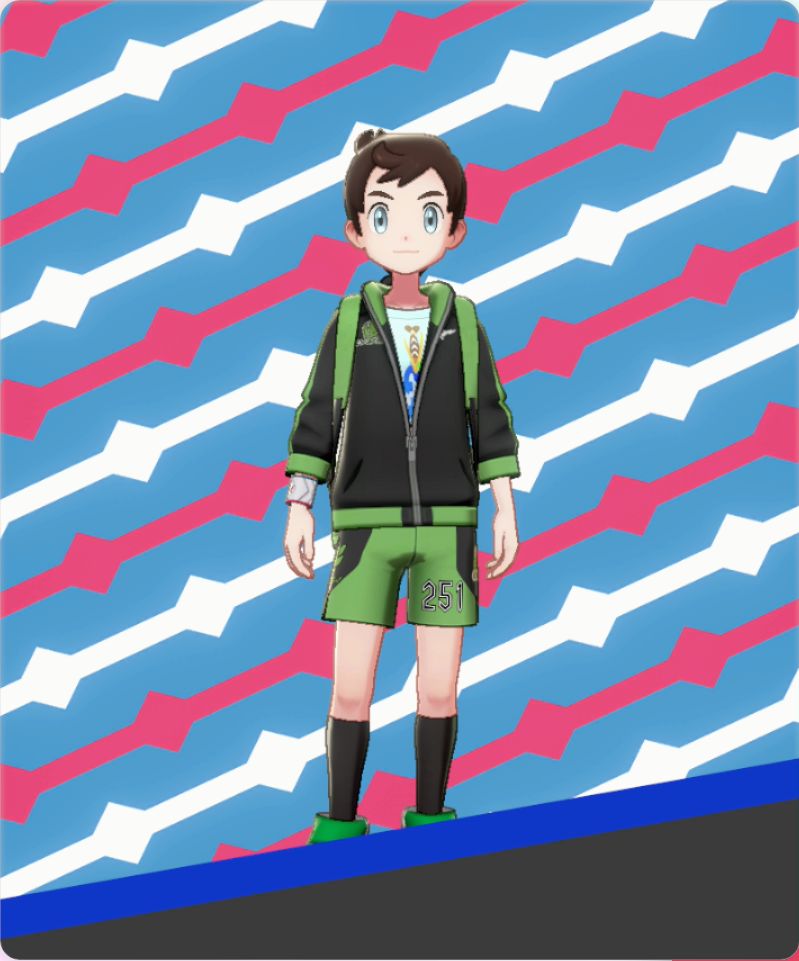
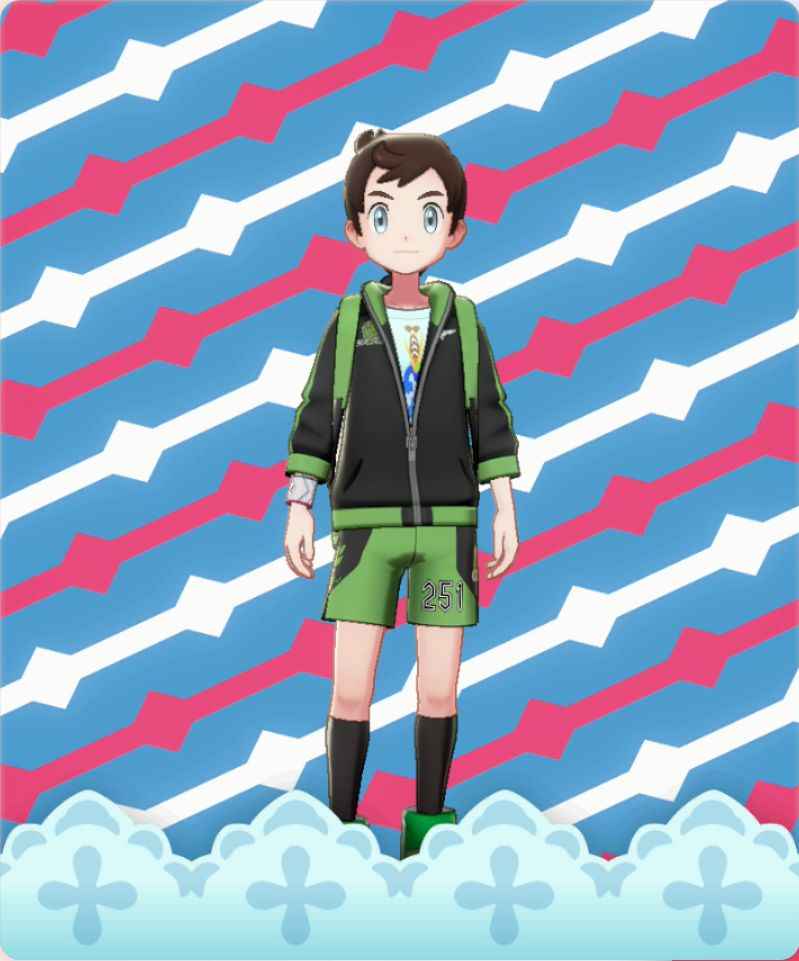
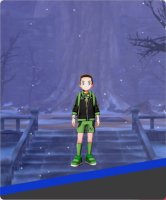
Blue Line |
Beginning |
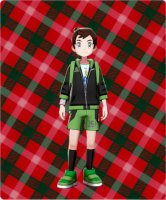 |
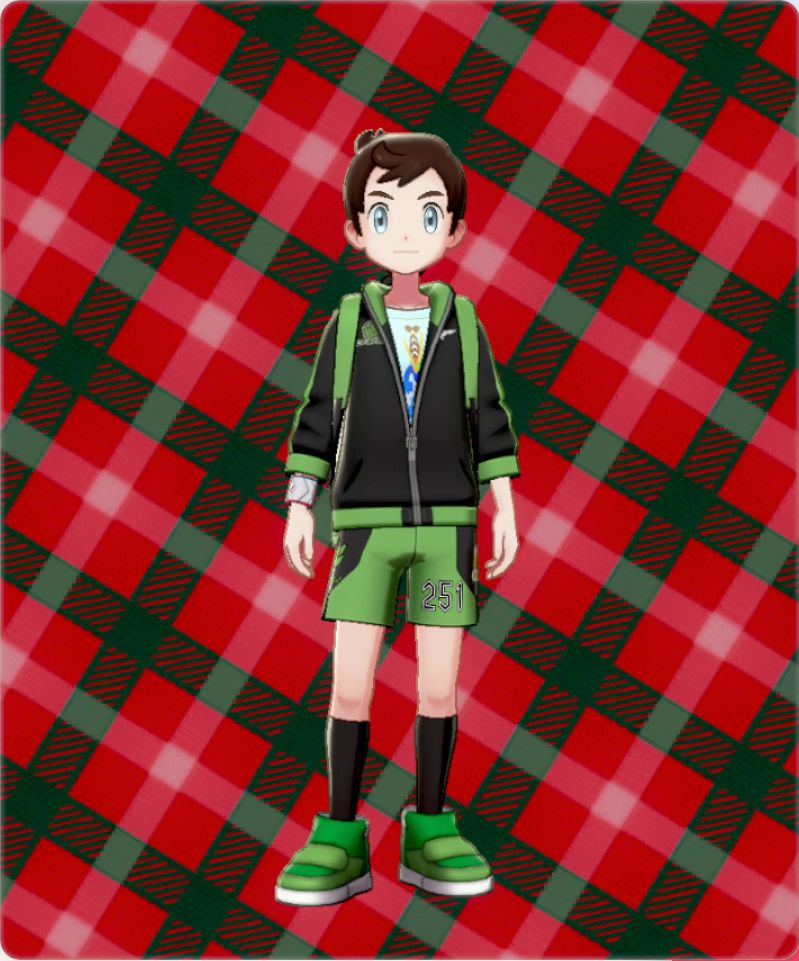
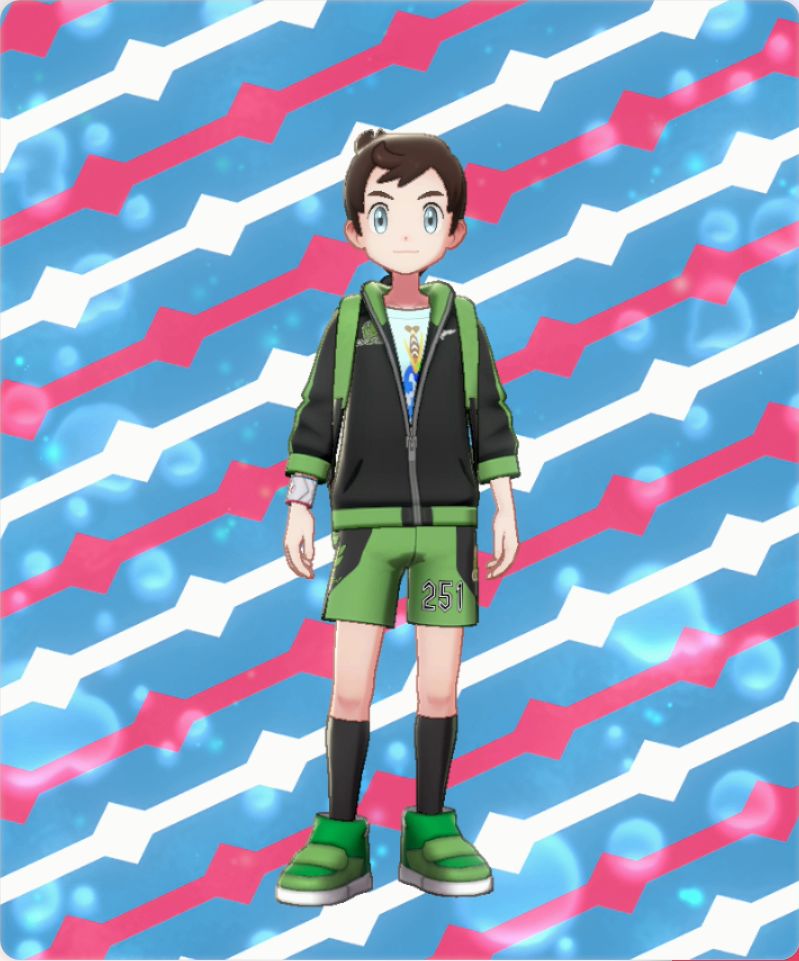
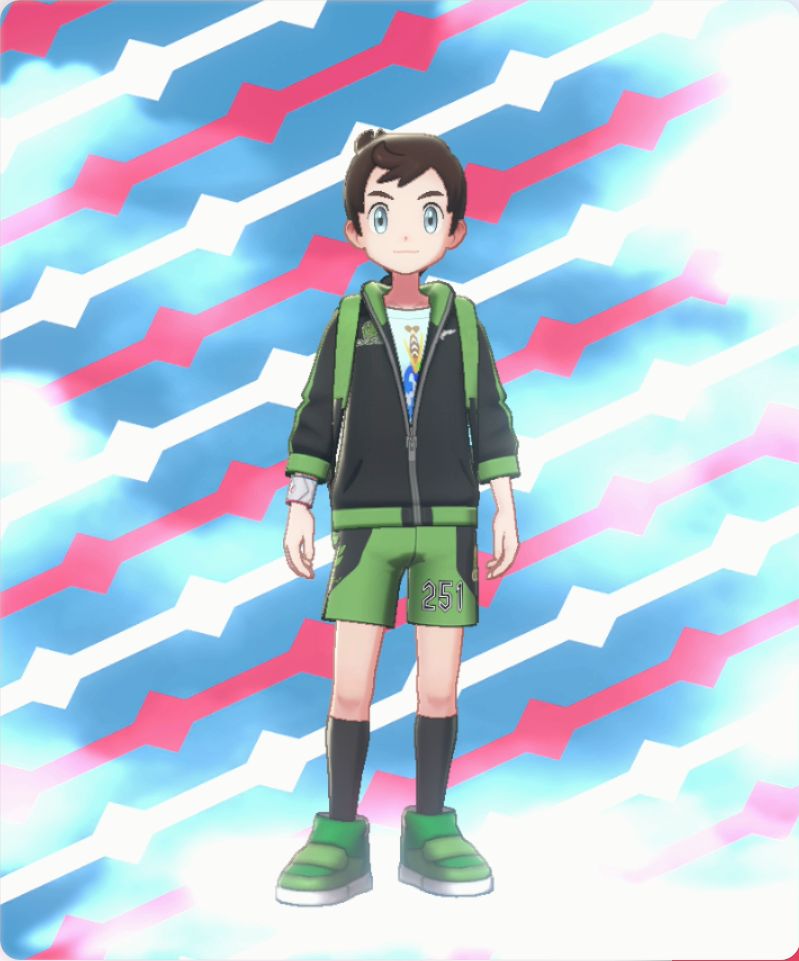
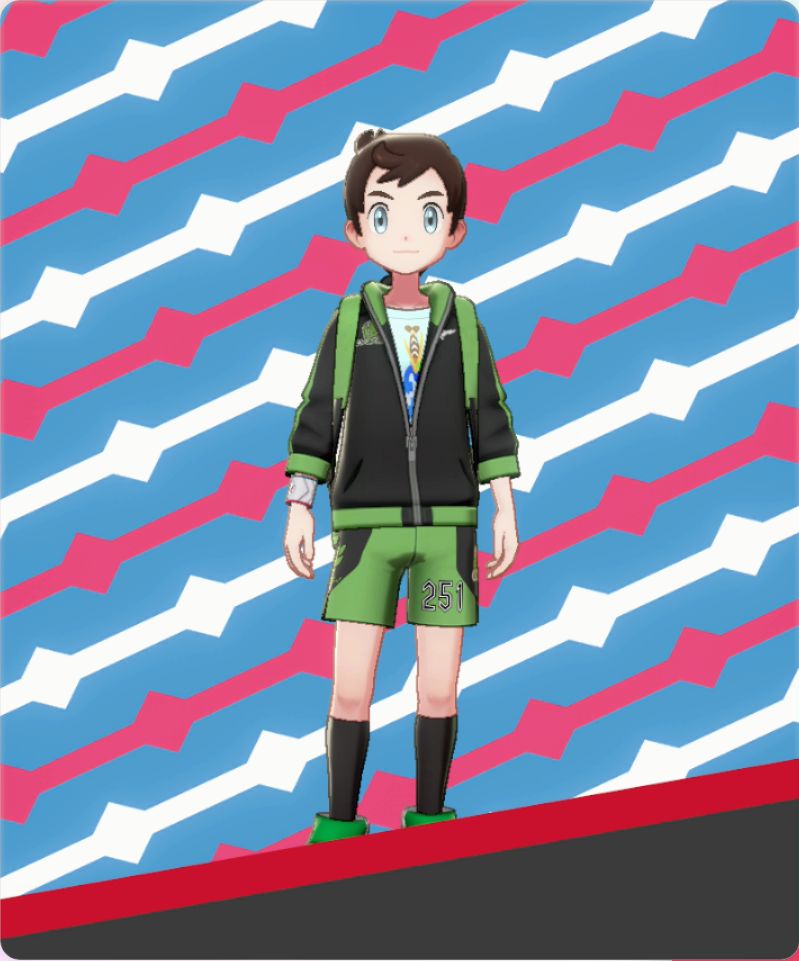
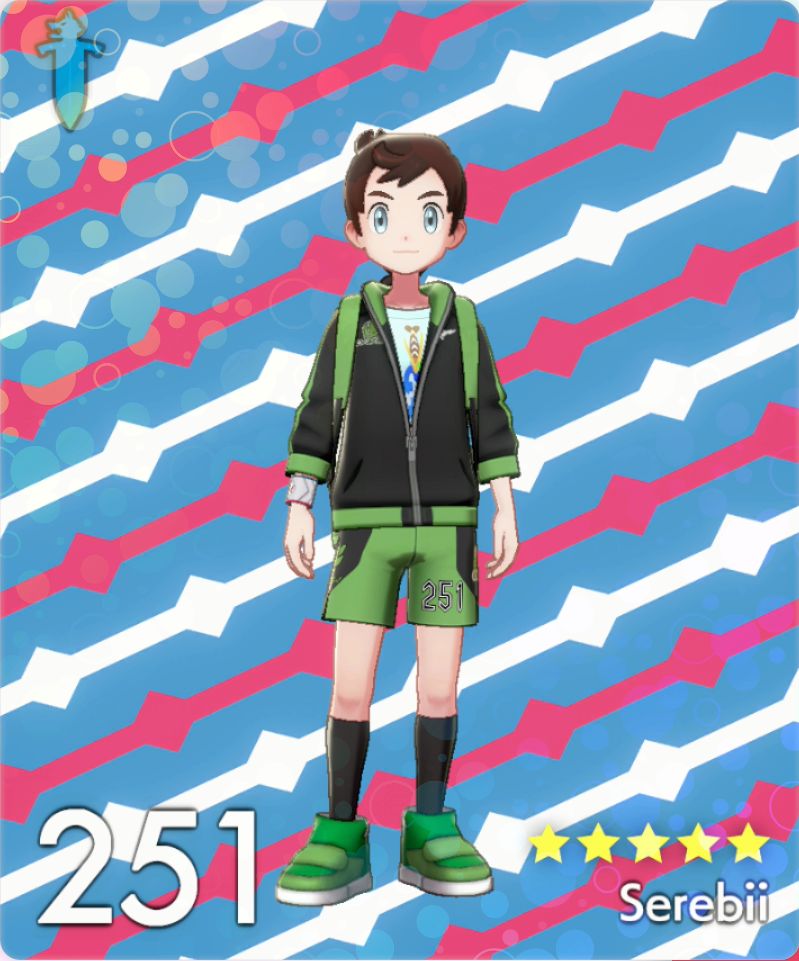
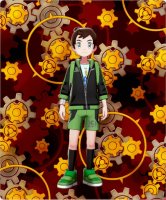
Red Plaid |
Beginning |
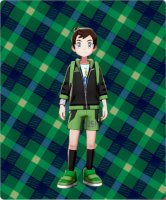 |
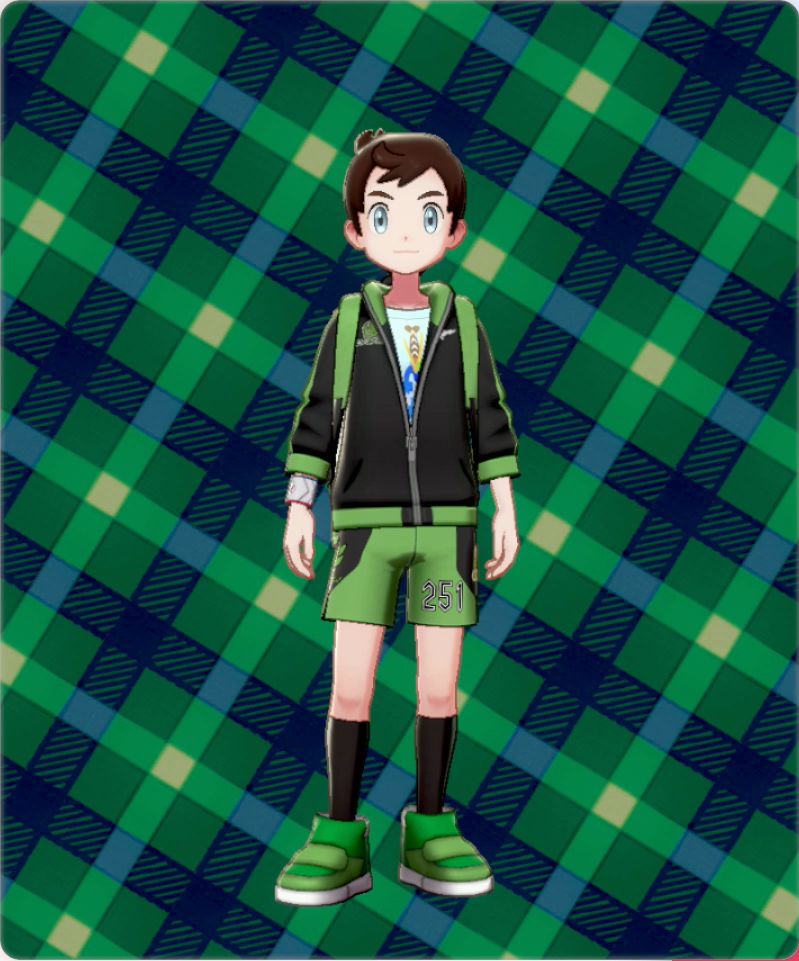
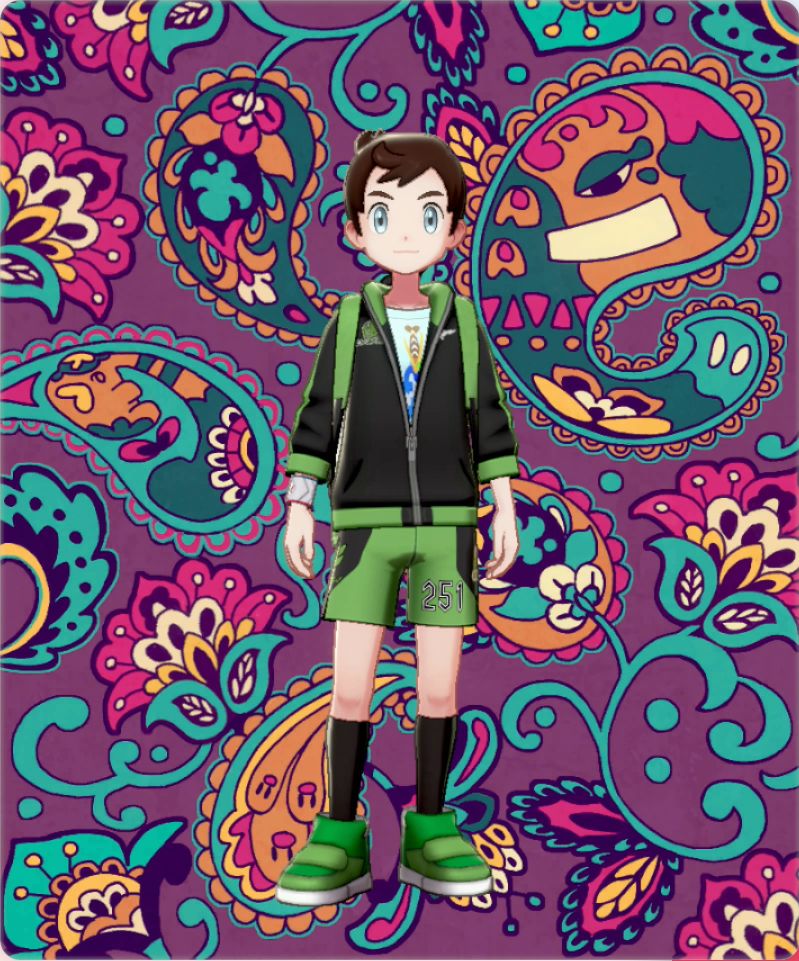
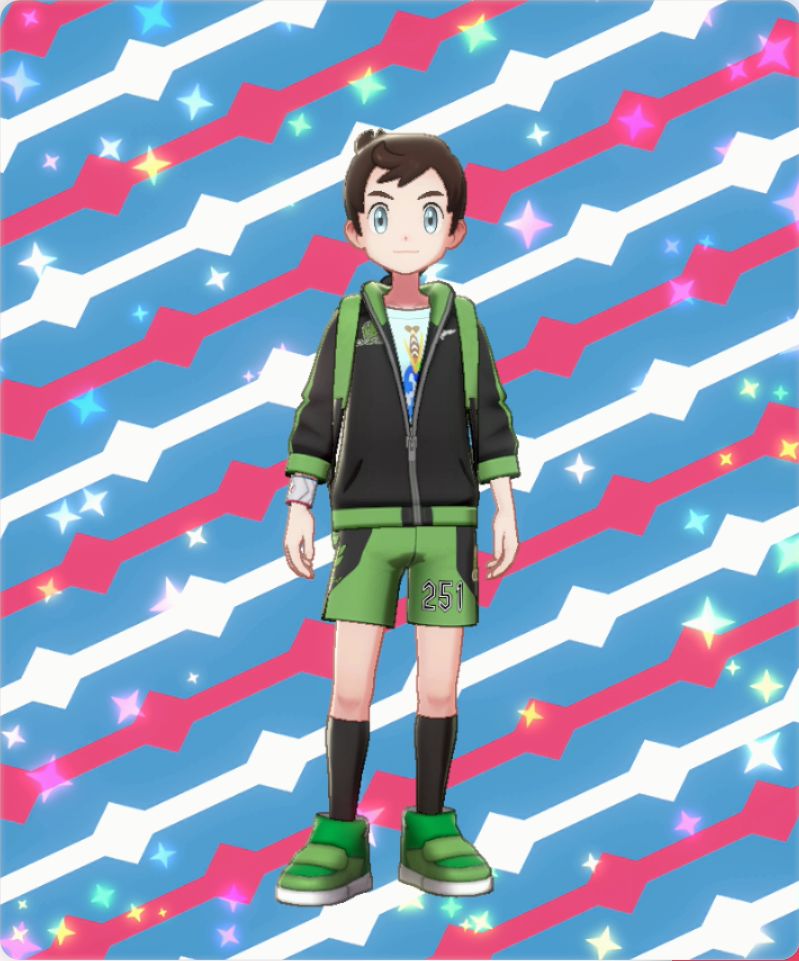
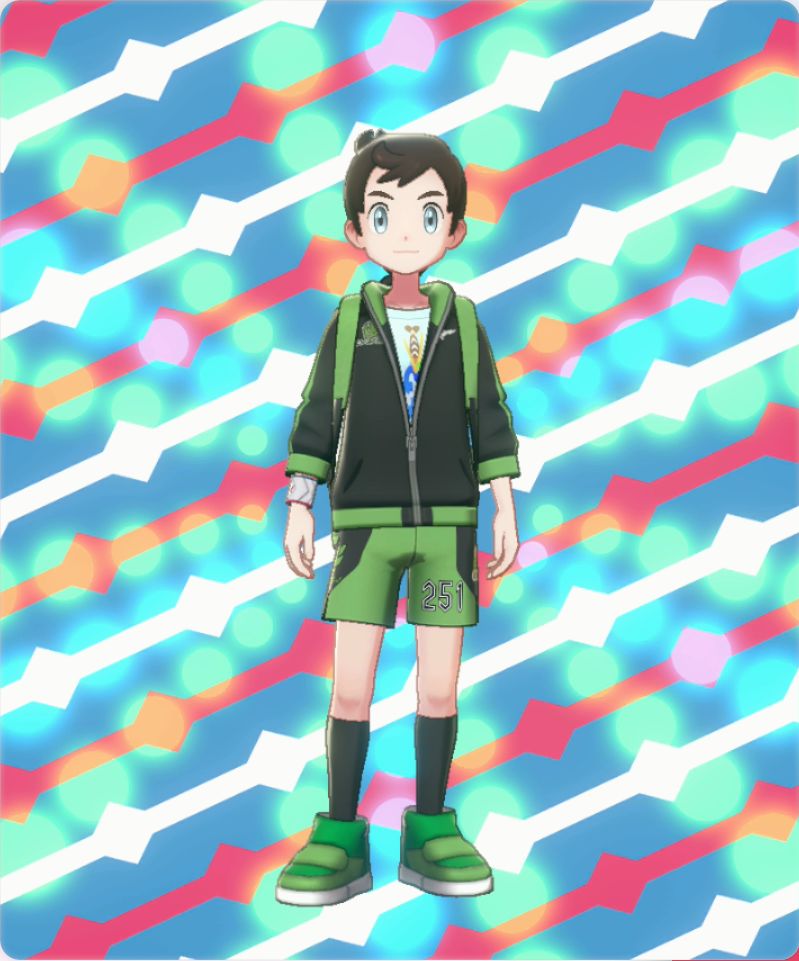
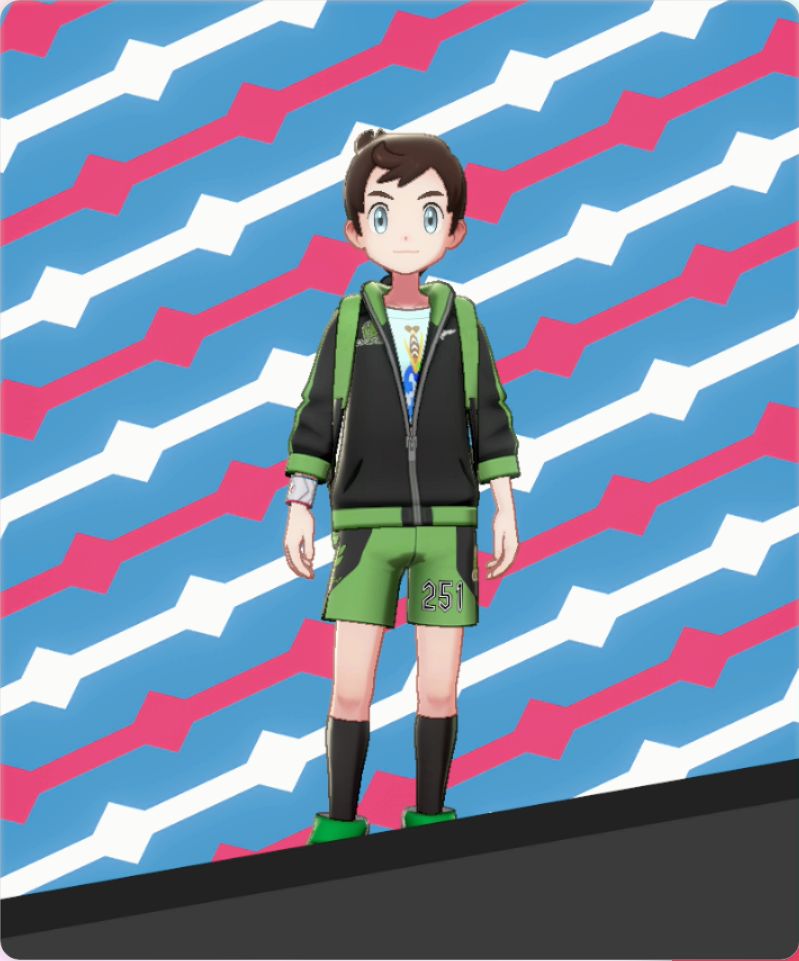
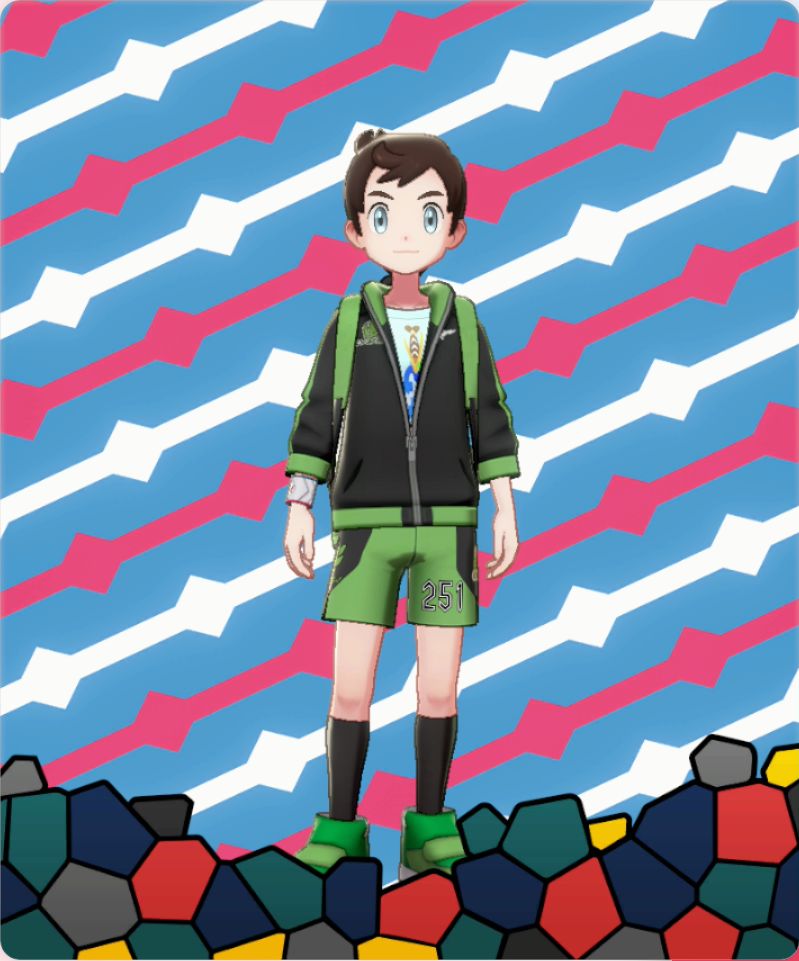
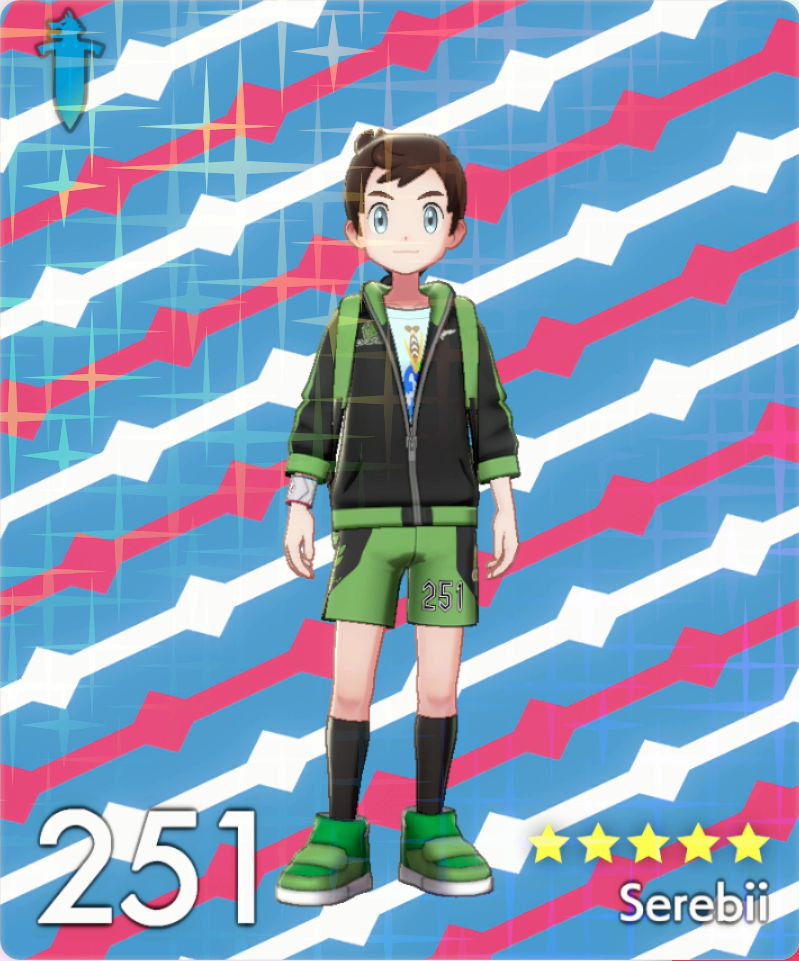
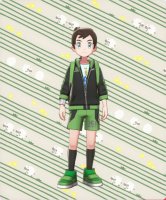
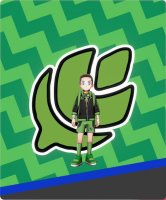
Green Plaid |
Beginning |
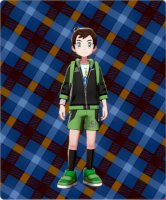 |
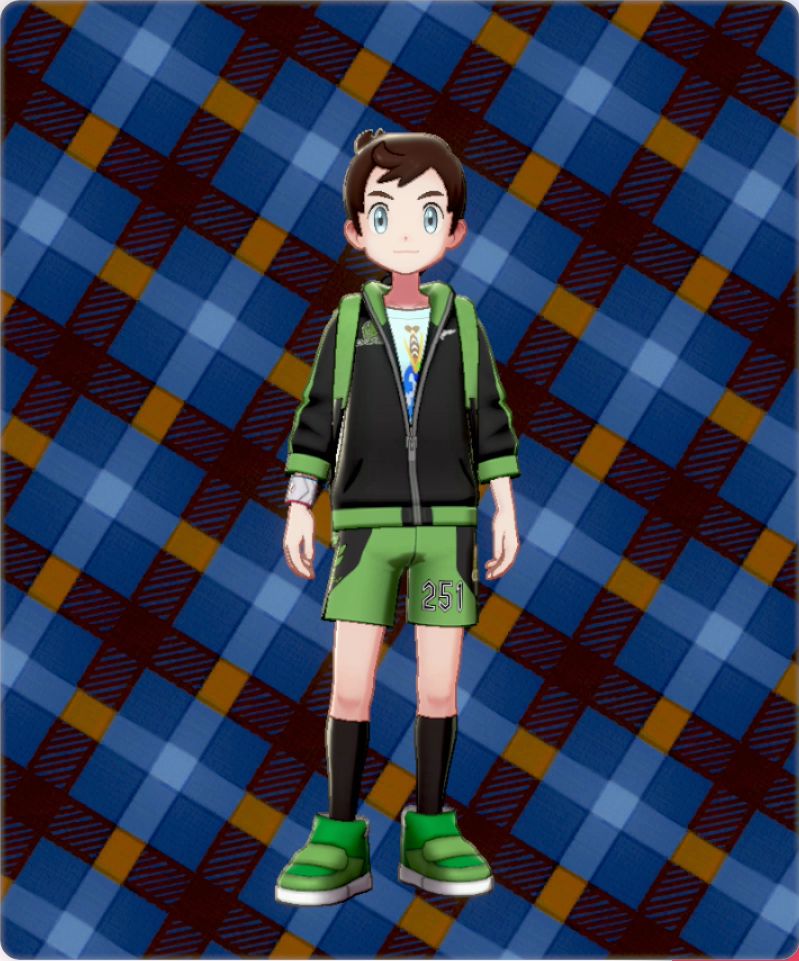
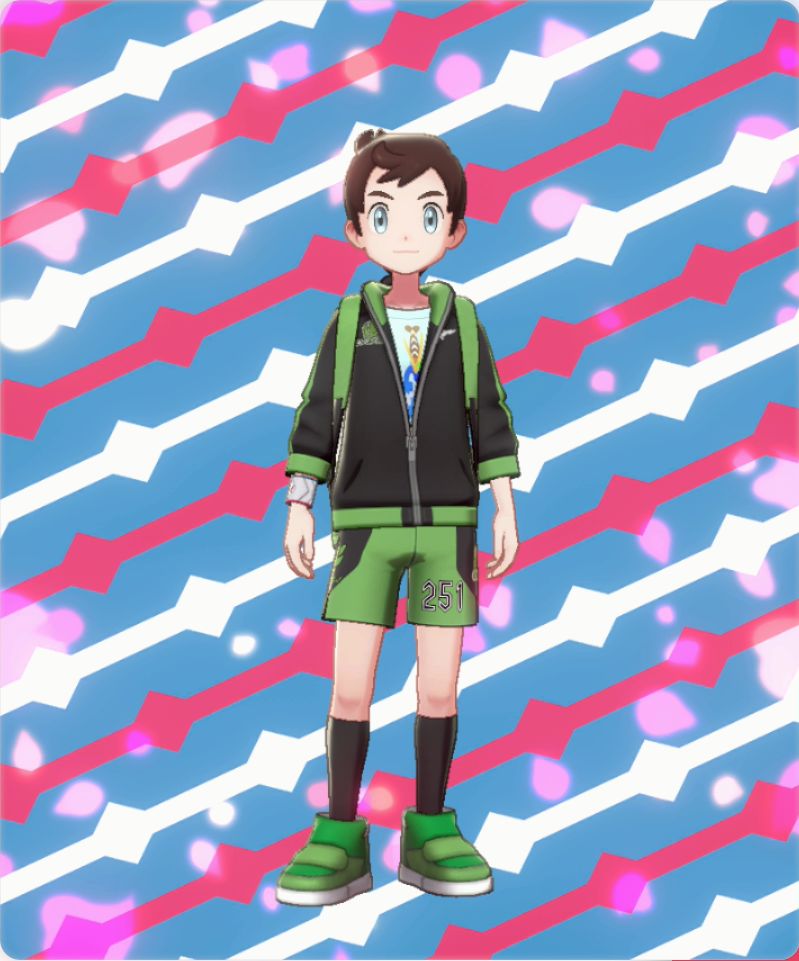
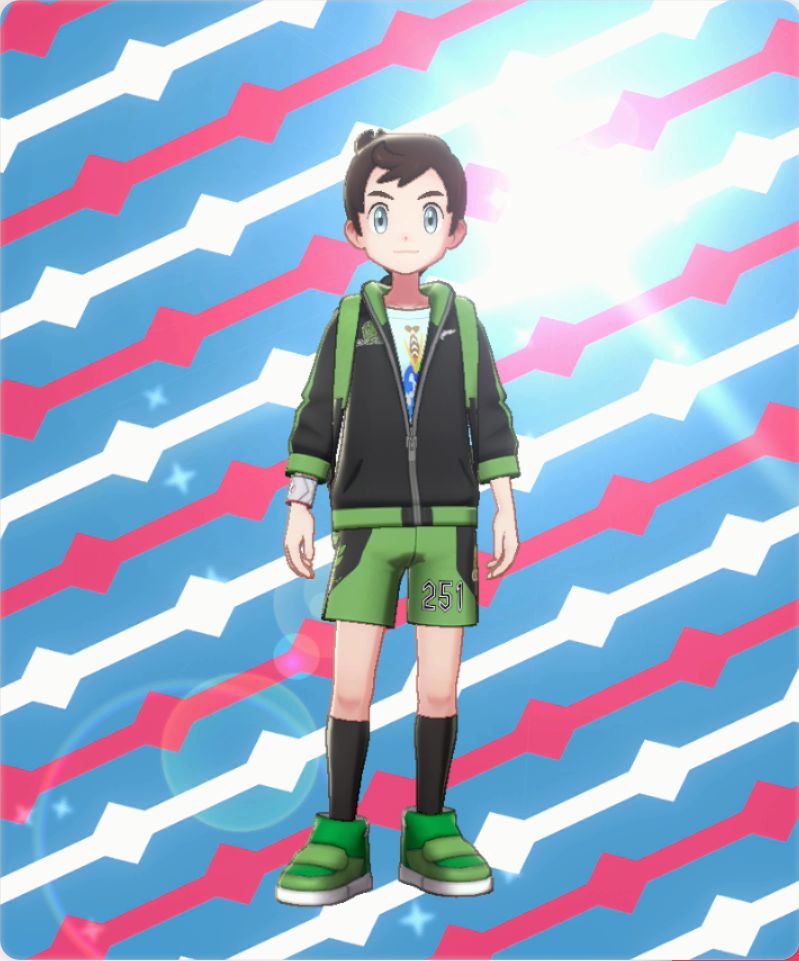
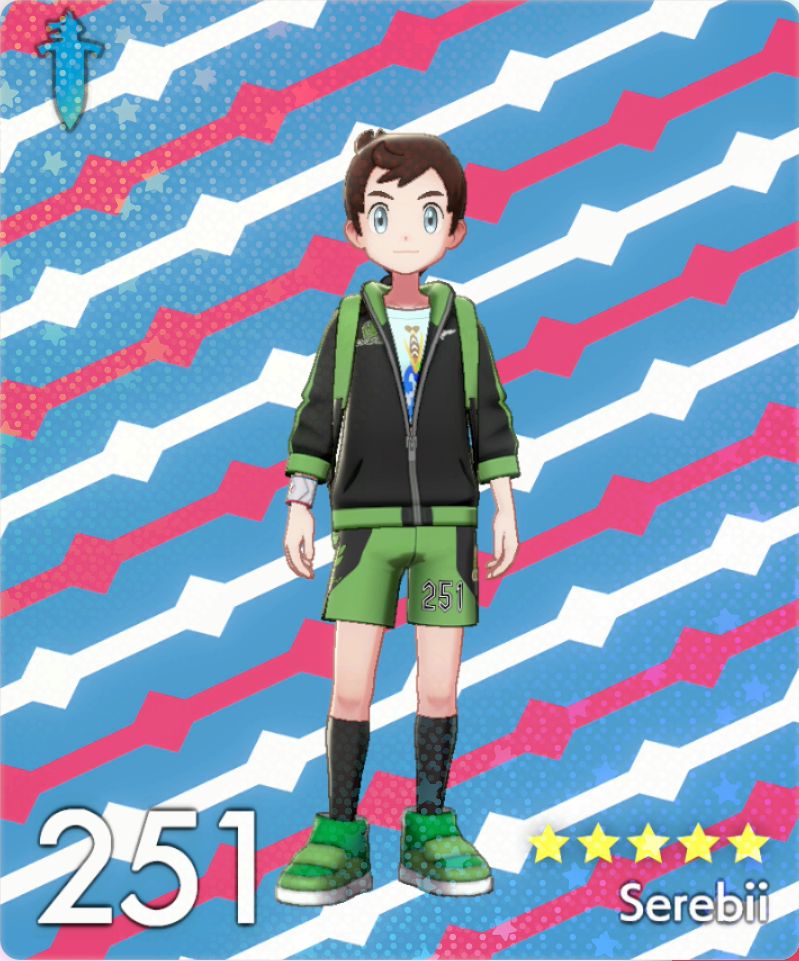
Blue Plaid |
Beginning |
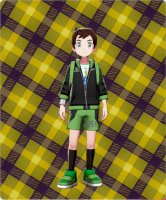 |
Yellow Plaid |
Beginning |
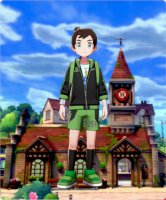 |
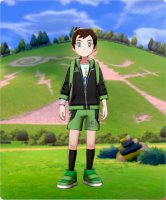
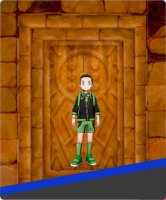
Wedgehurst |
Visit Wedgehurst |
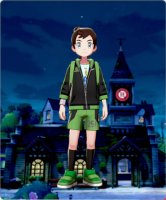 |
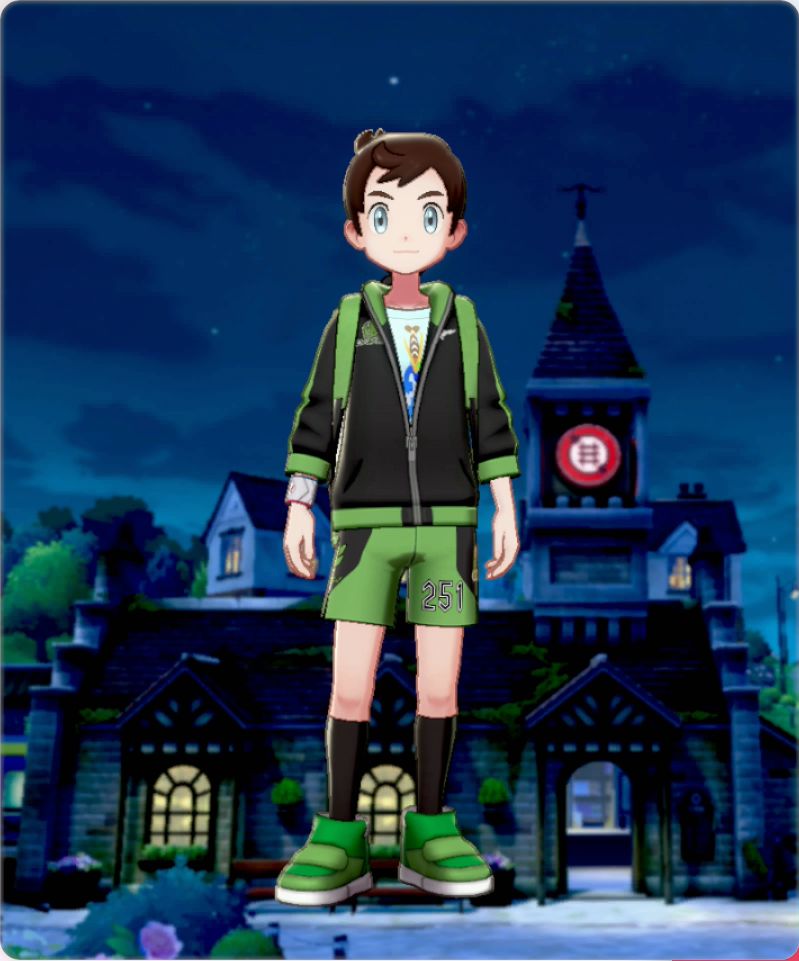
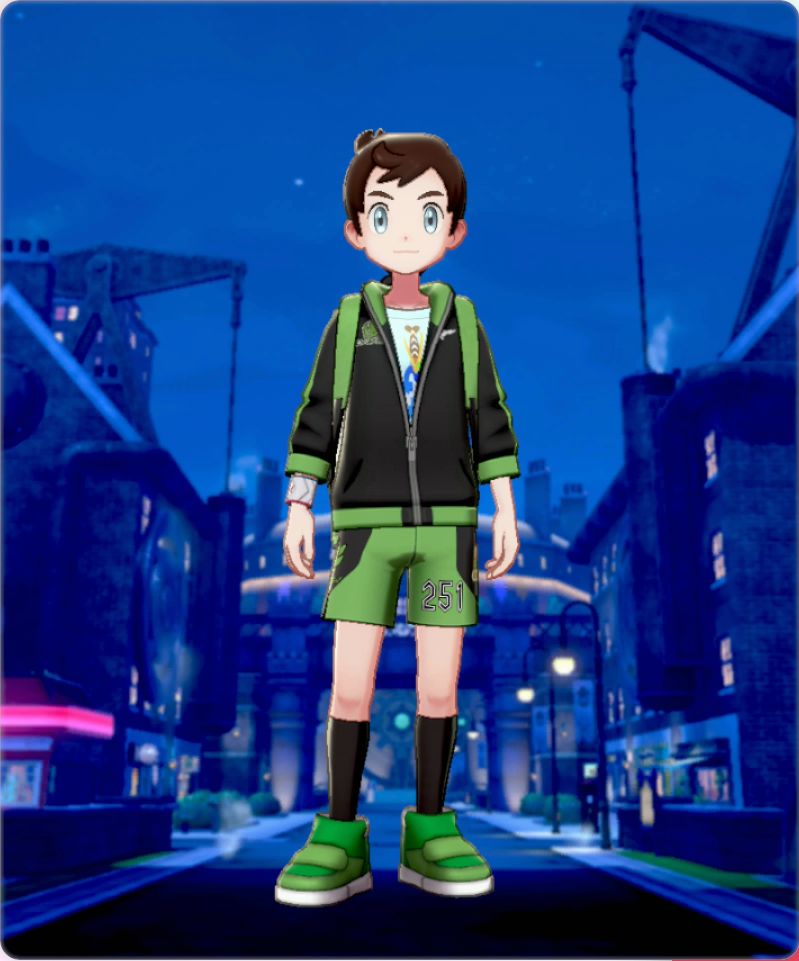
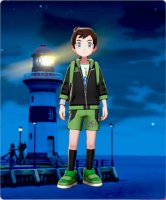
Wedgehurst (Night) |
Begin postgame |
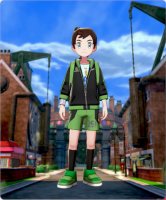 |
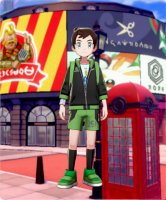
Motostoke |
Visit Motostoke |
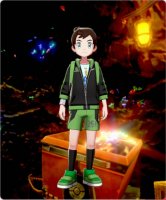 |
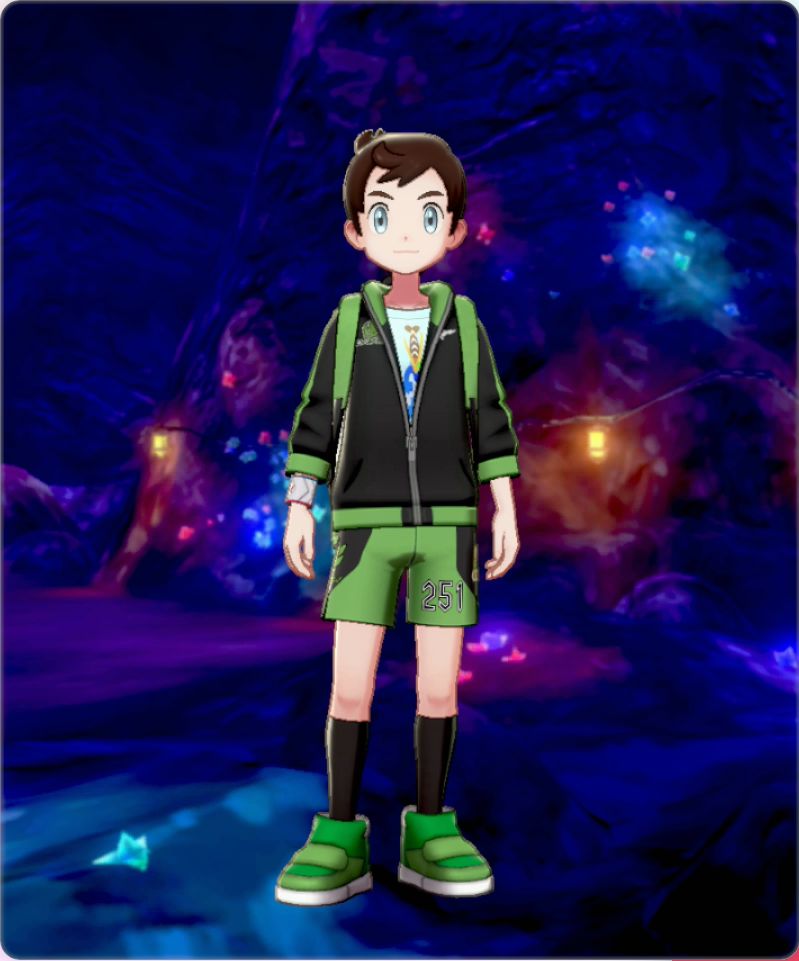
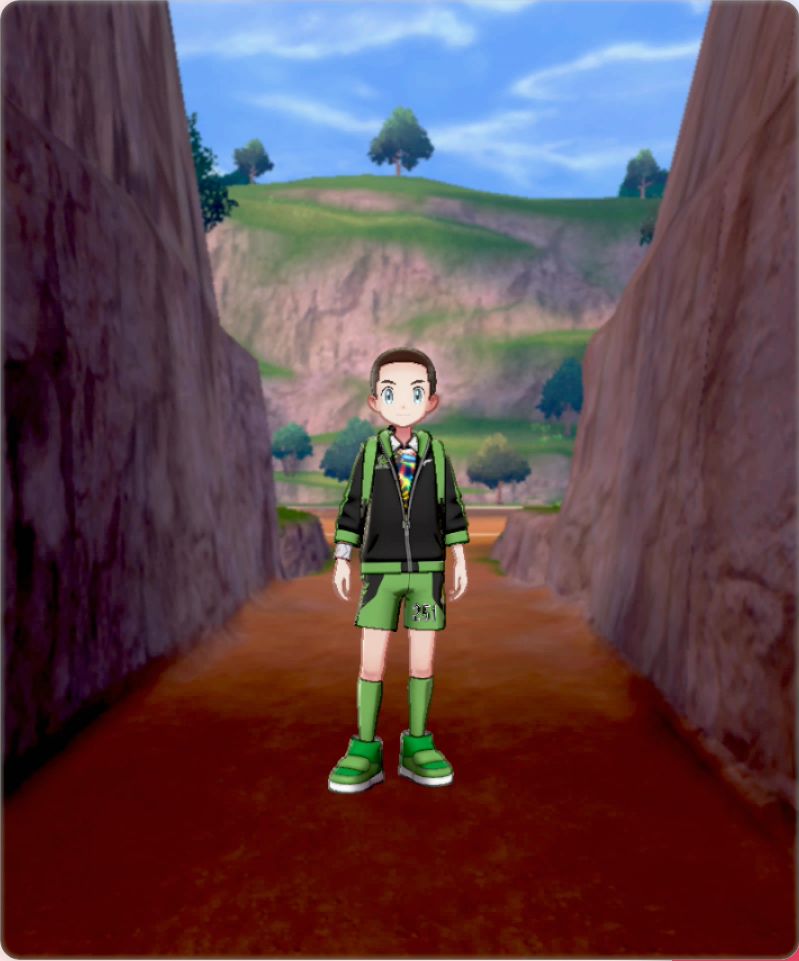
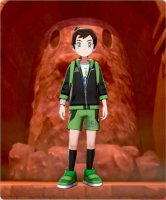
Galar Mine |
Visit Galar Mine |
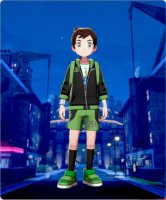 |
Motostoke (Night) |
Visit Motostoke |
 |
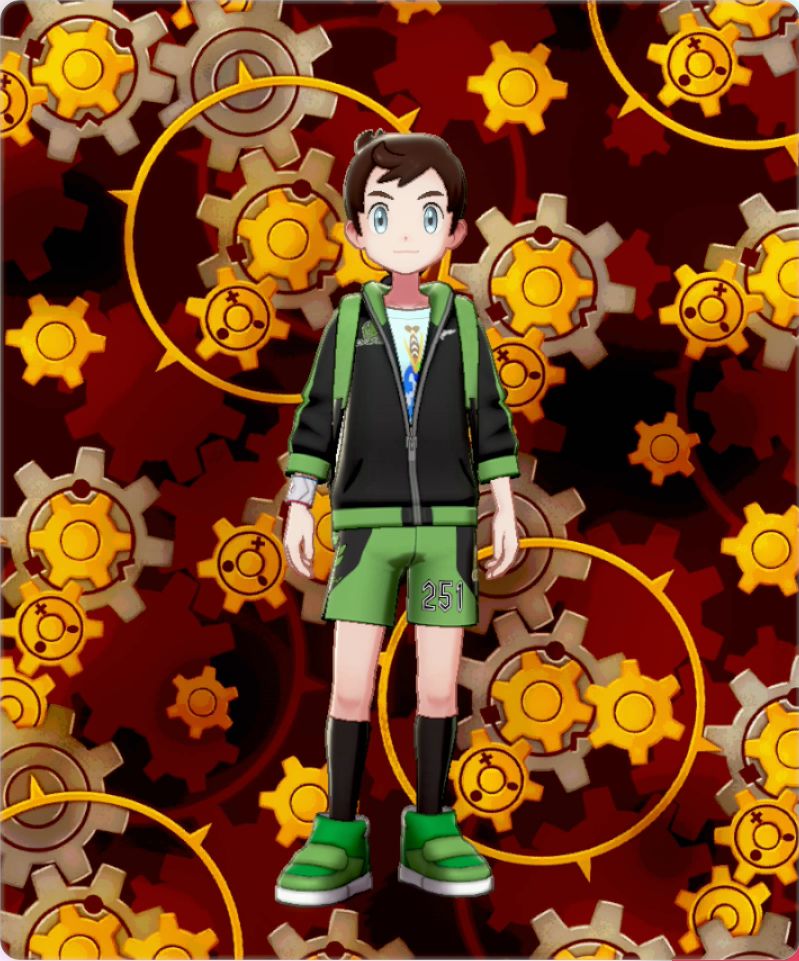
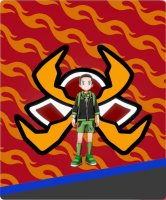
Gears |
Visit Motostoke |
 |
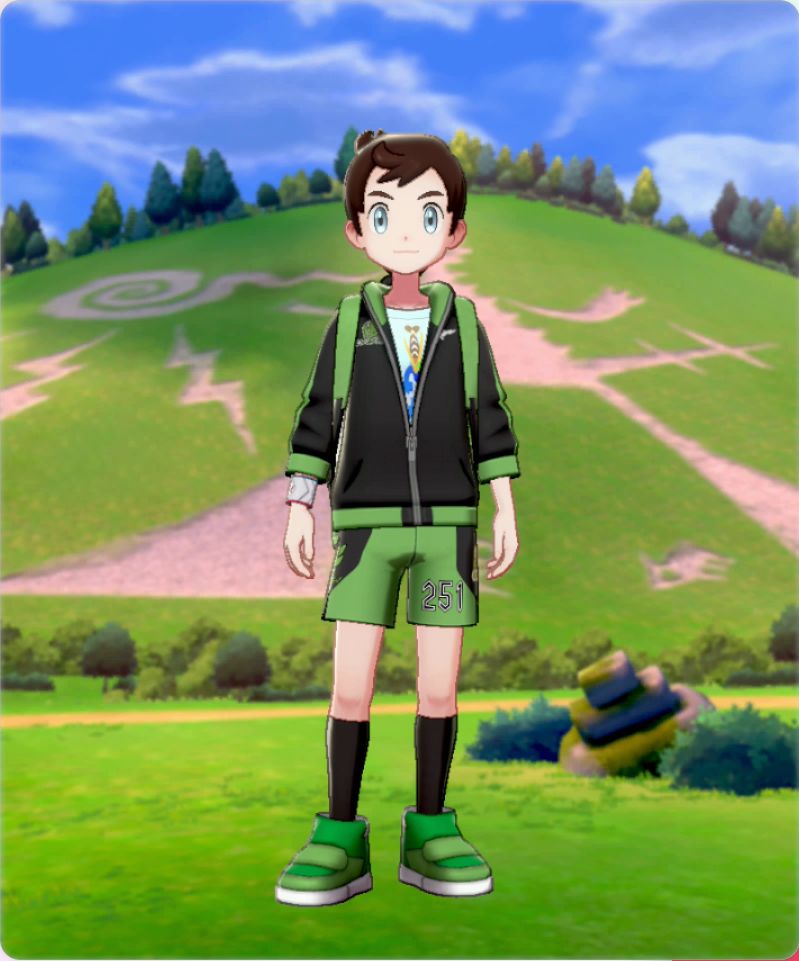
Turffield |
Visit Turffield |
 |
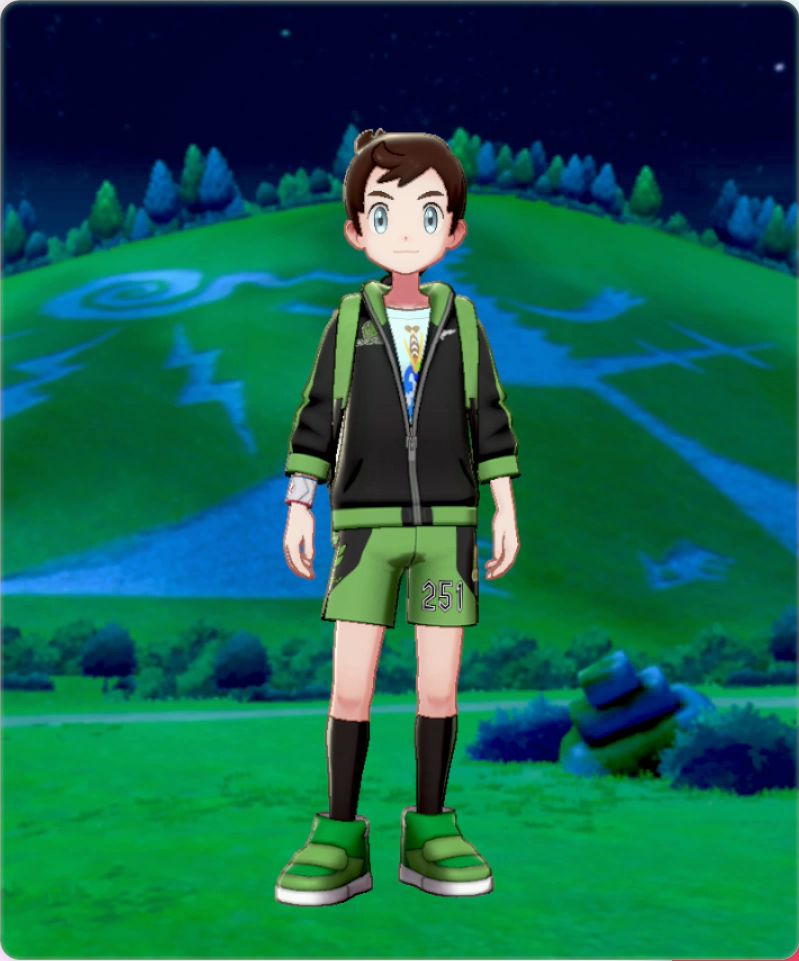
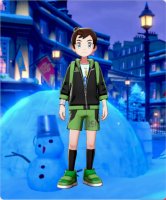
Turffield (Night) |
Defeat the Dynamax Pokémon in the Gym in the epilogue |
 |
Wooloo |
Visit Turffield |
 |
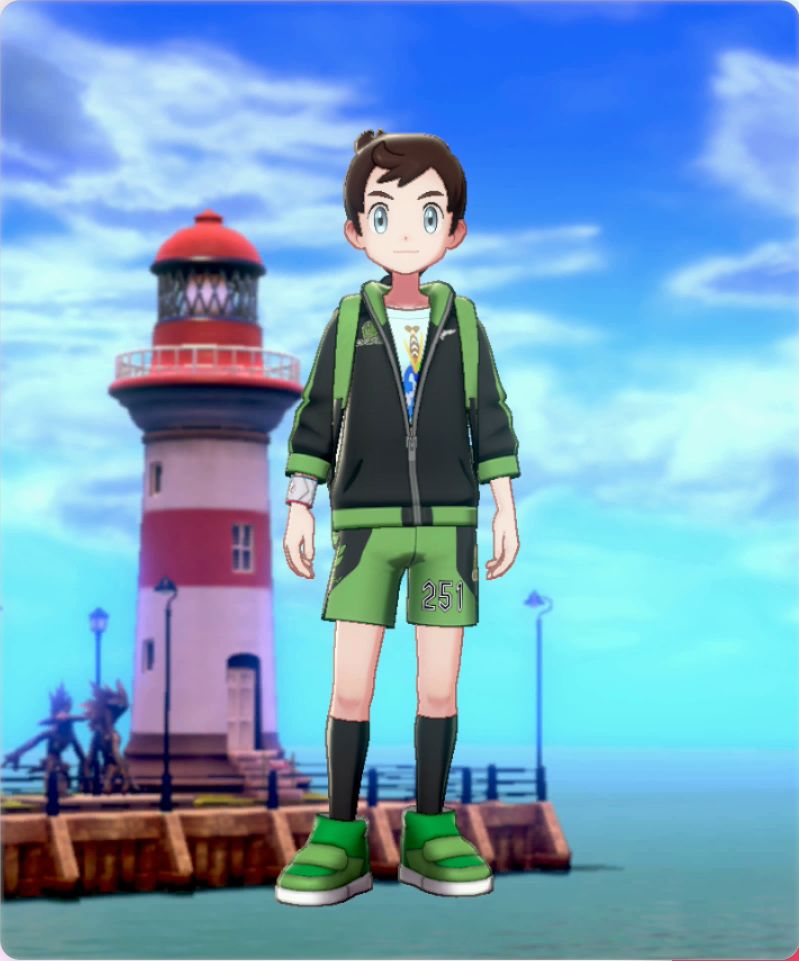
Hulbury |
Visit Hulbury |
 |
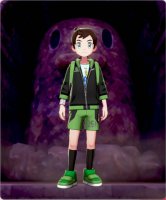
Galar Mine No. 2 |
Visit Galar Mine No. 2 |
 |
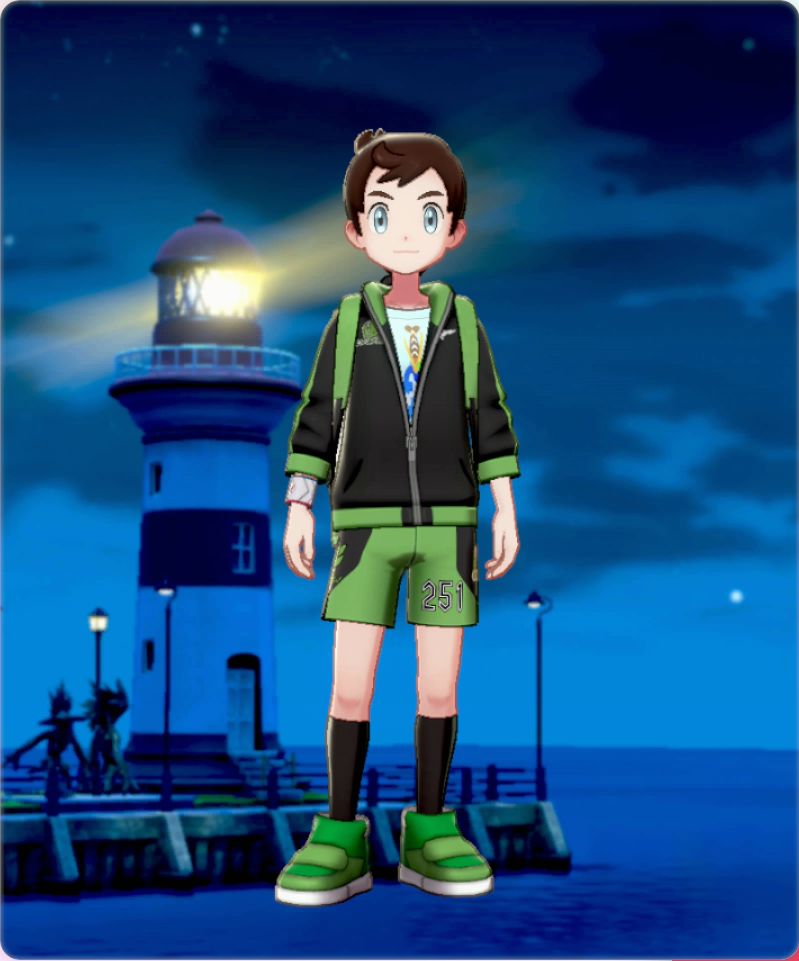
Hulbury (Night) |
Defeat the Dynamax Pokémon in the Gym in the epilogue |
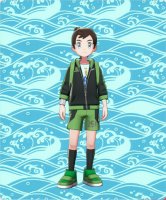 |
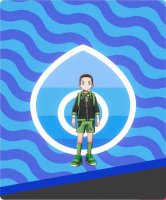
Waves |
Visit Hulbury |
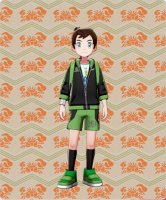 |
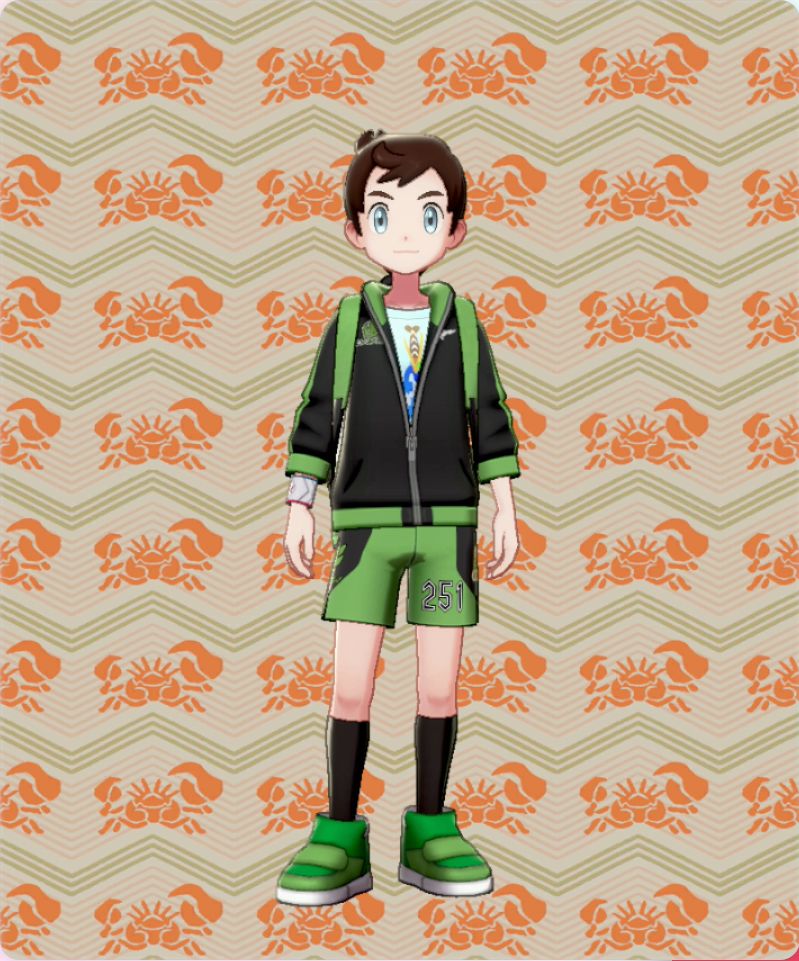
Kingler |
Visit Hulbury |
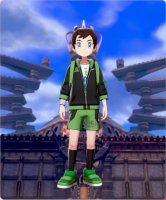 |
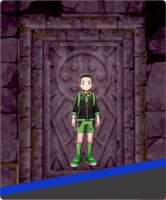
Hammerlocke |
Visit Hammerlocke |
 |
Hammerlocke Vault |
Defeat Raihan |
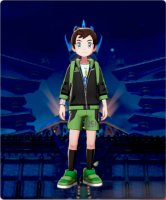 |
Hammerlocke (Night) |
Defeat the Dynamax Pokémon in the Gym in the epilogue |
 |
Hammerlocke Pattern |
Visit Hammerlocke |
 |
Stow-on-Side |
Visit Stow-on-Side |
 |
Stow-on-Side Night |
Defeat the Dynamax Pokémon in the Gym in the epilogue |
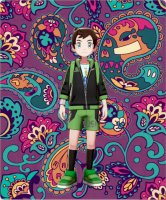 |
Cooperajah Pattern |
Visit Stow-on-Side |
 |
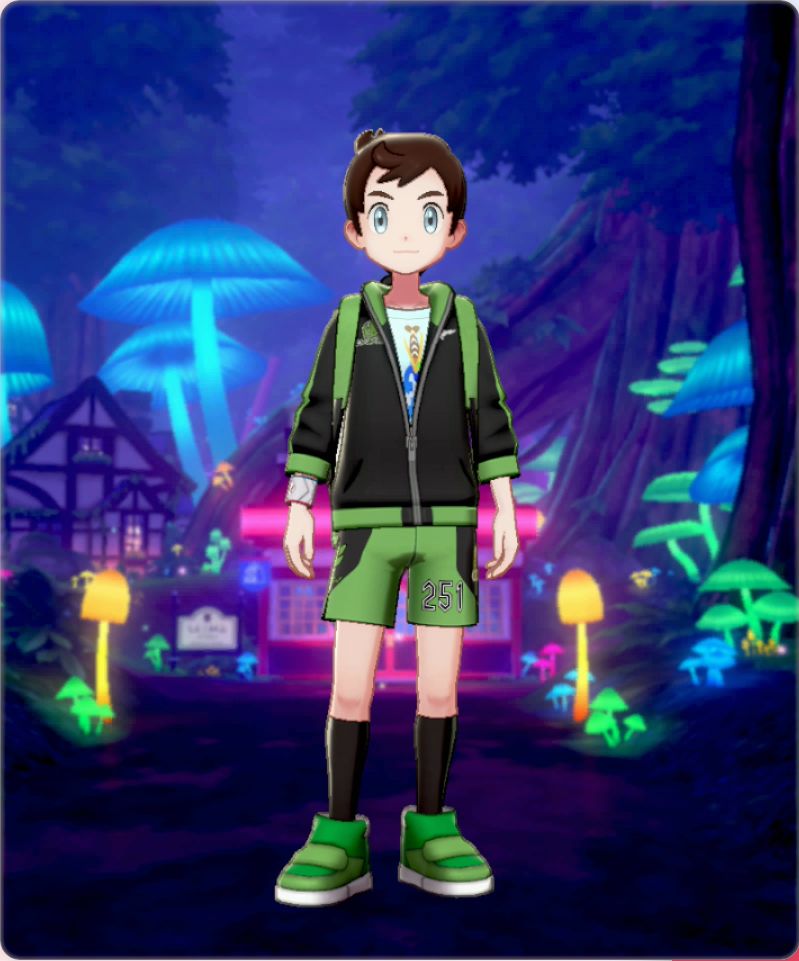
Ballonlea |
Visit Ballonlea |
 |
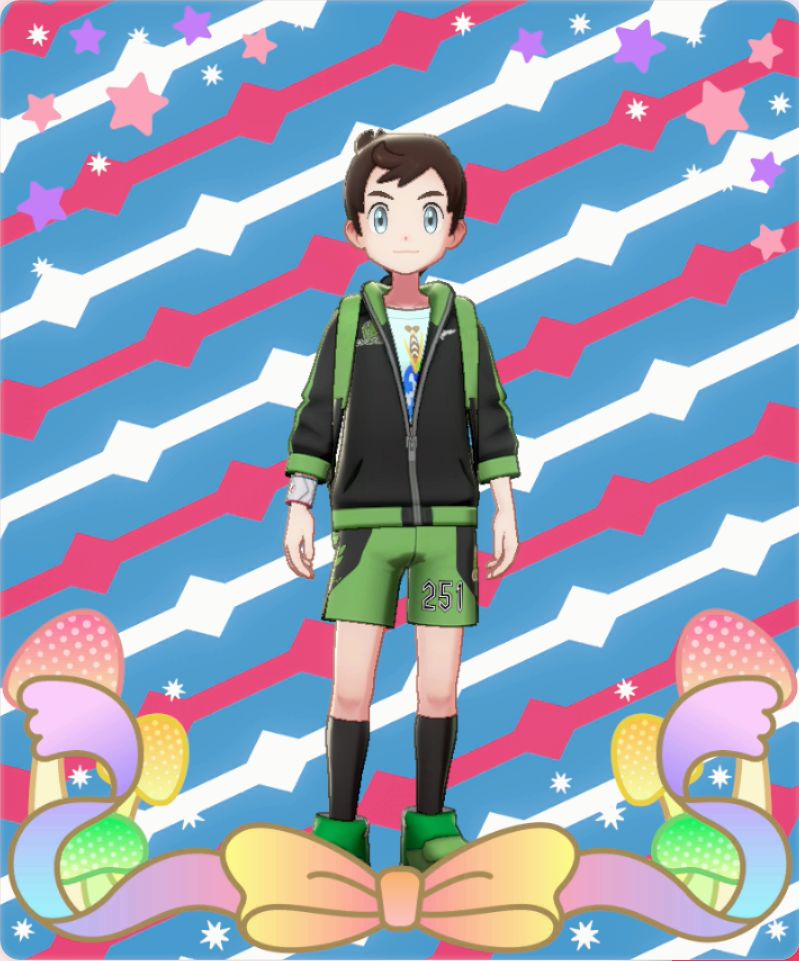
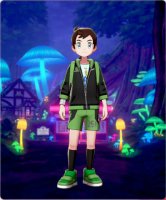
Mushrooms |
Visit Ballonlea |
 |
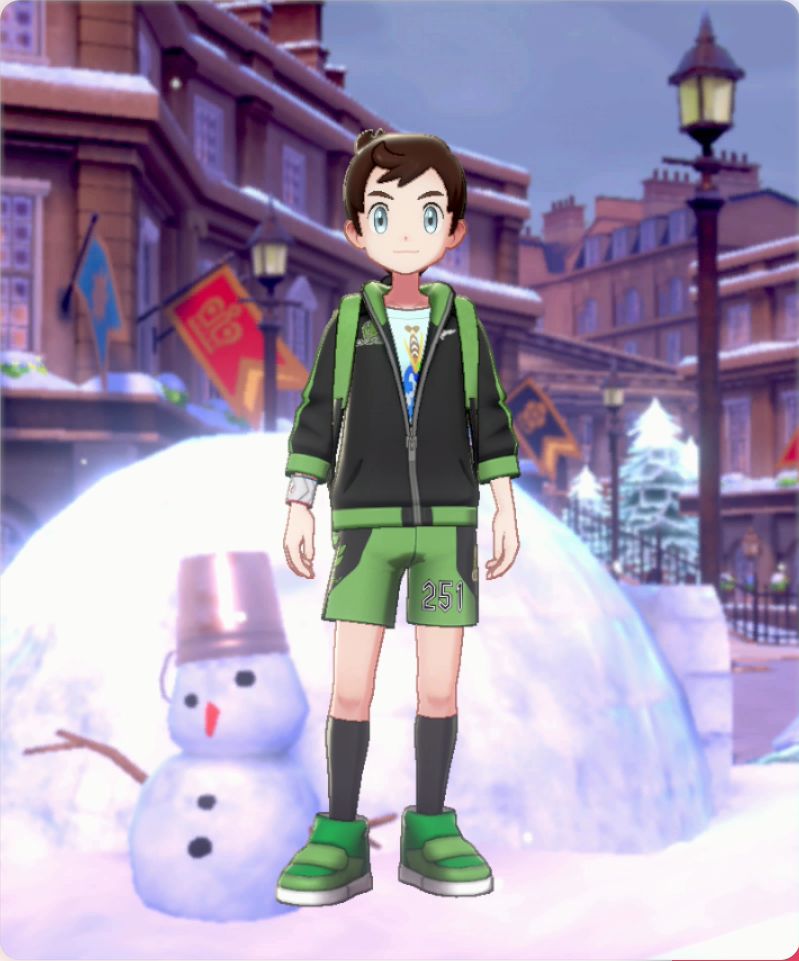
Circhester |
Visit Circhester |
 |
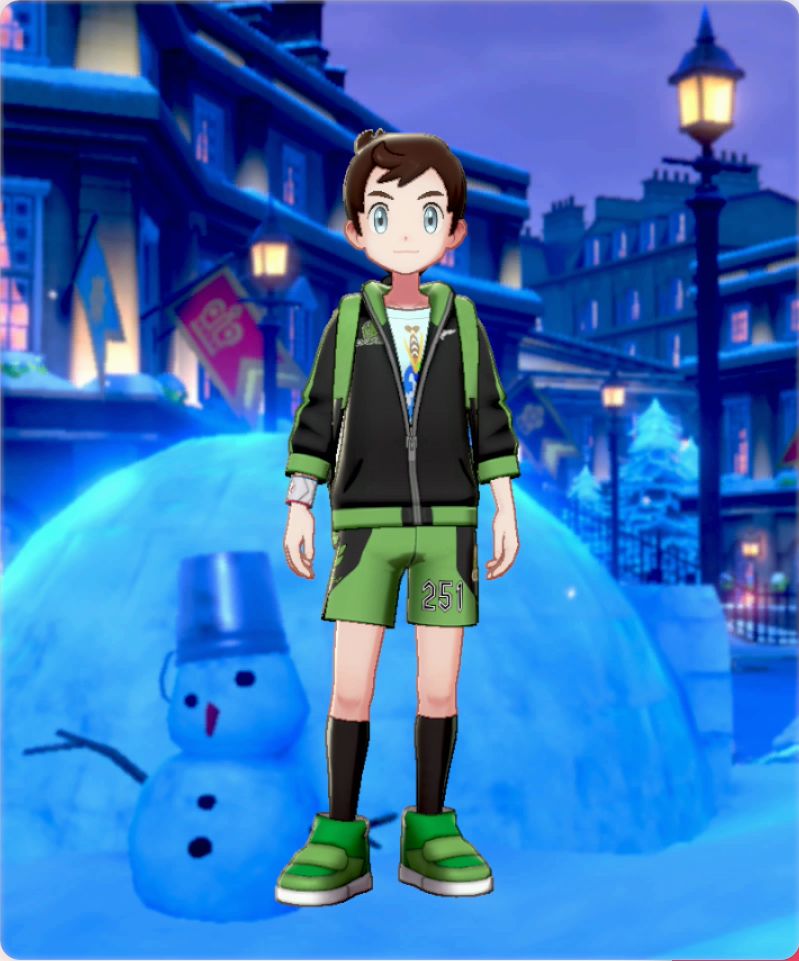
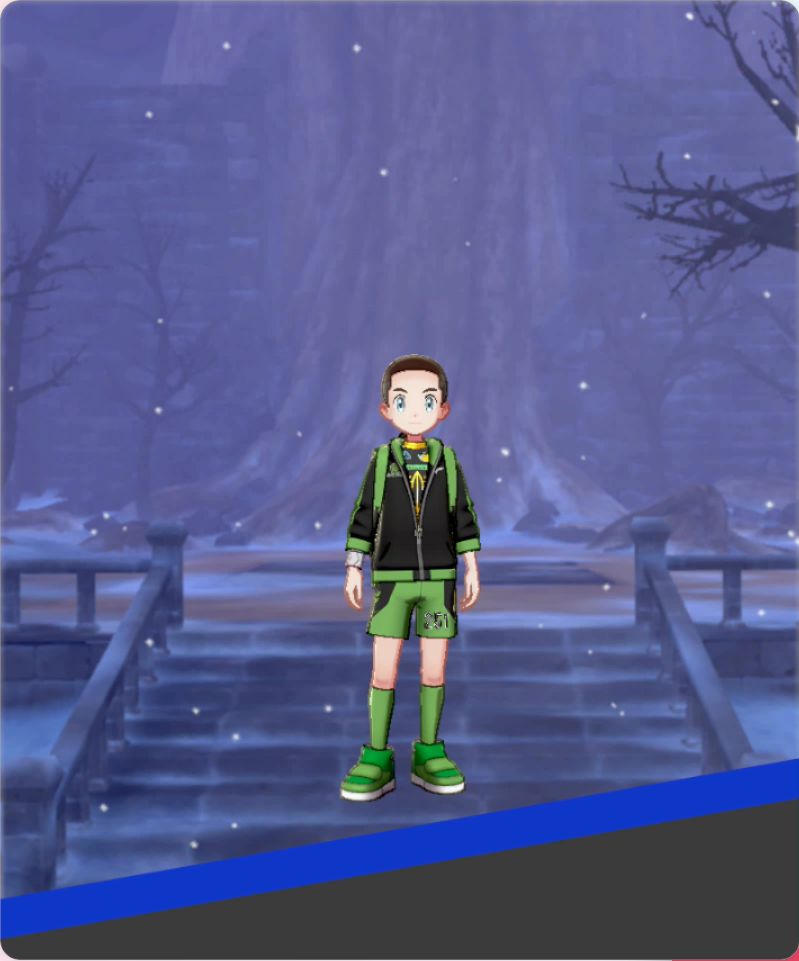
Circhester (Night) |
Defeat the Dynamax Pokémon in the Gym in the epilogue |
 |
Snow |
Visit Circhester |
 |
Spikemuth |
Visit Spikemuth |
 |
Spikemuth Stage |
Defeat Piers |
 |
Team Yell |
Visit Spikemuth |
 |
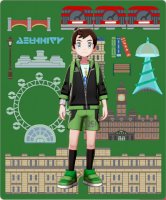
Wyndon |
Visit Wyndon |
 |
Wyndon |
Complete the postgame |
 |
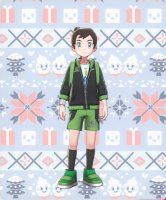
Wyndon Landmarks |
Visit Wyndon |
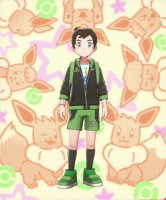 |
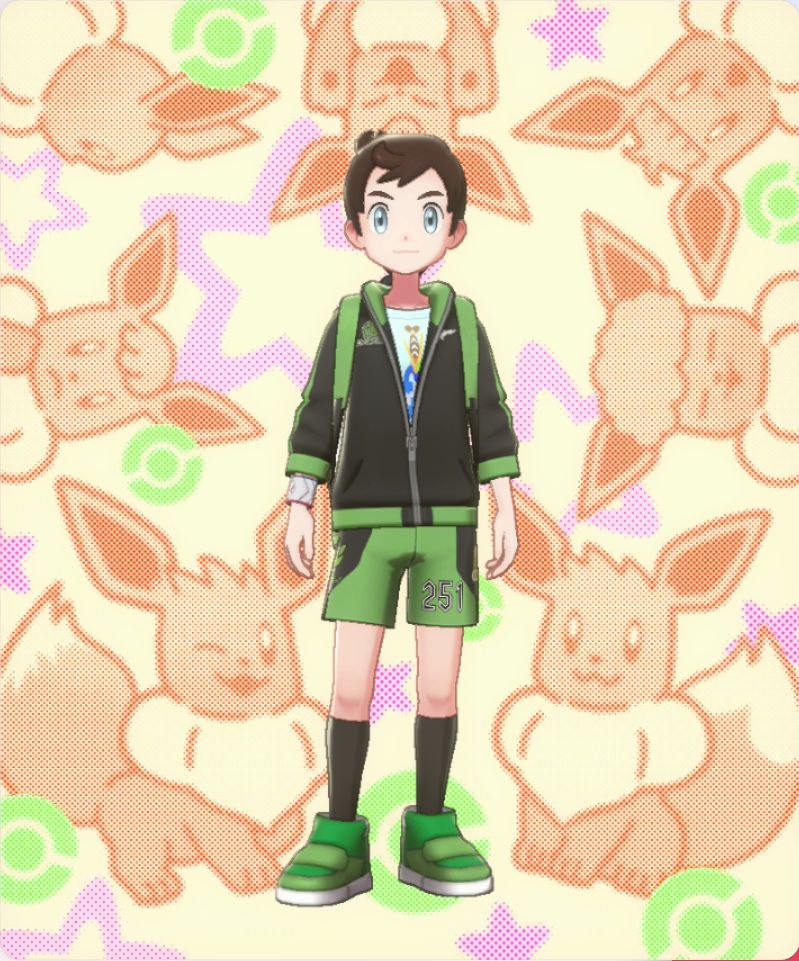
Let's Go, Eevee |
Have Let's Go Eevee Save Data |
 |
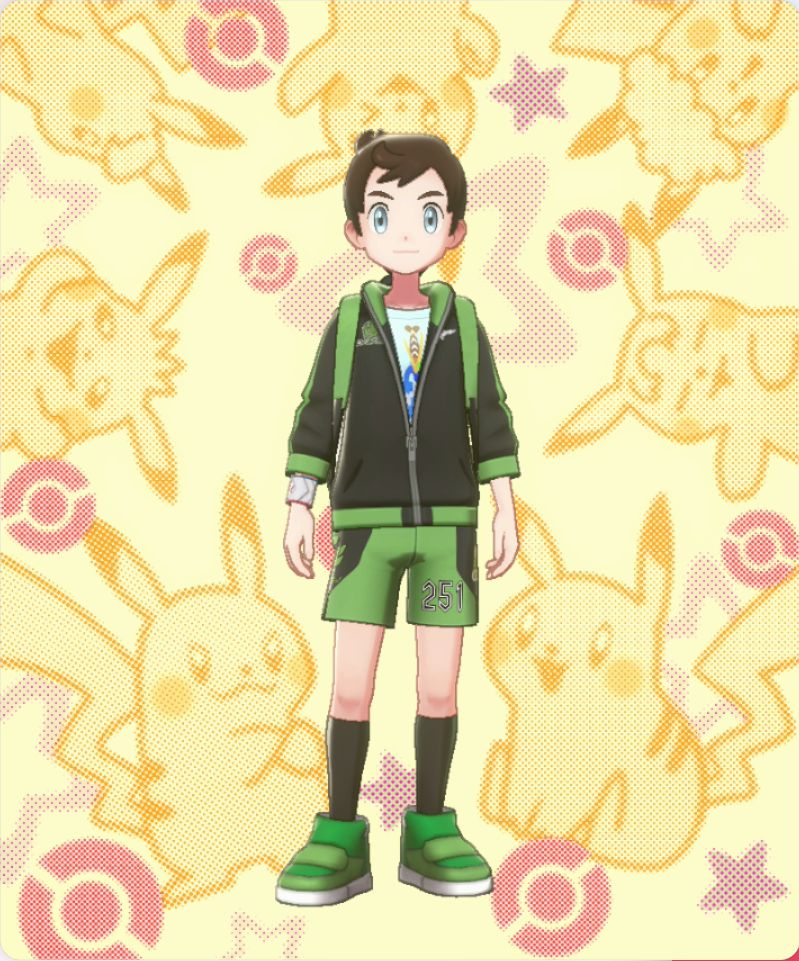
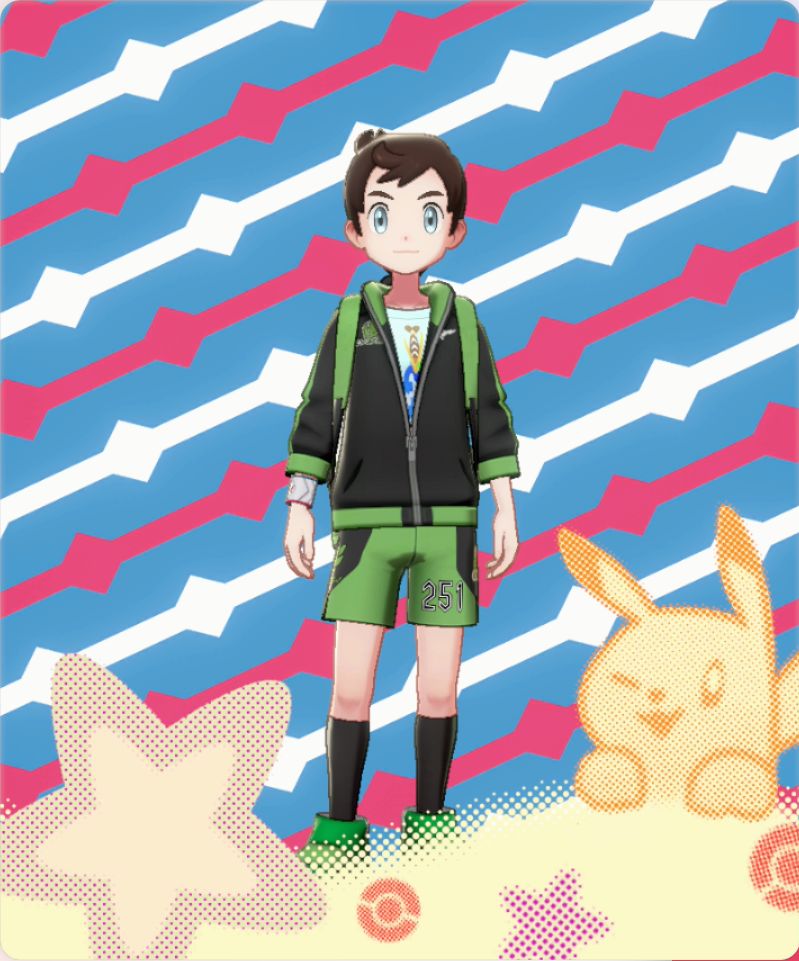
Let's Go, Pikachu |
Have Let's Go Pikachu Save Data |
 |
Tumblecube |
Have Pokémon Quest Save Data |
 |
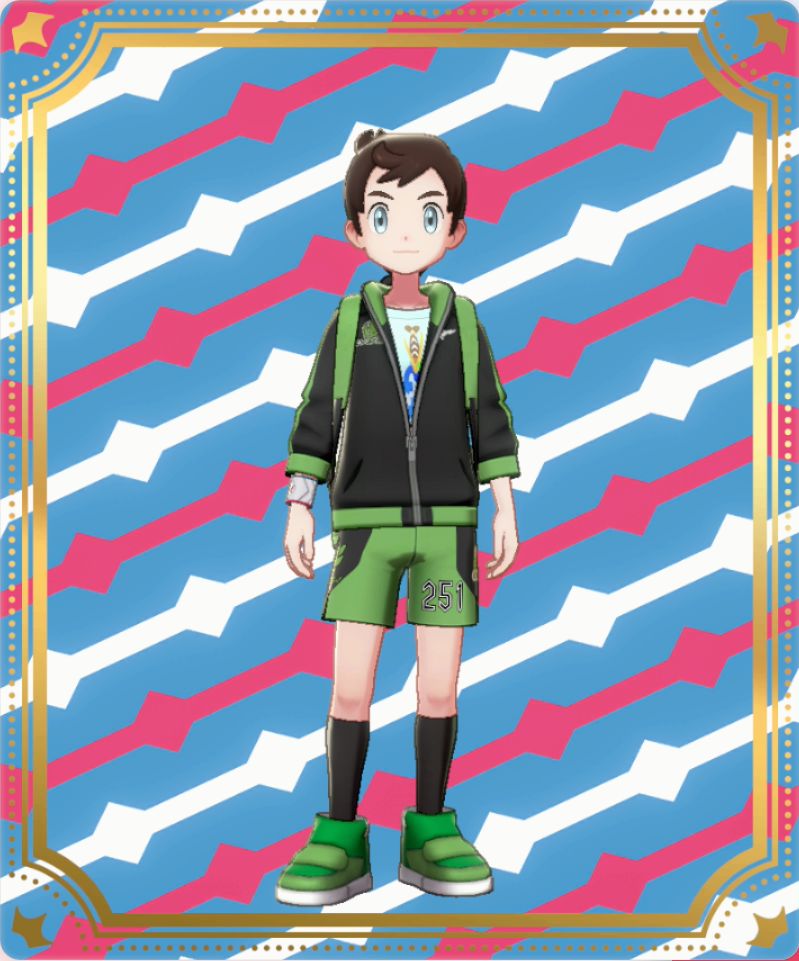
Champion Cup |
Become Champion |
 |
Curry |
Create 15 Curry in Pokémon Camp |
 |
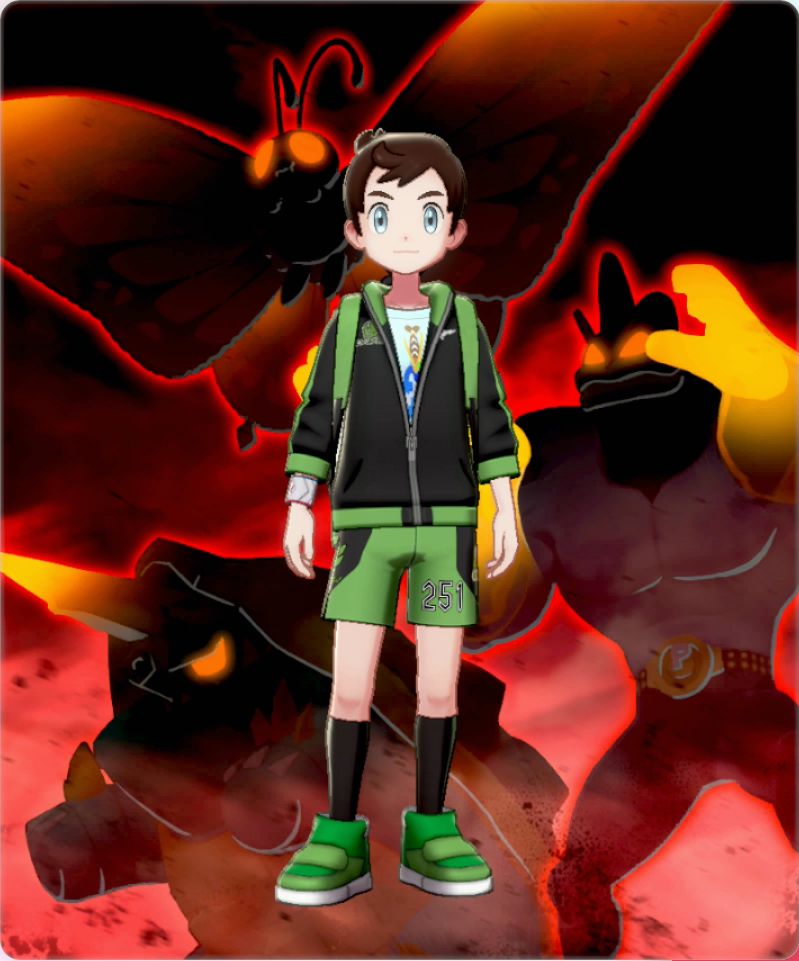
Gigantamax |
Play in 30 Max Raid Battles |
 |
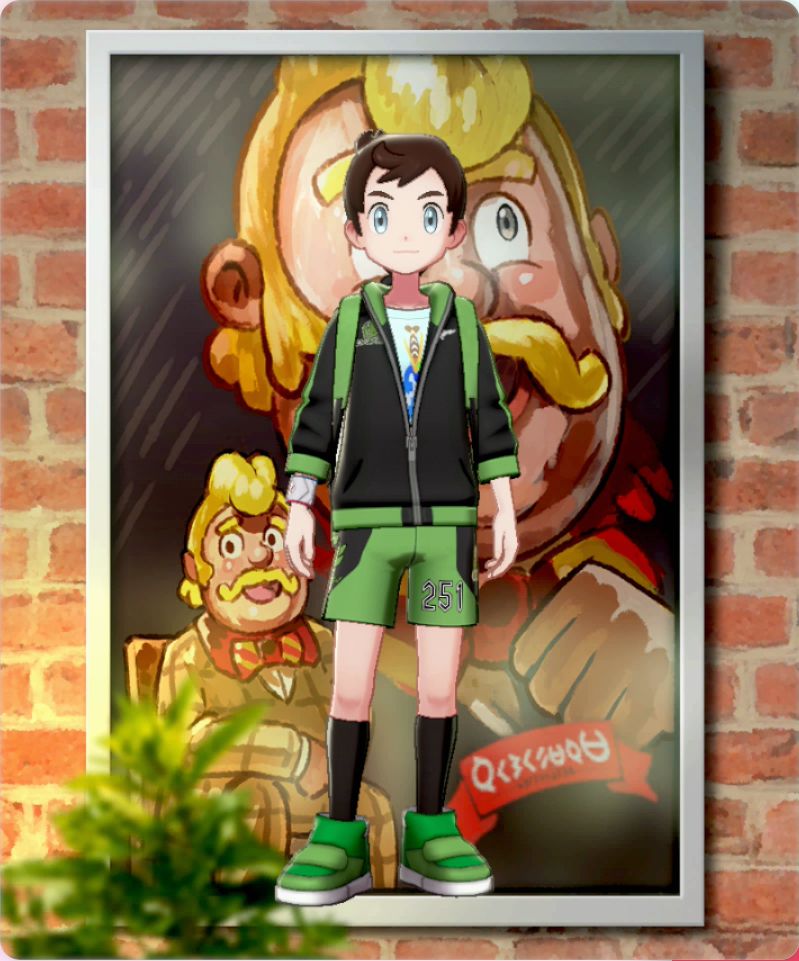
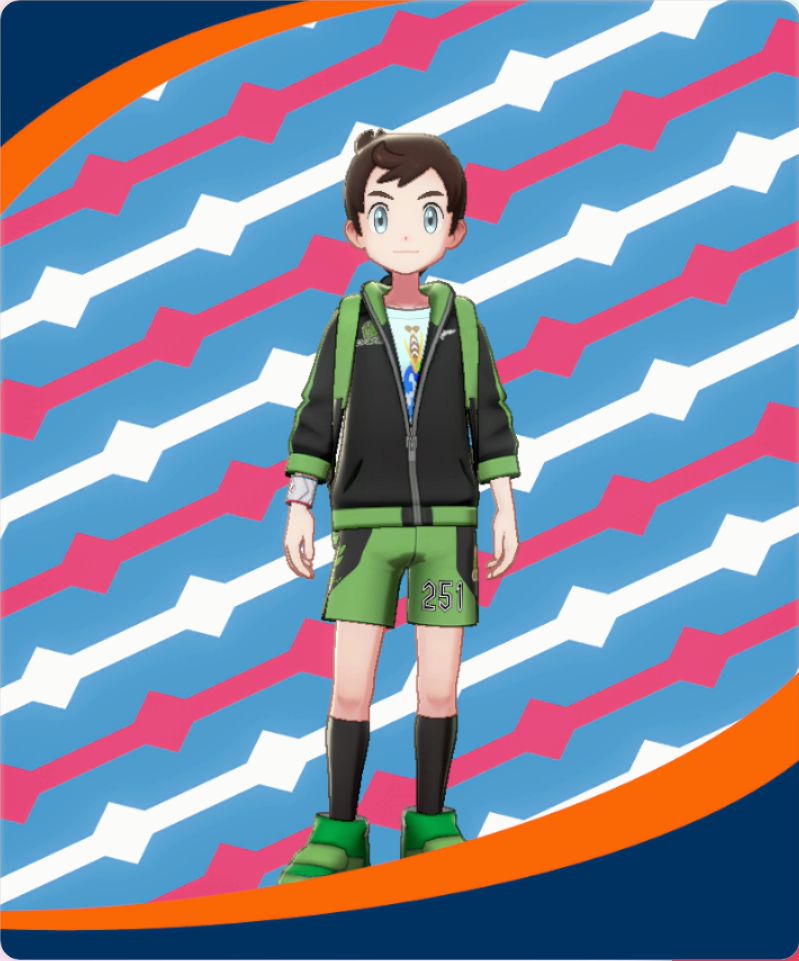
Advertisement |
Visit the Restaurant in Circhester |
 |
Advertisemen |
Visit the Seafood Restaurant in Hulbury |
 |
Ball Guy |
Get Ball Guy's League Card |
 |
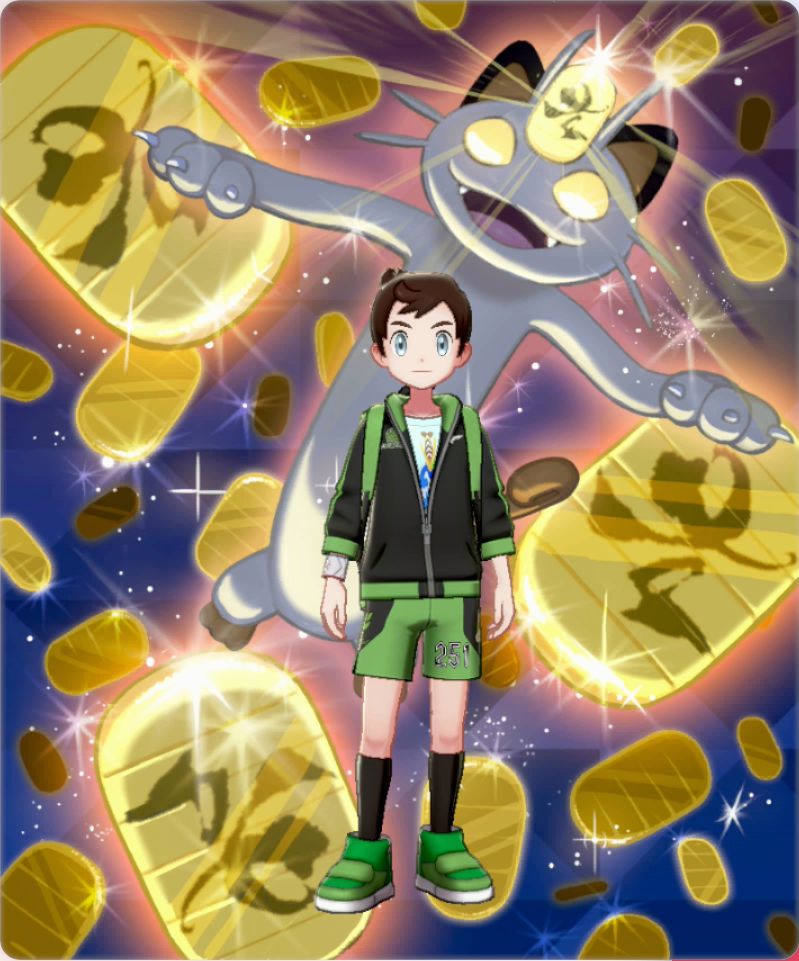
Gigantamax Meowth |
Collect a total of 1 million P |
 |
Rotomi |
Make 10 League Cards |
 |
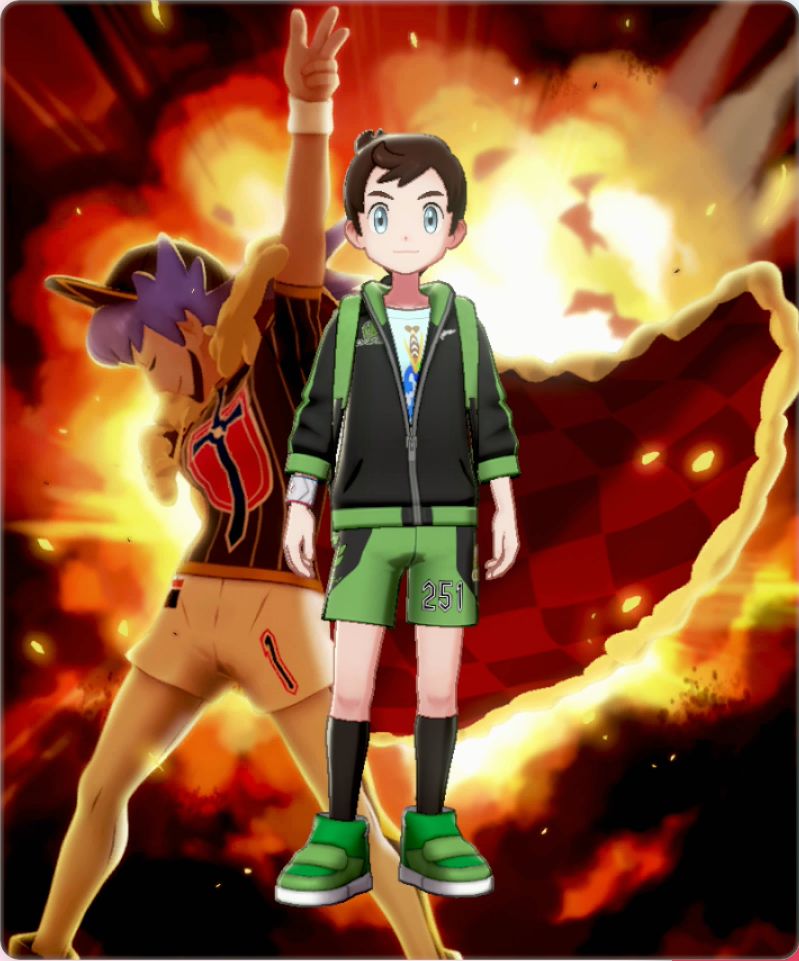
Leon |
Beginning |
 |
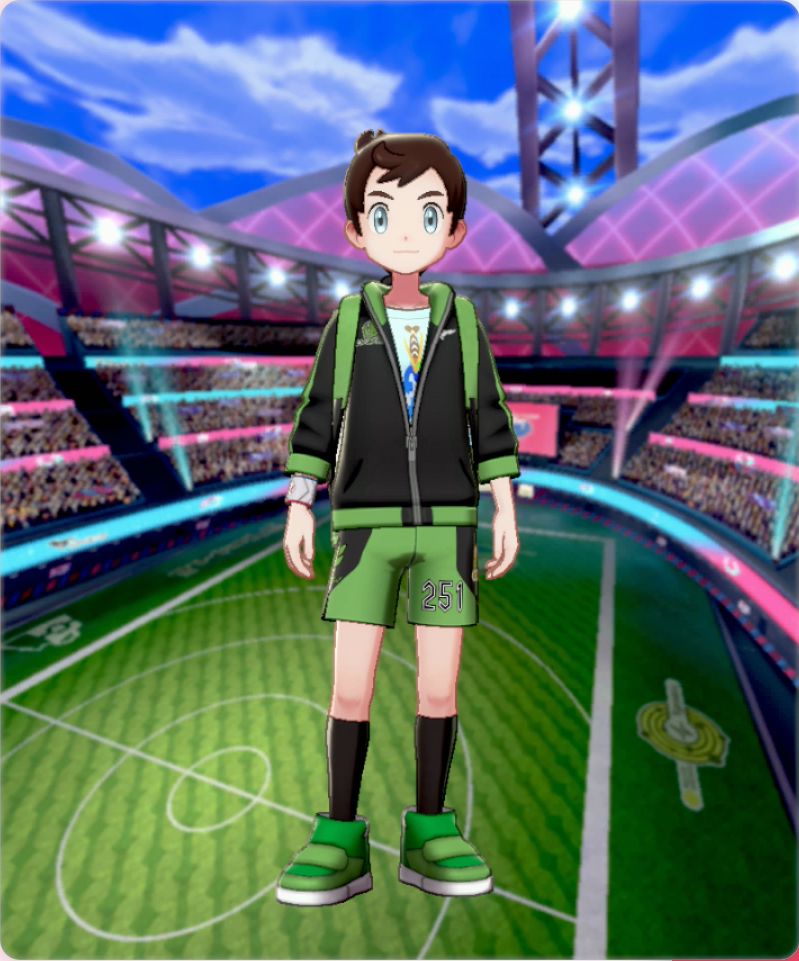
Pokémon League |
Become Champion |
 |
Pokémon League (Night) |
Become Champion |
 |
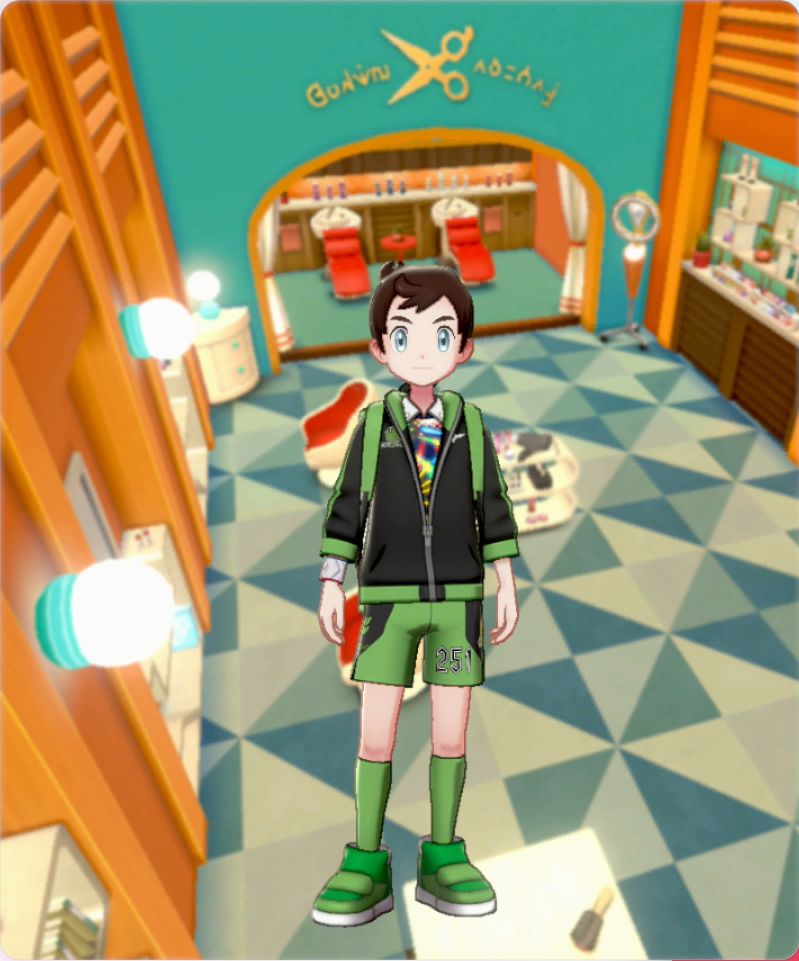
Salon |
Get 10 Haircuts |
 |
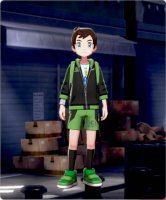
Battle Tower |
Win 30 Single Battles in the Battle Tower |
 |
Battle Tower |
Win 100 Single Battles in the Battle Tower |
 |
Battle Tower |
Win 50 Double Battles in the Battle Tower |
 |
Battle Tower |
Win 100 Double Battles in the Battle Tower |
 |
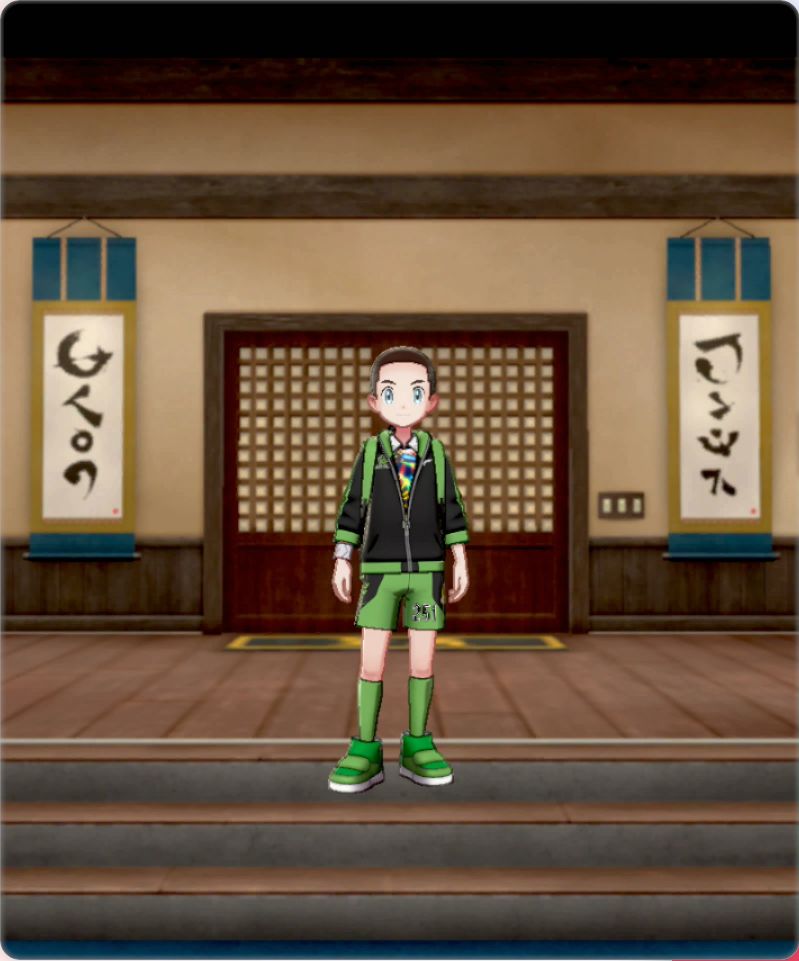
Master Dojo |
Upgrade the Dojo |
 |
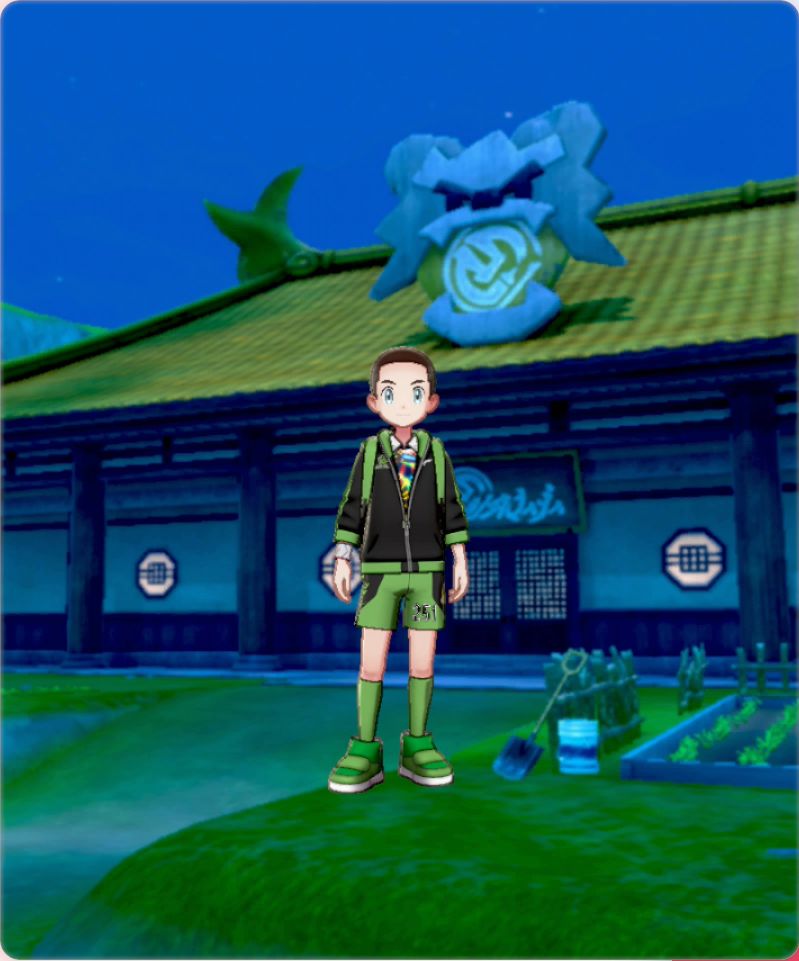
Master Dojo |
Visit the Master Dojo |
 |
Master Dojo |
Visit the Master Dojo |
 |
Master Dojo |
Defeat Mustard in the Dojo Battle |
 |
Master Dojo |
Defeat Mustard in the Dojo Battle |
 |
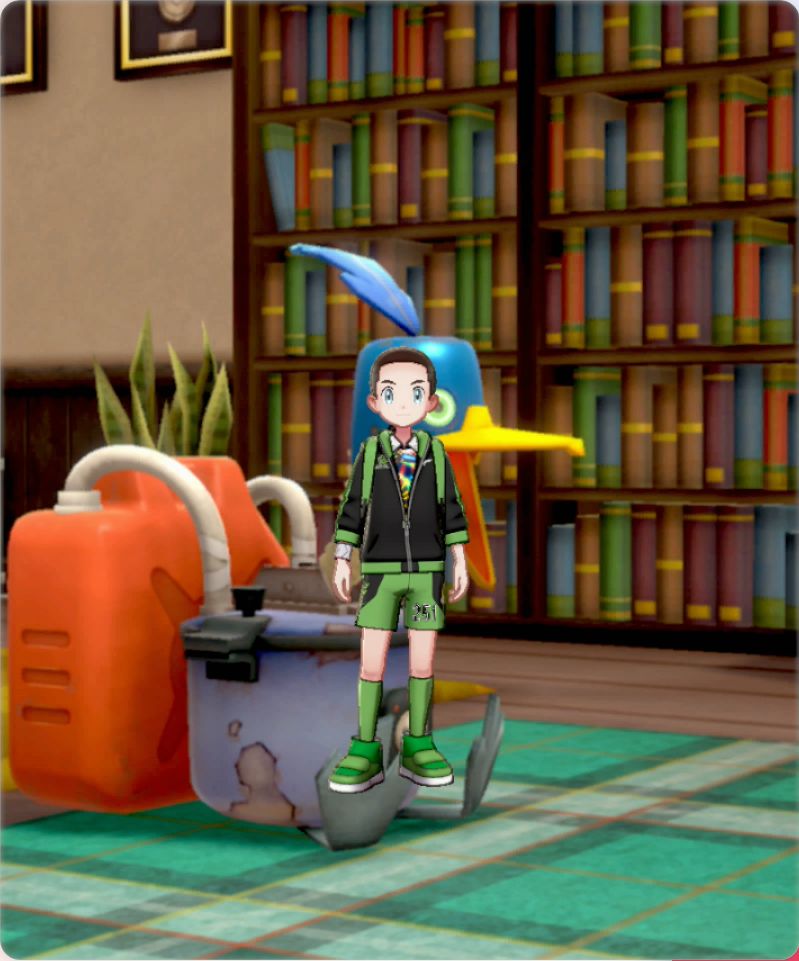
Master Dojo |
Use the Cram-o-matic |
 |
Tower of Darkness |
Complete the Tower of Darkness |
 |
Tower of Darkness |
Complete the Tower of Darkness |
 |
Tower of Waters |
Complete the Tower of Waters |
 |
Tower of Waters |
Complete the Tower of Waters |
 |
Soothing Wetlands |
Visit the Soothing Wetlands |
 |
Soothing Wetlands |
Visit the Soothing Wetlands |
 |
Loop Lagoon |
Visit the Loop Lagoon |
 |
Loop Lagoon |
Visit the Loop Lagoon |
 |
Workout Sea |
Visit the Workout Sea |
 |
Workout Sea |
Visit the Workout Sea |
 |
Forest of Focus |
Visit the Forest of Focus |
 |
Forest of Focus |
Visit the Forest of Focus |
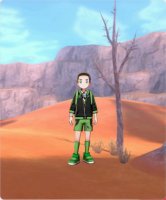 |
Potbottom Desert |
Visit the Potbottom Desert |
 |
Potbottom Desert |
Visit the Potbottom Desert |
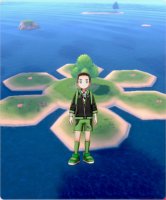 |
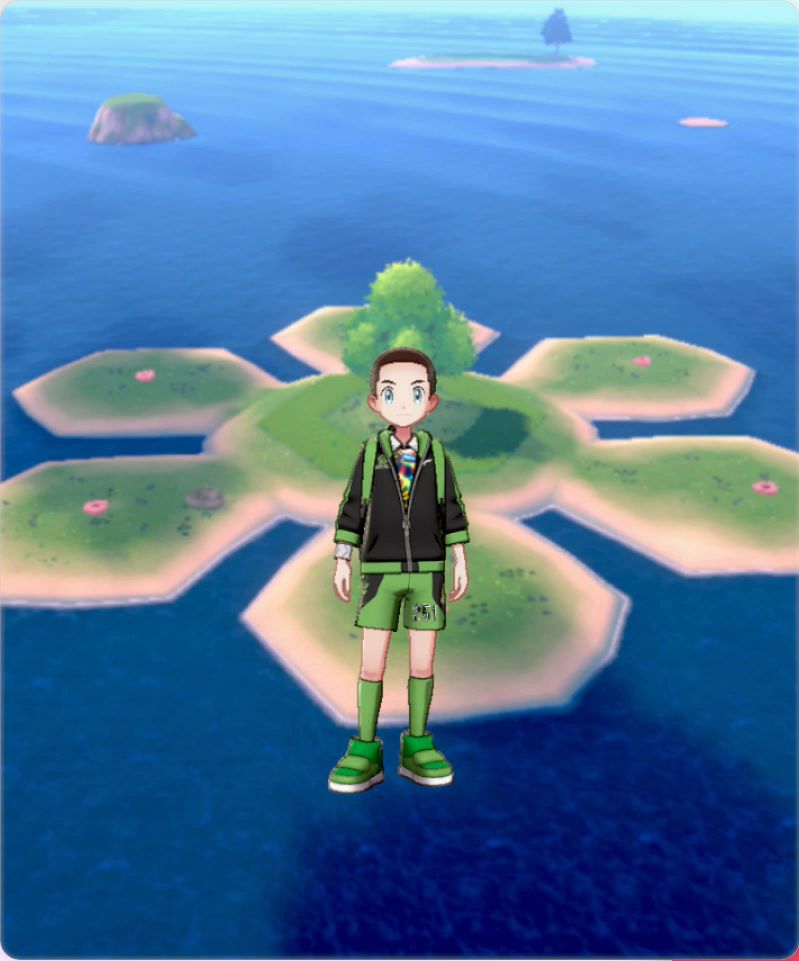
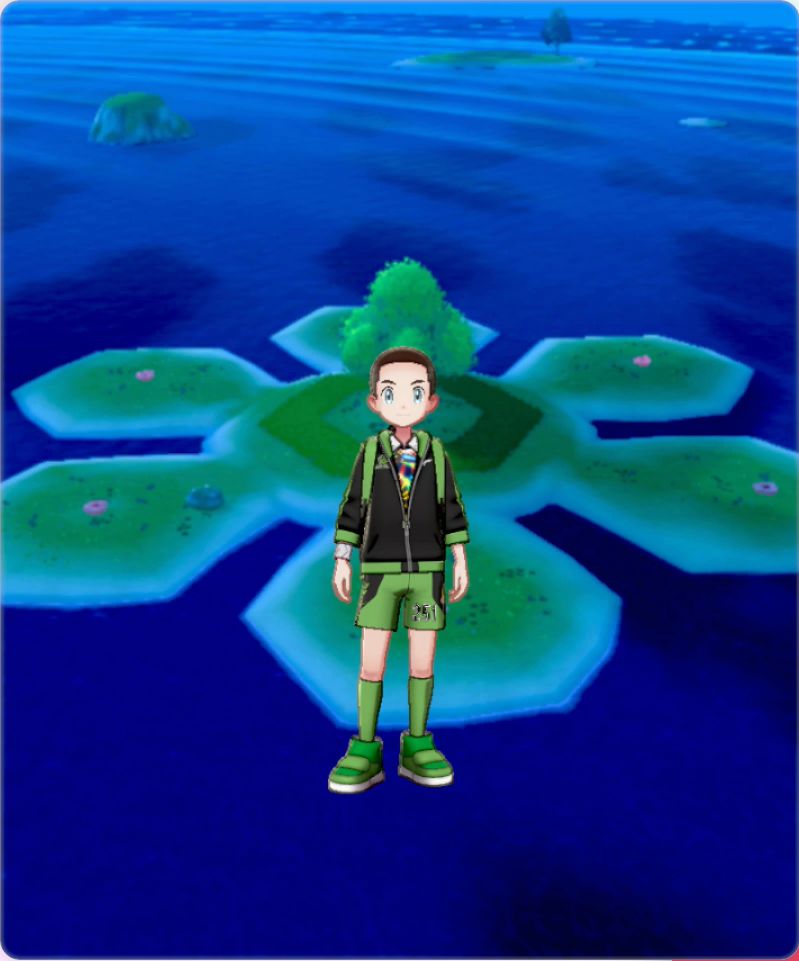
Honeycalm Island |
Visit Honeycalm Island |
 |
Honeycalm Island |
Visit Honeycalm Island |
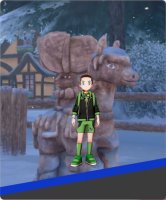 |
Freezington |
Rescue Freezington from Horses |
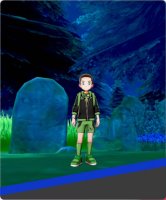 |
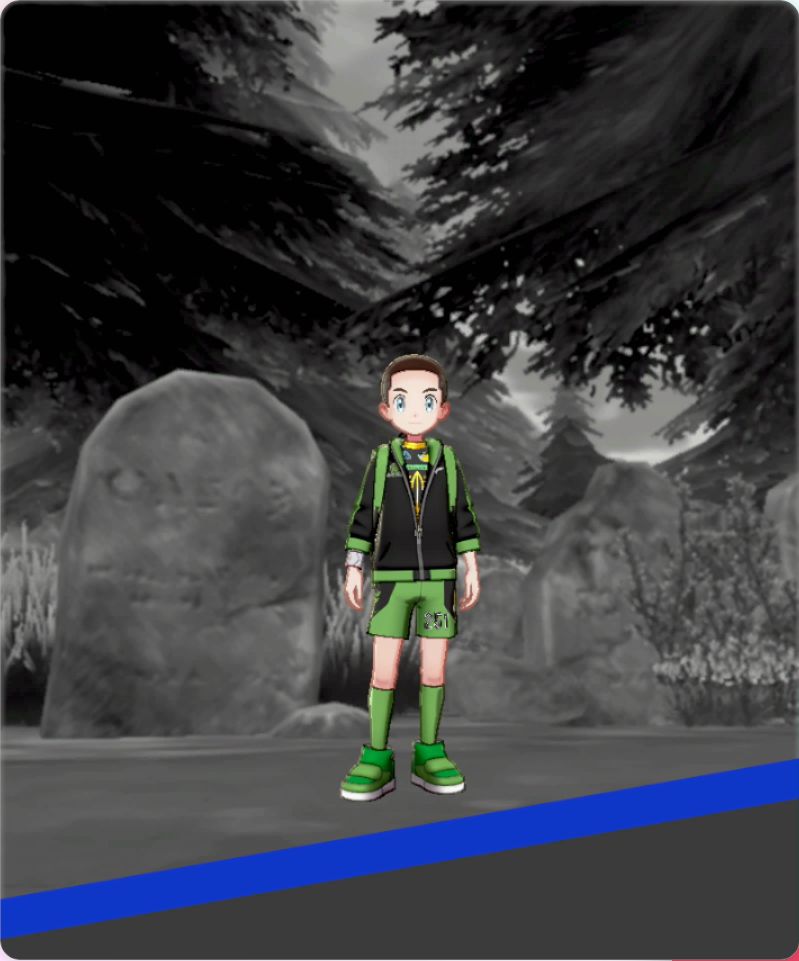
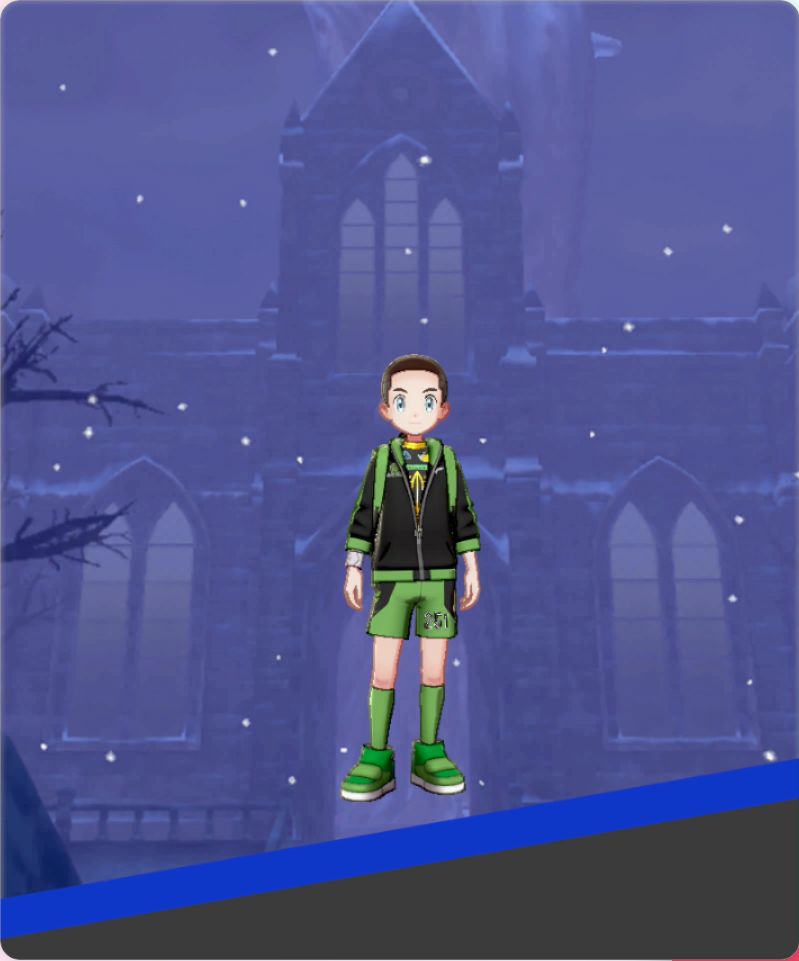
Old Cemetery |
Visit the Old Cemetery |
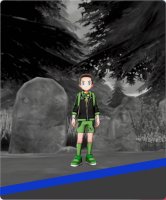 |
Old Cemetery |
Visit the Old Cemetery |
 |
Path to the Peak |
Visit the Path to the Peak |
 |
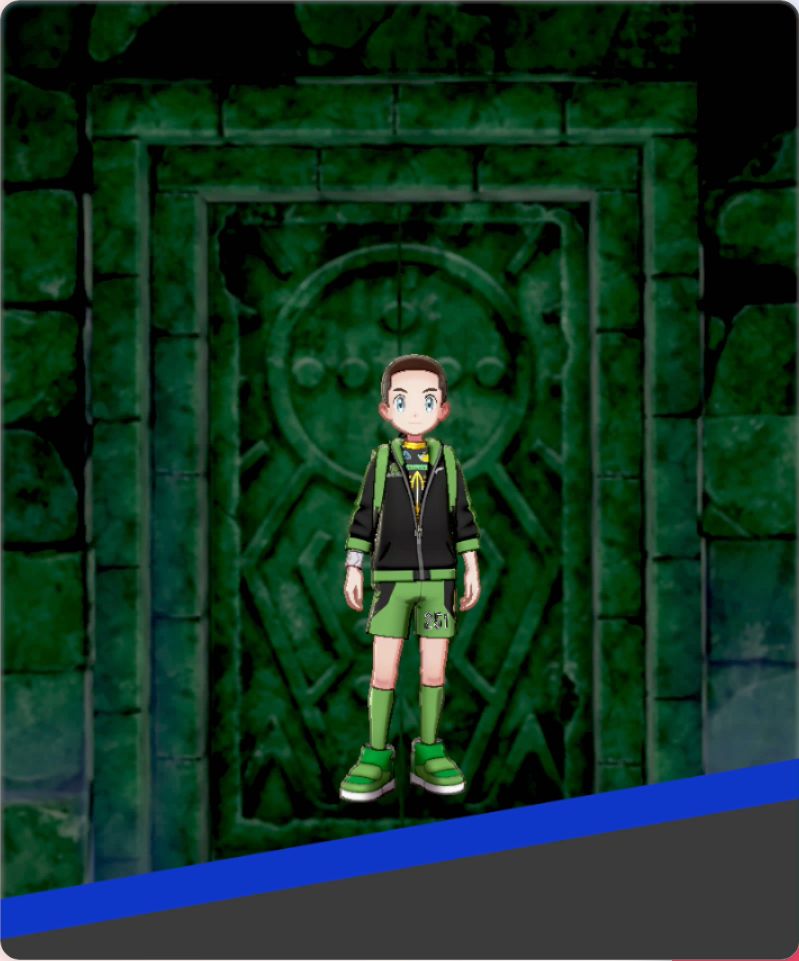
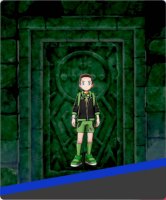
Crown Shrine |
Visit the Crown Shrine |
 |
Crown Shrine |
Visit the Crown Shrine |
 |
Crown Shrine |
Catch Calyrex |
 |
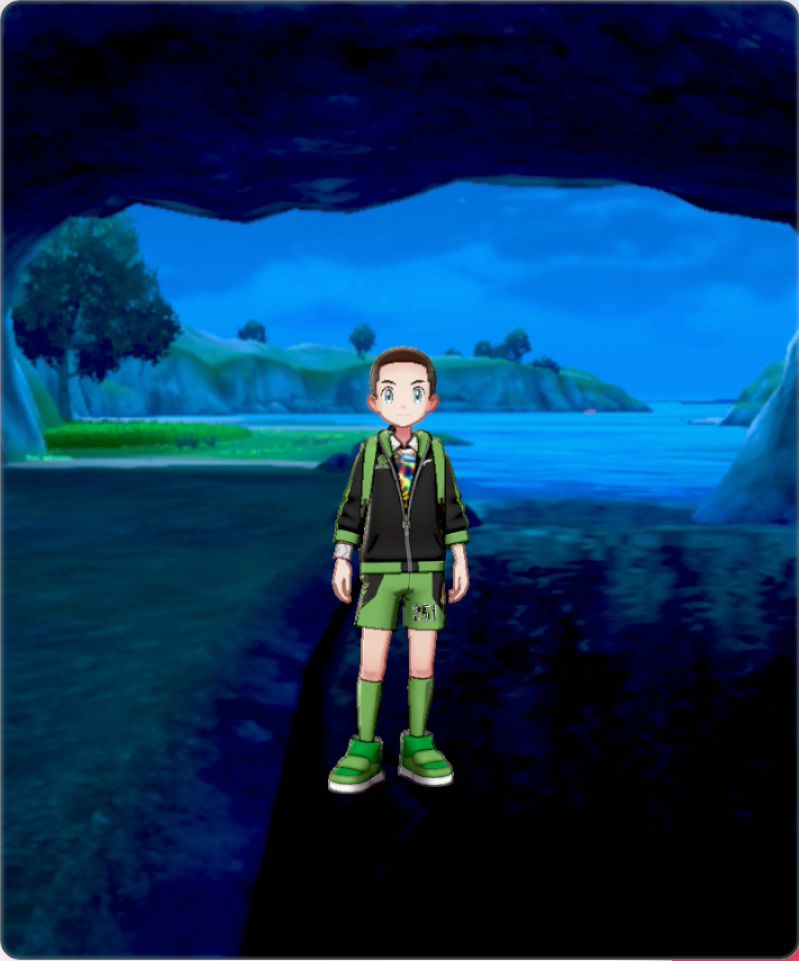
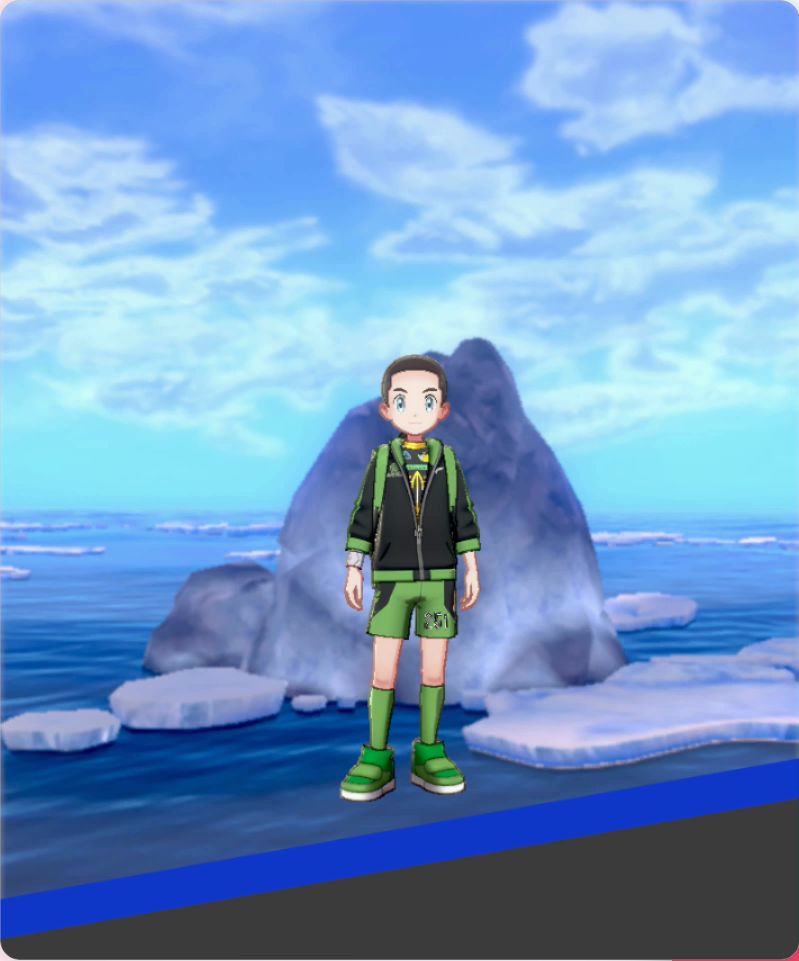
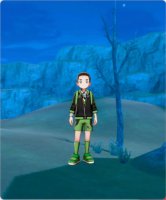
Frigid Sea |
Visit Frigid Sea |
 |
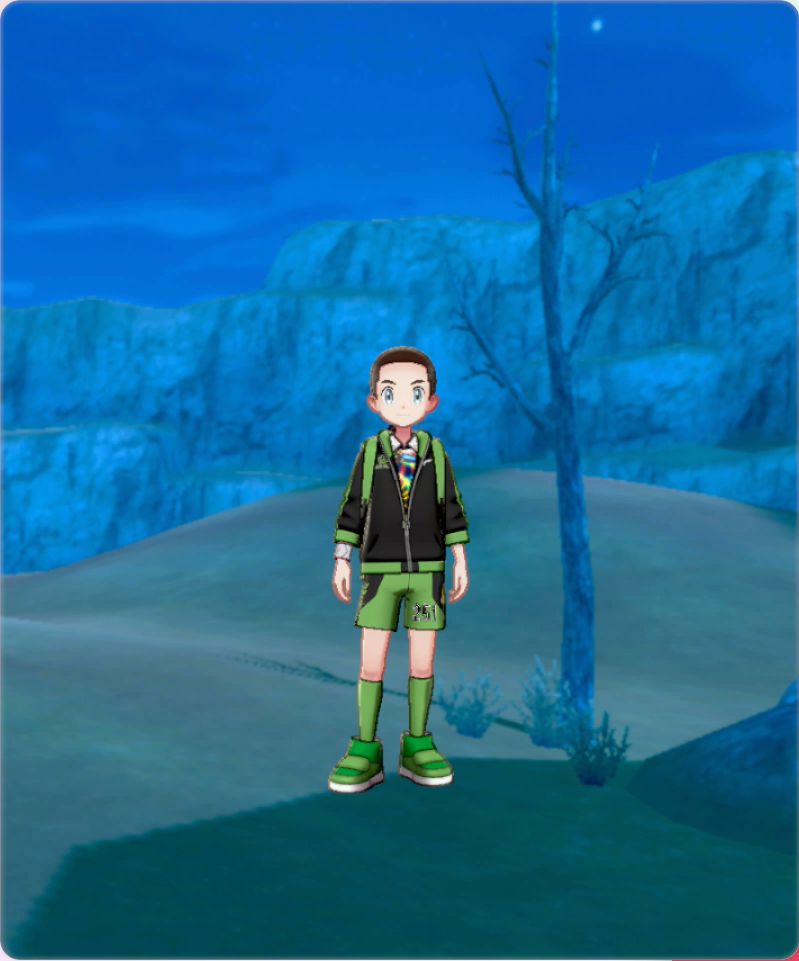
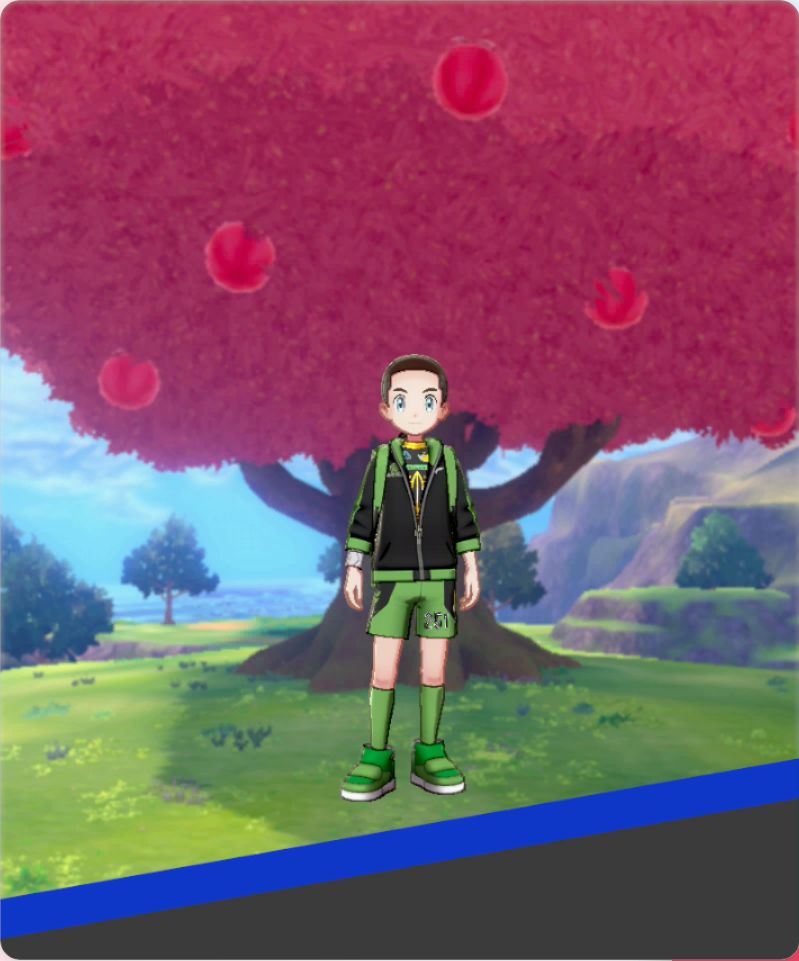
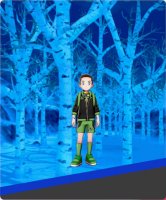
Dyna Tree Hill |
Visit Dyna Tree Hill |
 |
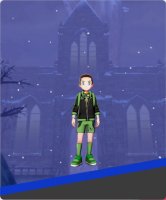
Dyna Tree Hill |
Visit Dyna Tree Hill |
 |
Rock Peak Ruins |
Visit Rock Peak Ruins |
 |
Iceberg Ruins |
Visit Iceberg Ruins |
 |
Iron Ruins |
Visit Iron Ruins |
 |
SplitDecis-Ruins |
Visit SplitDecis-Ruins |
 |
Master Dojo |
Complete Isle of Armor |
 |
Expedition Team |
Complete Crown Tundra |
 |
Champion Cup |
Complete Champion Cup After completing story |
 |
Galarian Star Tournament |
Complete Galarian Star Tournament |
 |
Turrfield Symbol |
Complete Galarian Star Tournament |
 |
Hulbury Symbol |
Complete Galarian Star Tournament |
 |
Motostoke Symbol |
Complete Galarian Star Tournament |
 |
Stow-on-Side Symbol |
Complete Galarian Star Tournament |
 |
Stow-on-Side Symbol |
Complete Galarian Star Tournament |
 |
Ballonlea Symbol |
Complete Galarian Star Tournament |
 |
Circhester Symbol |
Complete Galarian Star Tournament |
 |
Circhester Symbol |
Complete Galarian Star Tournament |
 |
Spikemuth Symbol |
Complete Galarian Star Tournament |
 |
Hammerlocke Symbol |
Complete Galarian Star Tournament |
 |
Klara Symbol |
Complete Galarian Star Tournament |
 |
Avery Symbol |
Complete Galarian Star Tournament |
 |
White |
|
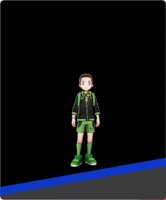 |
Black |
|
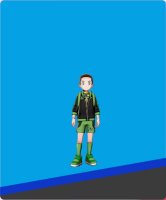 |
Blue |
|
 |
Red |
|
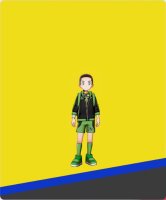 |
Yellow |
|
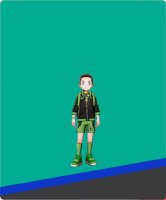 |
Green |
|