Wild Area
Features |
||||||||||||||||||||||||||||||||||||||||||||||||||||||||||||||||||||||||||||||||||||||||
|
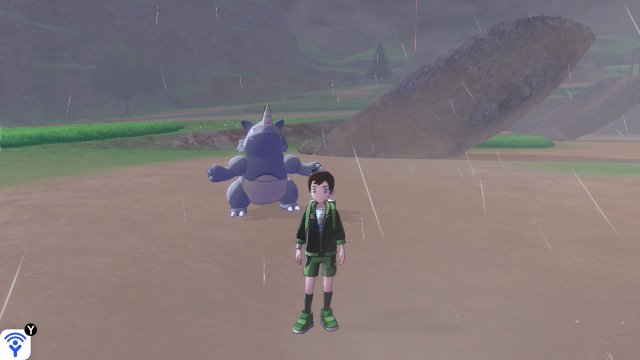
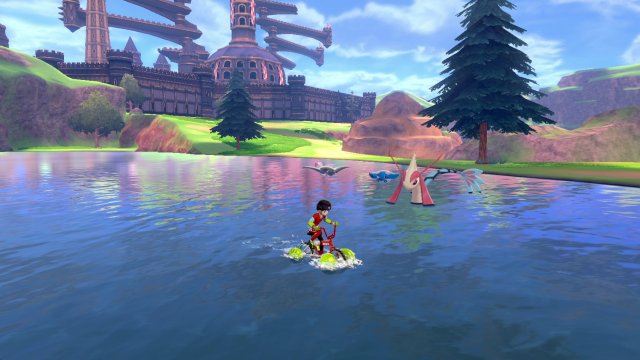
The Wild Area is the big open area in the Galar Region. It's connected to multiple towns and cities and features a diverse range of locations and styles including torn apart areas, lakes, fields and more. This area has full camera control and allows for you to explore unincumbered by restrictions in the areas. However, you will often find Pokťmon higher than you can catch it. These can be good to battle for experience but will not be able to be caught or be shiny Throughout the Wild Area you may also find Pokťmon Dens that house Max Raid Battles. |
 |
|||||||||||||||||||||||||||||||||||||||||||||||||||||||||||||||||||||||||||||||||||||||
Pokťmon |
||||||||||||||||||||||||||||||||||||||||||||||||||||||||||||||||||||||||||||||||||||||||
|
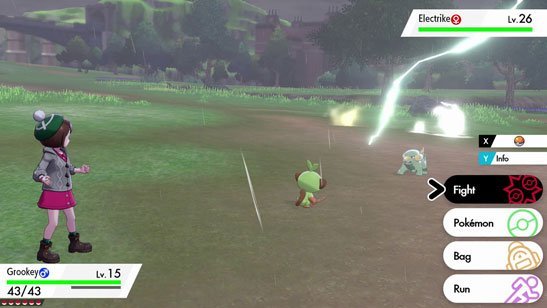
You will encounter wild Pokťmon on the field in the Wild Areas. However, the Pokťmon you encounter will vary depending on your location in the Wild Area as well as the weather. If it's raining, for example, more Water-type Pokťmon will appear Pokťmon typically react differently to you based on the species. Some will charge at you, others will run away. You can approach them slowly using the Control Stick or whistle to attract their attention. After you become champion, all the Pokťmon in the Wild Area change from being their native level to being Level 60 or above. |
 |
|||||||||||||||||||||||||||||||||||||||||||||||||||||||||||||||||||||||||||||||||||||||
Weather |
||||||||||||||||||||||||||||||||||||||||||||||||||||||||||||||||||||||||||||||||||||||||
|
Through the Wild Area is varying weather. This weather will activate the in-game effects of the weather such as Rain adding Rain, Snow adding Hail and Thunder Storms adding both Rain and Electric Terrain. This changes frequently and Pokťmon within each area change based upon the weather |
 |
|||||||||||||||||||||||||||||||||||||||||||||||||||||||||||||||||||||||||||||||||||||||
Day Care |
||||||||||||||||||||||||||||||||||||||||||||||||||||||||||||||||||||||||||||||||||||||||
|
In Bridge Field in the Wild Area, you will find a Pokťmon Nursery. Here you can have another place look after two Pokťmon in the hope that they can produce an egg or pass on moves to eachother. This is in addition to the Route 5 Nursery. |
 |
|||||||||||||||||||||||||||||||||||||||||||||||||||||||||||||||||||||||||||||||||||||||
Watts |
||||||||||||||||||||||||||||||||||||||||||||||||||||||||||||||||||||||||||||||||||||||||
|
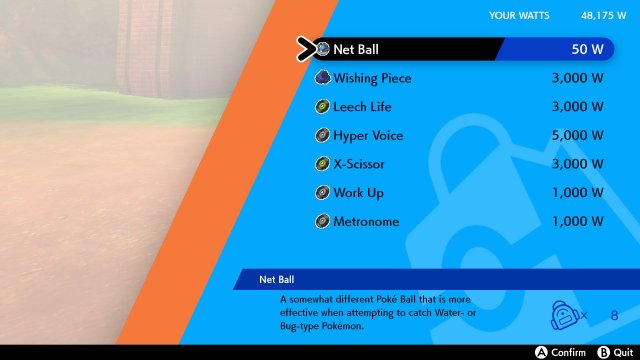
Watts are a currency found within the Wild Area. You can get them from finding unused Pokťmon Dens where you get a small amount (30 - 200) for dens without Raid Battles and a larger amount (300 - 2000) when a Den has got a Max Raid Battle within it. Across the Wild Area, you will find various vendors who will sell you items in exchange for Watts. These are mostly just Technical Records but als include a few Pokť Balls for 50 Watts and a Wishing Piece to trigger a raid for 3,000 Watts. You can also spend Watts for the Digging Duo to find even more items. You can even spend the Watts at Watts Traders to improve your bike's speed. This costs 1,000, 3,000 and 5,000 Watts. This allows for you to boost for longer with your Bike. You can even customise your outfit and your tent. |
 |
|||||||||||||||||||||||||||||||||||||||||||||||||||||||||||||||||||||||||||||||||||||||
Rotom Rally |
||||||||||||||||||||||||||||||||||||||||||||||||||||||||||||||||||||||||||||||||||||||||
|
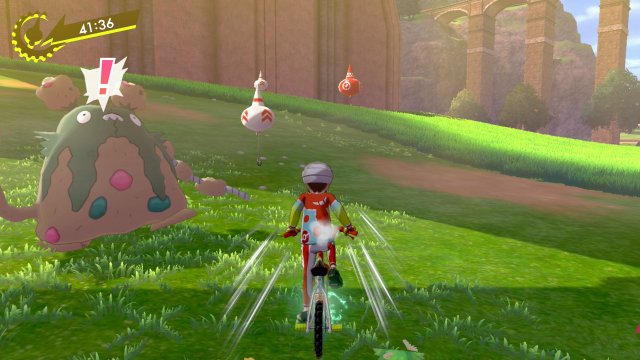
The Rotom Rally is a way to get from place A to B in a quick and fun way. If you select Rotom Rally at any of the Watts Traders, you can go to another trader through a set course. These courses have various Rotom balloons dotted around. The white ones give you a boost while the red ones give you a 15 second boost to the countdown timer You can't interact with wild Pokťmon during the rally, but if you collide with them they will slow you down. There are three rewards to collect for Rotom Rally: |
 |
|||||||||||||||||||||||||||||||||||||||||||||||||||||||||||||||||||||||||||||||||||||||
NPCs |
||||||||||||||||||||||||||||||||||||||||||||||||||||||||||||||||||||||||||||||||||||||||
|
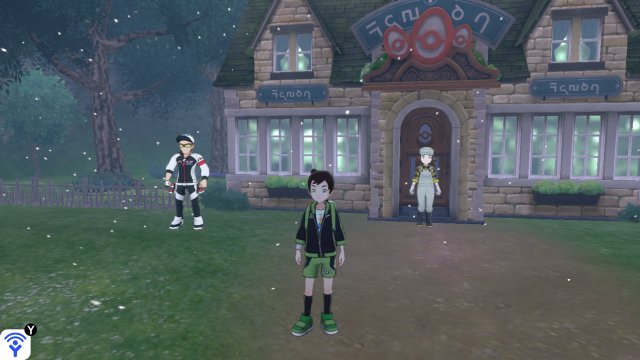
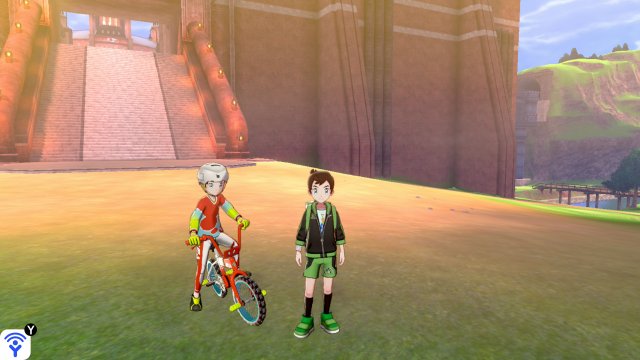
In the wild area, you will often find other NPCs including a Pokťmon Breeder and some hikers. When you talk to them, you will often get offered to purchase an item they have fished up or found for 100 Watts. These are often items that you can sell on. You will also find one Pokťmon Breeder who you can battle repeatedly, with her team increasing strength as you progress.
|
 |
|||||||||||||||||||||||||||||||||||||||||||||||||||||||||||||||||||||||||||||||||||||||
Other Players |
||||||||||||||||||||||||||||||||||||||||||||||||||||||||||||||||||||||||||||||||||||||||
|
If there are other players in the same area as you and can be connected via Local Wireless or Online, they will appear in your game and you'll even see them move in a one to one relation to their movements in their game. While you can't necessarily interact with the players themselves outside of the Y-Comm feature, you can talk to them and receive a variety of items including ingredients and even some rare items such as Pearls.
| ||||||||||||||||||||||||||||||||||||||||||||||||||||||||||||||||||||||||||||||||||||||||


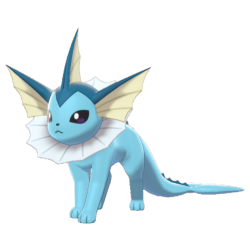
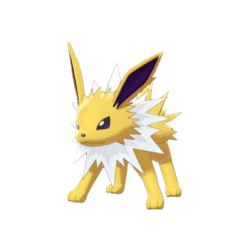
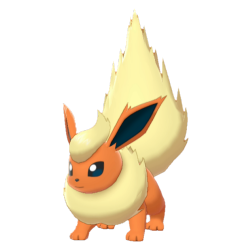
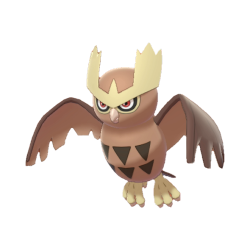
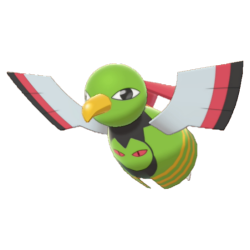
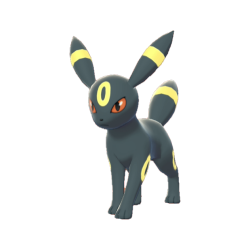
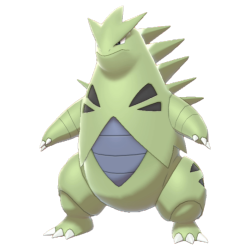
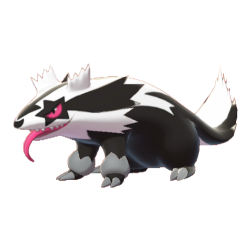
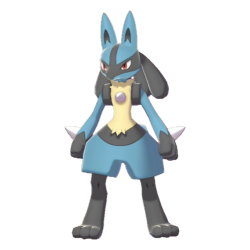
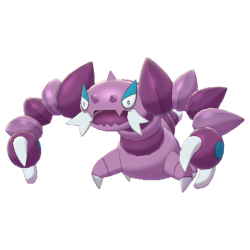
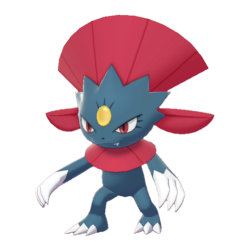
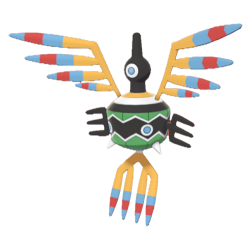
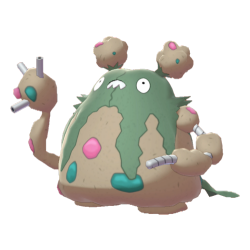
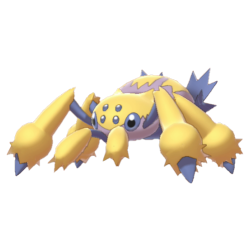
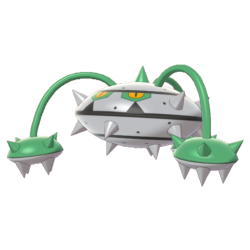
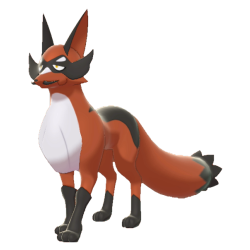
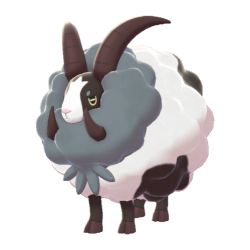
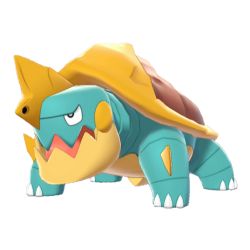
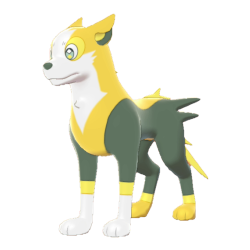
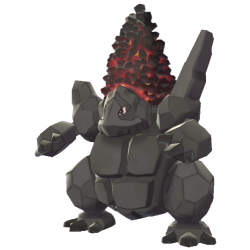
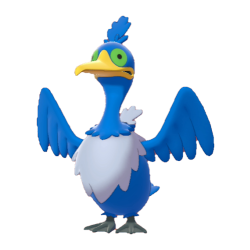
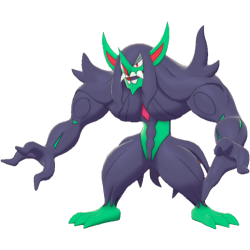
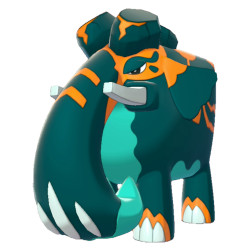
Strong Pokťmon
As stated before, there are wild Pokťmon that are higher level than you usually. Dotted around the Wild Area, away from the patches of grass, there are numerous strong Pokťmon that can be discovered. These Pokťmon vary depending upon the weather, much like the standard wild Pokťmon, and some cannot be found in the wild area aside from at these these locations.