Like most Pokťmon games since X & Y, Pokťmon Sword & Shield has a narrative based post-game. This post-game focuses upon Sordward & Shielbert and follows on from the main story
Encounter 1: Slumbering Weald |
|
Location: Slumbering Weald
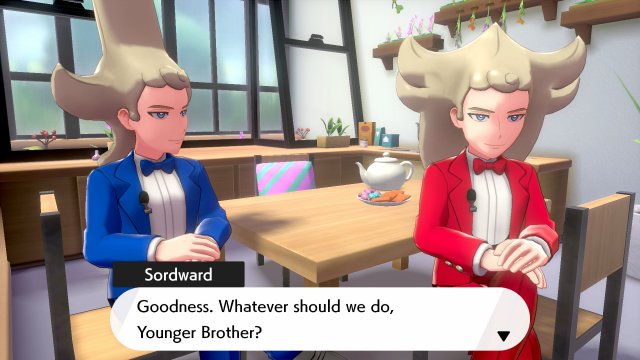
After completing the game, go to the Slumbering Weald and you'll find Hop who is thinking of what to do next so challenges you to a battle. Afterwards, Sonia arrives and gives you her book then recommending to return the Rusted Sword/Rusted Shield to the altar. However, when you do her Power Spot detector activats and two people arrive. They say Sonia's Book is filled with lies and introduce themselves as Sordward and Shielbert, the descandants of the first kings of Galar. They take the Rusted Sword & Shield and challenge you to a battle. Defeat them and you get your item back but Hop loses his match and they run off with the other item with Hop in pursuit.
|
 |
Encounter 2: Turrfield |
|
Location: Wedgehurst & Turrfield
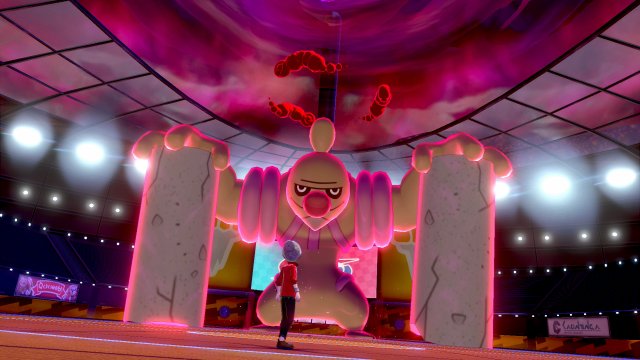
Return to Sonia's laboratory in Wedgehurst and she will mention that as her Power Spot detector went off when they were near, she could track them down and notices there's a high concentration of particles at Turffield so you head there. When there, you will find that Milo and Piers were having an exhibition match when a Pokťmon in the Gym just randomly Dynamaxed. You need to help them take it down in a Max Raid Battle
Defeat Tsareena to calm it down and you'll get Milo's rare League Card. However, Sordward & Shielbert will appear and say they intend to keep Dynamaxing more Pokťmon. Sonia will arrive and mention that both Hulbury and Motostoke are under attack from Dynamax Pokťmon
|
 |
Encounter 3: Hulbury |
|
Location: Hulbury
In Hulbury, you will find that another Pokťmon has Dynamaxed, this time Gyarados. With Nessa, Piers and Hop you have to battle it to calm it down. You'll then get Nessa's Rare League Card.
|
 |
Encounter 4: Motostoke |
|
Location: Motostoke
In Motostoke, you will find that another Pokťmon has Dynamaxed, this time Torkoal. With Kabu, Piers and Hop you have to battle it to calm it down. You'll then get Kabu's Rare League Card.
|
 |
Encounter 5: Wedgehurst |
|
Location: Wedgehurst
After saving Motostoke Gym, you'll receive a call from Sonia saying that Sordward & Shielbert have arrived at the laboratory. When there, you will learn they're looking for Wishing Stars in order to make more Pokťmon Dynamax. However, you first have to face them in a Multi Battle with Hop.
Defeat them and Sonia's new assistant reveals herself as a fan and spy of Sordward & Shielbert and hands over all the Wishing Stars to them and state they want to put Galar under the control of the royal line again. The plan is to reveal the true natures of Zacian and Zamazenta to prove that their ancestors were the heroes. However, before you can react, the remaining 4 gyms in Galar are being attacked by Dynamaxed Pokťmon.
|
 |
Encounter 6: Stow-on-Side |
|
Location: Stow-on-Side
When you reach Stow-on-Side, you will learn that the problem has got much worse with multiple Dynamax Pokťmon attacking. As such, you, Bea/Allister, Hop and Piers split up and each have to take on a Dynamax Pokťmon on your own. When cleared, you'll then get Bea/Allister's Rare League Card.
|
 |
Encounter 7: Ballonlea |
|
Location: Ballonlea
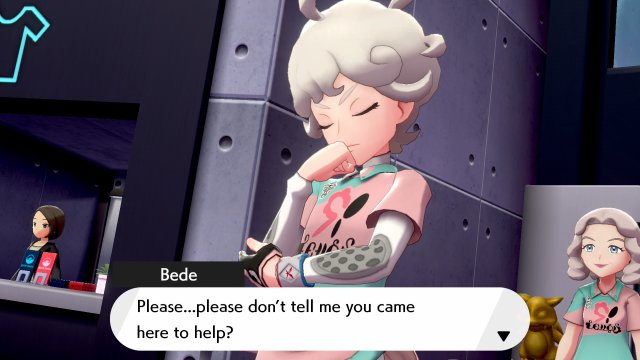
When you reach Ballonlea, you will find that Bede is now the new Gym Leader there and insists he doesn't need your help as he has already taken down multiple Dynamax Pokťmon. However, to prove that he is more capable than you, he challenges you to a battle. When defeated, Opal will arrive and will give you both her Rare League Card and Bede's Rare League Card
|
 |
Encounter 8: Circhester |
|
Location: Circhester
When you reach Circhester, you will learn from Gordie/Melony that the problem is just like at Stow-on-Side and that you have to take down a Dynamaxed Pokťmon on your own while they, Hop & Piers take on others. Help them out and you get their Rare League Card.
|
 |
Encounter 9: Hammerlocke |
|
Location: Hammerlocke
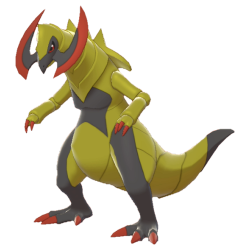
When you reach Hammerlocke, you will find Sonia at the entrance to the Energy Plant as she says that Sordward and Shielbert appeared there with the Wishing Stars but she can't get in. First, you need to help Raihan with a Dynamaxed Pokťmon, this time it's Haxorus. Defeat it and you get his Rare League Card.
|
 |
Encounter 10: Energy Plant |
|
Location: Energy Plant
With all the Dynamaxed Pokťmon stopped, Sonia can finally get into the Energy Plant and when there, you will find Sordward/Shielbert and a few of their fans. They attack Sonia's research and insist that their ancestors were the true saviours of Galar and they intend to use the Dynamax energy to show Zacian/Zamazenta are not the real heroes. As their brother is dealing with Zamazenta/Zacian upstairs, you get challenged.
|
 |
Encounter 11: Energy Plant |
|
Location: Energy Plant
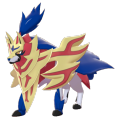
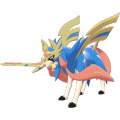
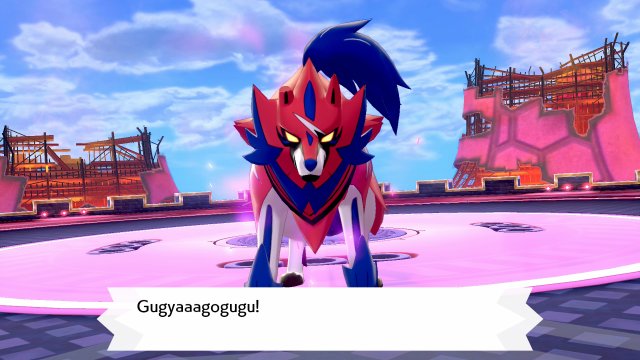
After defeating Sordward/Shielbert, they can tell their their brother has had enough time as the Legendary Pokťmon are up there and being experimented on, however when it's not working entirely as they want, and the Pokťmon appear just angry at Sordward & Shielbert, it's time for you to protect them and calm them down. You face Zamazenta in Sword and Zacian in Shield. They cannot be caught.
|
 |
Encounter 11: Energy Plant |
|
Location: Energy Plant
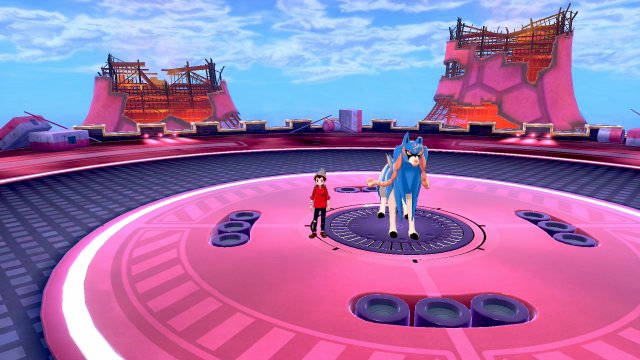
After calming them down, Hop tries to calm them down further for the other Legendary Pokťmon to arrive and protect Hop. The Legendary then disappears with Hop chasing it to make sure to calm it down and the other stays put, challenging you to capture it after you use the Rusted Sword/Shield on them.
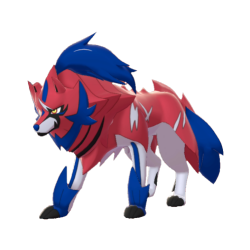
| Zacian |  |
| Level 70 |
| |
|
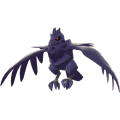
| Zamazenta |  |
| Level 70 |
| |
|
Once captured, Shielbert and Sordward will realise the error of their ways and promise to atone for their crimes. However, your Rotom Phone will ring and Hop will say that he needs some help
|
 |
Encounter 12: Slumbering Weald |
|
Location: Slumbering Weald
If you get to Slumbering Weald, you will find Hop is there and is calming down. It then shows interest in being caught by Hop and Hop captures it. With a Legendary Pokťmon now on his team, Hop challenges you to a battle.
|
 |
Encounter 12: Slumbering Weald |
|
Location: Slumbering Weald
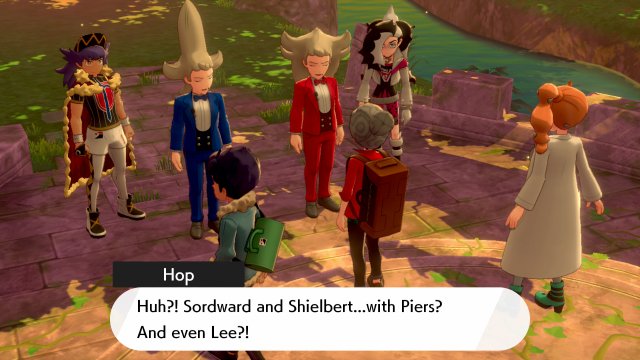
After the battle, Hop will mention that he has decided to become a Pokťmon professor and that he wishes to learn everything there is, causing Sonia to offer he become her assistant. Then, Sordward & Shielbert will appear, with Leon and Piers as their guards. They have arrived to apologise as they realised they were thinking of only themselves and not the innocent Pokťmon they hurt. They will say they have abdicated their claim to royalty and imply that the only royalty left around is you.
|
 |
Encounter 13: Wyndon Stadium |
|
Location: Wyndon Stadium
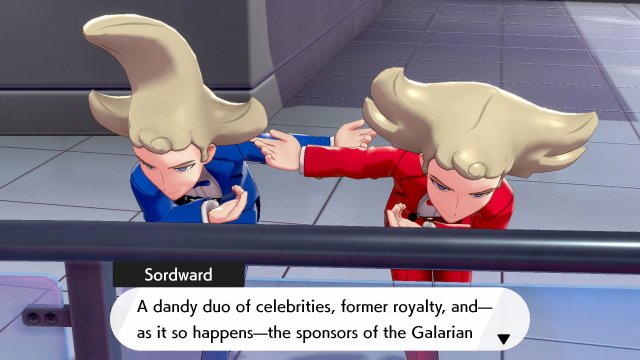
After defeating The Isle of Armor and Crown Tundra, when you have completed 15 battles in the Galarian Star Tournament, Sordward and Shielbert will appear. Saying they have helped to fund the new Galarian Star Tournament, theywill soon become your opponents, as well as possible partners.
|
 |